- Author admin [email protected].
- Public 2023-12-16 16:46.
- Last modified 2025-01-23 11:21.
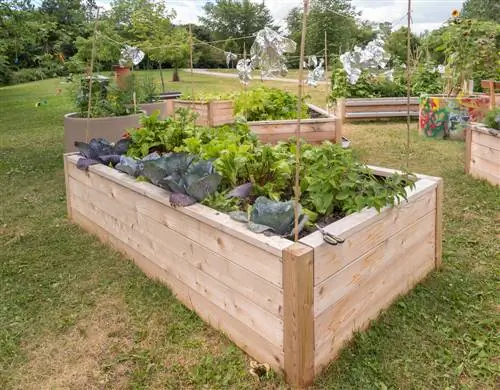
The raised bed makes growing vegetables much easier. But building a raised bed takes time, and the purchase costs are not to be underestimated either. It's good if it remains usable for a long time afterwards. The hard larch wood has proven to be an optimal building material.
Why should you build a raised bed out of larch wood?
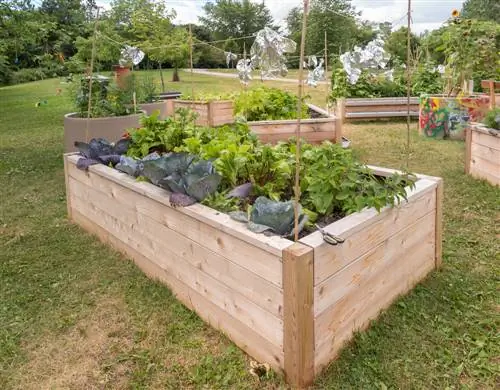
A raised bed made of larch wood is ideal because it is the heaviest and hardest softwood, is permanently resistant, waterproof, ecologically compatible and can be used outdoors without treatment. You can save on acquisition costs by building your own.
The benefits of larch wood
A raised bed is exposed to the weather, wind and sun gnaw at the wood. If you want to build the raised bed yourself, you have to choose a type of wood that can withstand these challenges.
Larch wood is the first choice because it offers the following advantages:
- among the softwoods it is the heaviest and hardest wood
- it is permanently resistant
- Water doesn't bother him much
- can be used outdoors without treatment
- is ecologically compatible, is grown in this country
Plan raised beds in detail
Ready-made larch wood kits are sold in stores, but they are not exactly cheap. A two meter long bed costs more than 300 euros. But you can also build the bed yourself and certainly save a lot of money. You can get everything you need from a well-stocked hardware store. But first you should determine the size of the raised bed. An ideal bed is rectangular and has the following dimensions:
- Height: approx. 85 cm above the ground surface
- Width: approx. 1 m
- Length: 2 to 6 m
Measure carefully whether there is enough space in the garden for the desired bed size. Also keep in mind that most productive plants need a lot of sun throughout the day in order to produce plenty of fruit.
Necessary materials
For a raised bed you need some materials, the quantities of which you still have to calculate depending on the size of the raised bed.
- 2, 5 to 5 cm thick larch slats for the sides
- at least four squared timbers for stabilization
- For long bed sides, one additional squared timber per meter of length
- Ground sockets and post caps
- suitable fastening material
- Pond liner for lining the sides
- narrow wire mesh to protect against voles (for the bottom and the lower part of the sides)
- Wire
Tip
Ask the hardware store whether you can cut the slats (€61.00 on Amazon) to the required length, then you will save a lot of time and work.
Helpful tool
If you build a raised bed out of larch wood yourself, you need tools that will make your work easier. Important are:
- Tape measure
- Hammer
- Cordless screwdriver and drill if necessary
- Saw
- Tacker
If you have a large bed, it can't hurt to get an additional worker to help you. Screwing is easier when four hands are at work. It's certainly more fun too.
Avoid chemical wood protection
You can completely avoid chemical wood protection when building a raised bed made of larch wood, which is why this step is omitted from the instructions below. This type of wood can handle moisture well for years. Another advantage is that the wood is installed in such a way that it can dry quickly and easily.
Construction instructions
- Mark the footprint with a string.
- Determine the location for the posts and ram the ground sockets into the ground. You can use the hammer to do this. The ground sleeves provide a firm hold and protect the wood from long-lasting soil moisture.
- Insert the posts and secure them stably.
- Now you can plank the sides. If the slats do not fit, you can cut them to the correct length with the saw.
- Attach the short boards to the inside of the posts and the long boards to the outside. Be sure to start from the bottom.
- After you have attached two rows, the grid against voles must be attached. First cut the piece for the bottom and then four pieces for the sides. Connect these parts with wire and staple the construction to the planks.
- Attach the remaining planks.
- Attach the post caps.
- Line the walls of the raised bed with the pond liner, but leave out the floor. Staple the top of the foil to the side planks.
- The raised bed is finished and ready to be filled.

