- Author admin leonars@hobbygardeners.com.
- Public 2023-12-16 16:46.
- Last modified 2025-01-23 11:19.
Growing chili as a hobby has long since left its niche existence as an extravagant leisure activity behind. The he althy pods with the spicy taste belong in every modern kitchen. This will help you become a chili self-sufficient person in no time.
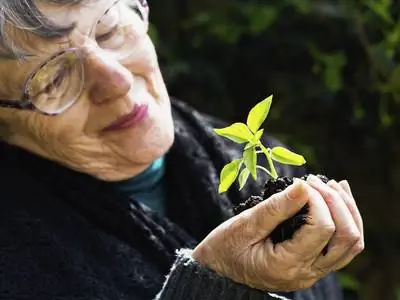
How can I successfully breed chili peppers?
To grow chili successfully, you should start sowing in February or March, prick the plants properly, repot them into larger containers and cultivate them in a sunny, wind-protected location. Choose nutrient-rich soil and ensure regular water supply.
Early sowing creates the basis for a rich harvest
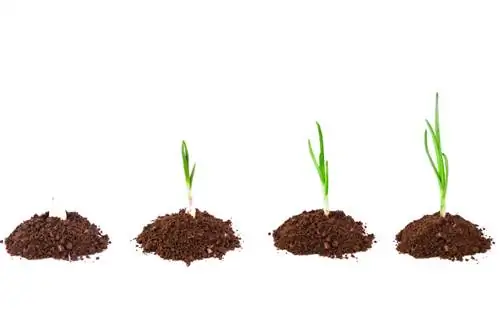
Since chili varieties take up to 4 months to ripen, early sowing is a mainstay in cultivation. February and March have proven to be suitable months for starting chili cultivation.
- Soak seeds in lukewarm s alt water for 24-48 hours
- Fill the seed tray with a peat-sand mixture or sowing soil
- Insert the seeds 3-4 mm deep at a distance of 2 cm and sieve thinly with soil
- moisten with rainwater from the spray bottle
At 25-28 degrees Celsius in a bright, not full-sunny window seat, the seeds become active quickly. The optimal conditions for sowing are in a heated indoor greenhouse (€59.00 at Amazon). Covering the seed container with cling film comes close to the ideal situation.
Make space for chili by pricking correctly
Once the cotyledons have fought their way through the soil into the light, the first pairs of leaves follow them within a short time. As soon as the plants touch each other permanently, they are pricked out.
- Fill cultivation pots with lean substrate
- lift each seedling out of the soil with the pricking stick
- pre-drill the planting hole with the stick and insert one chili per pot up to the cotyledons
- moisten regularly with a fine rainwater shower
Light and warmth are still essential for he althy, compact growth. However, it shouldn't be full sun yet. Temperatures of more than 30 degrees Celsius stress the delicate chilies.
Repot conscientiously into the final planter
Before going out on the balcony in mid-May, repot your pupils. At the latest when the roots poke out of the opening in the bottom of the growing pot, they want to move to a larger container. They will stay there at least until the end of the season.
- Put out a drainage system made of gravel, grit or pottery shards in the pot or flower box
- Fill in nutrient-rich substrate up to 5 cm below the edge of the container
- Plant the chillies up to the bottom pair of leaves and water them
A planting distance of an average of 50 cm is recommended in the flower box. Smaller chili varieties can be planted a little closer together. Each plant receives a support pole to protect it from wind.
Choose the location in the bed carefully
It is an open secret that chili plants are only partially suitable for outdoor cultivation. Hobby gardeners in mild wine-growing regions are significantly better off than their colleagues in northern Germany. In order to successfully grow chilli in the bed, the following premises apply:
- sunny, warm, sheltered location
- humose, nutrient-rich soil, fresh and a little moist
- ideally under a rain cover or in a polytunnel
Tips & Tricks
Any amateur gardener who wants to grow chili peppers with limited free time chooses hydroponics. Instead of conventional soil, the plants thrive in expanded clay. They independently cover their water and nutrient needs from a supply, which can be read on a special display.

