- Author admin leonars@hobbygardeners.com.
- Public 2023-12-16 16:46.
- Last modified 2025-01-23 11:19.
Do you have unique balcony plants up your sleeve? Do you prefer to eat home-grown fruit vegetables? Pumpkin fulfills both wishes at the same time. You can find out exactly how this works here.
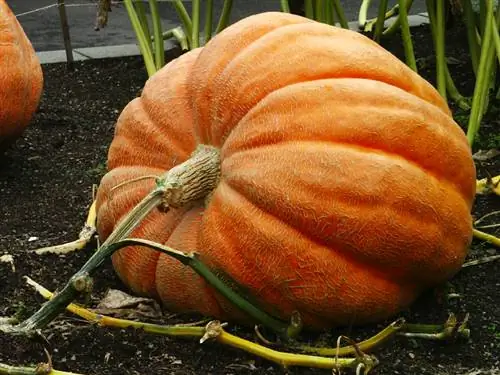
How to grow pumpkin on the balcony?
Growing pumpkin on the balcony preferably requires small-growing varieties, cultivation indoors, a large planter (60-90 liters), nutrient-rich substrate, and a sunny, airy location. Mid-May is the ideal time for planting on the balcony.
Growing indoors ensures the best growth on the balcony
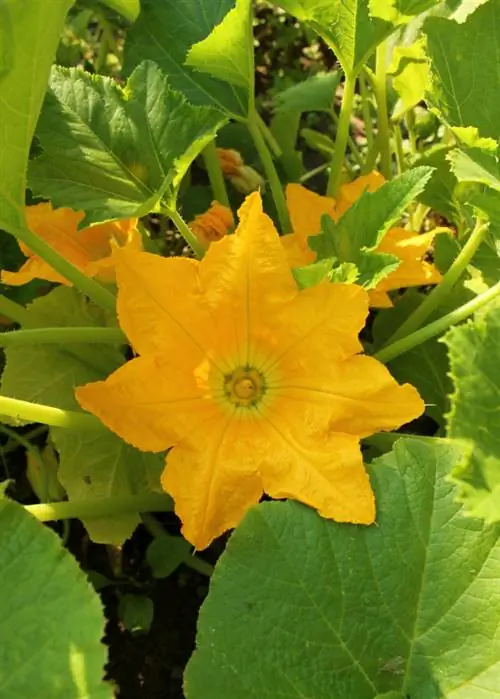
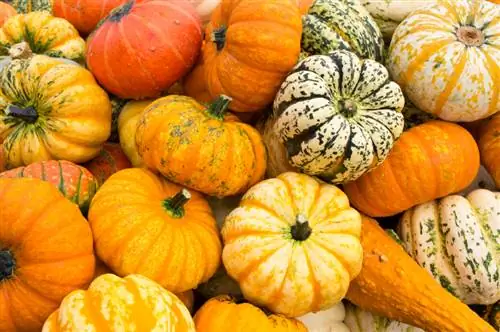
They are preferably small varieties that recommend pumpkin as ideal balcony plants. A magnificent flower is followed by decorative fruits that attract everyone's attention. Not to mention the tasty harvest in autumn. We recommend growing indoors.
- The ideal start date for sowing is mid/end of April
- Soak the seeds in lukewarm water for 24 hours
- Fill cultivation pots with peat sand or coconut flakes
- insert the seeds 1-2 cm deep and moisten them
The heated mini greenhouse (€49.00 at Amazon) offers an exemplary germination temperature of 23-25 degrees Celsius. Alternatively, stretch a piece of cling film over each pot and place it on the partially shaded, warm windowsill. Germination starts within 8 days. Now carry the containers to a light-flooded place with cooler temperatures just below 20 degrees Celsius.
Planting time on the balcony
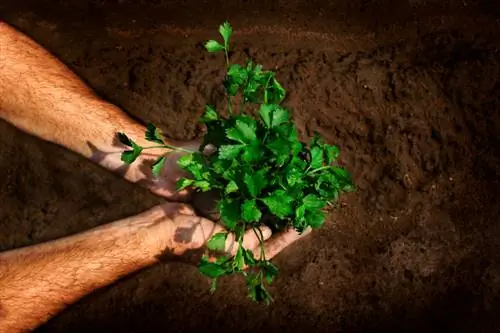
Following germination, the seedlings thrive so quickly that after 4 weeks they are ready to move to the balcony. It is now mid-May, the ideal planting time for cold-sensitive squash. A planter with a volume of 60 to 90 liters and a nutrient-rich substrate with plenty of compost should be available.
- Pile a drainage system made of potsherds, perlite or gravel over the water drain in the ground
- spread a permeable garden fleece over it so that the material does not become clogged with soil crumbs
- fill in the substrate, place the pumpkin plant in the middle and water
A hardening off phase in a partially shaded, protected location is recommended. The pumpkin then receives its summer residence with as many hours of sunshine as possible. It can be warm and airy here at the same time so that diseases and pests do not find a target. So that the movement of the weighty pot doesn't give you sore muscles, place it on a practical plant roller right from the start.
Tips & Tricks
Don't forget to leave a 2-3 cm pouring edge. There is hardly a more annoying job than cleaning up the spilled water-soil mixture from the balcony floor after every watering.

