- Author admin [email protected].
- Public 2023-12-16 16:46.
- Last modified 2025-01-23 11:21.
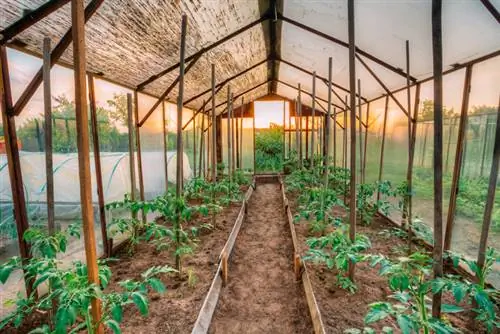
With a little manual skill, you can usually build a plant without any major complications. Things are even better if there is a helper available to assemble wall elements and roofs. Nevertheless, you should allow plenty of time for this work and strictly follow the enclosed assembly instructions. When delivering a purchased complete set, it is particularly important to check that all packaging is intact, if possible in the presence of the freight forwarder.
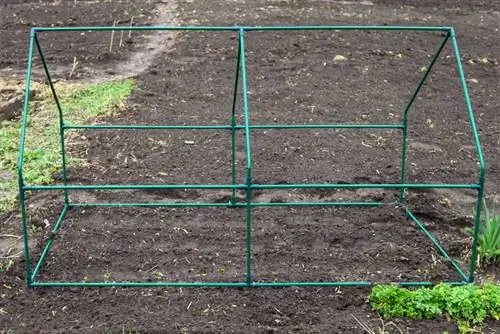
How can I build a greenhouse according to the assembly instructions?
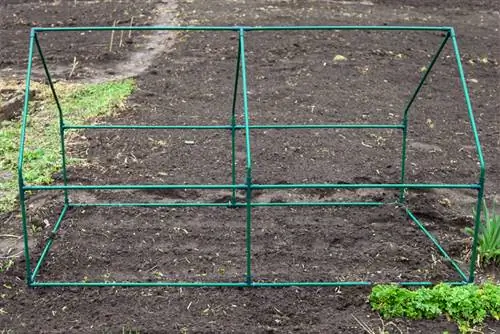
Precise preparation is important when setting up a greenhouse. Place all the individual parts in the correct order, use the enclosed assembly instructions and foundation plan, work with millimeter precision and use the tools listed. Helping hands make assembly easier.
If you work precisely when setting up the greenhouse, you can usually complete this work in one day. Assembly becomes safer and less strenuous if a helper is available and the individual parts are assembled exactly according to the assembly instructions supplied at the factory.
It's best to start in the morning
Depending on the size and features, assembling the greenhouse parts can take a whole day. To ensure that everything is in place by nightfall, it is best to start setting up the greenhousein the early morning hours and if possible when there is no windThe easiest way to assemble is to first unpack all the individual parts and place them in the order shown in the overall illustration in the assembly instructions. Before final assembly begins, the completeness of the accessories is checked.
Tools for building a safe greenhouse
On the first pages of the assembly instructions, all the tools required are usually listed. If special keys are required, for example for adjusting windows and doors, these are often included ex works. Helpful for the individual assembly steps are:
- Combine and open-end wrenches in all common sizes
- Cordless screwdriver with various bits (slotted and cross)
- Tape measure and ruler
- Spirit level or construction laser
- at least one stepladder
- rubber hammer
- File and sandpaper
Work exactly according to the instructions and foundation plan
Especially when joining the parts of the foundation, all connecting elements must fit together with millimeter precision so that the wall and gable parts later fit and have a firm hold on each other. A detailed foundation plan is included with the assembly instructions. If not, these important documents are available for download on most manufacturers' online portals. After assembling the frame parts, it is connected to the prepared foundation and should nowbe anchored firmly and without play
The puzzle with wall elements and roofing
When covering, especially with glass, you naturally have to be particularly careful so that damage is not accidentally caused shortly before the finish. If hollow chamber panels are installed when building a greenhouse, the side equipped with UV protection must always face outwards. However, if the protective film has been removed, the coated side is no longer visually noticeable. If there is no corresponding print on the frame, it is best to mark the correct outside yourself, including on the door.
Tip
If all parts of the greenhouse are assembled exactly according to the assembly instructions, it is better to leave the windows and doors open for a few hours. The time should be used to protect all seals on these openings from wear with a silicone-containing agent (according to the manufacturer's instructions) in order to ensure the longest possible service life.

