- Author admin [email protected].
- Public 2023-12-16 16:46.
- Last modified 2025-01-23 11:21.
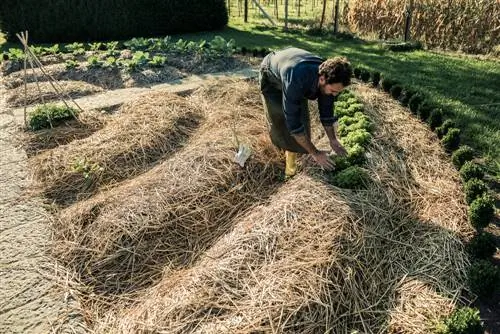
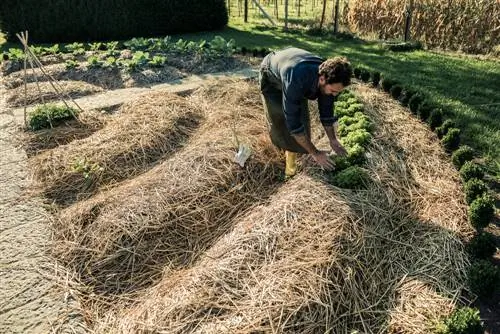
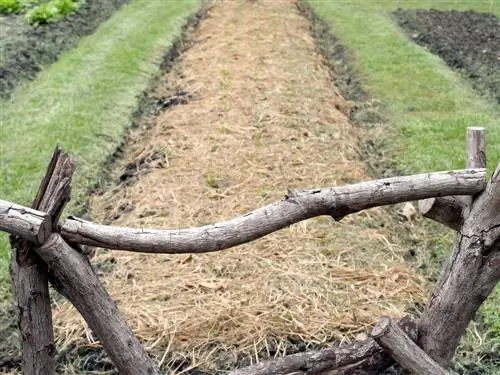
The hill bed is a very inexpensive alternative to the raised bed. It offers many of the advantages of the raised bed - such as the heat generated inside the bed - but can be completed in just one afternoon with significantly less effort.

How can I create a hill bed?
To create a hill bed, first choose a sunny location, dig about a spade deep and fill the bed with organic material such as wood chips, leaves and compost. Then plant the hill bed with heavily consuming vegetable plants such as tomatoes, leeks or zucchini.
Choice of location and orientation
Ideally, the axis of the hill bed is oriented from north to south. This means that the plants growing in it get as much sun as possible. If this is not possible, a different orientation can be chosen, although you should always place such a bed in a sunny location. After all, vegetables and other heavily consuming plants are supposed to thrive here and they usually need a lot of light.
How to build a hill bed - step-by-step instructions
Once the location has been determined, mark the area of the planned hill bed by staking it out with twine or something similar. It continues as follows:
- Dig up the hill bed about a spade deep, save the excavated soil
- Fill the hill bed with organic material in this order:
- Fill the pit with wood chips (shredded twigs, branches, etc.)
- at the bottom the coarse material, above that the finer material
- This is followed by a layer of leaves and some of the previously dug earth to weigh the whole thing down a bit.
- When filling, be sure to create a mound shape with more material in the center than around the edge.
- The next layer is not quite ripe compost,
- then some more of the excavation and finally nicely ripe compost.
- Now spread the rest of the excavated soil.
- If it is very heavy or solid, you can mix it with some leaves.
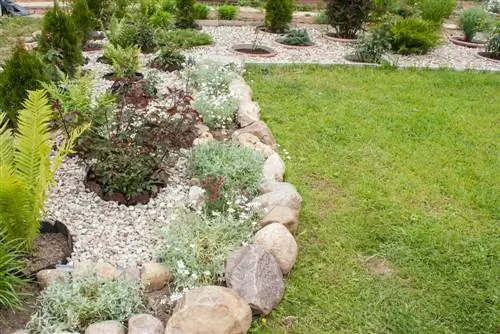
Now the hill bed is attached: Lay out weed fleece (€19.00 on Amazon) all around, fold it over and weigh it down with stones, such as field stones. This will prevent weeds or weeds from spreading either into or out of the hill bed - for example if you have accidentally composted weeds. At the very top, layer finely crumbled garden or potting soil on the hill bed, which can now be planted.
Planting the hill bed
In the first year, heavy-feeding plants in particular feel very comfortable on a hill bed. You can plant these in the bed according to the following planting plan:
- Zucchini: need a lot of space and therefore belong on the edge of the hill bed
- Tomatoes: need a lot of sun and warmth, thrive best on the top
- Peppers: need a lot of sun and warmth, thrive best on the top
- Leek: also grows best in the middle of the hill bed
- Celeriac: also grows best in the middle of the hill bed
- Cabbages: belong at the foot of the hill bed
- Carrots: are sown in the upper rows of the bed from the second year onwards
- Kohlrabi: plant on the bed from the second year onwards
- Fennel: plant on the bed from the second year onwards
You only plant or sow heavy feeders on the hill bed in the first two years, medium feeders follow from the third year and weak feeders from the fifth year. Due to the high nitrate concentration, you should only cultivate lettuces from the fourth year onwards. The sixth year is usually the last, after which the mound bed usually has to be re-piled. This last year you can grow great potatoes.
Tip
When planting the bed, always make sure that you put plants that match each other in the bed. A good mixed culture helps to avoid diseases and also promotes yield.


