- Author admin leonars@hobbygardeners.com.
- Public 2023-12-16 16:46.
- Last modified 2025-06-01 06:02.
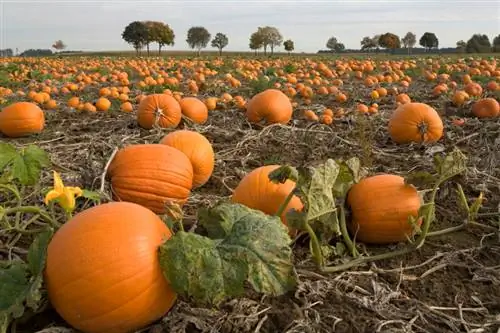
Growing pumpkin is not only easy, but also trendy. Pumpkins are just as popular with gourmets and natural food fans as they are with decorators and Halloween fans. Find out all the important building blocks for successful pumpkin culture here.
How can I grow pumpkins successfully?
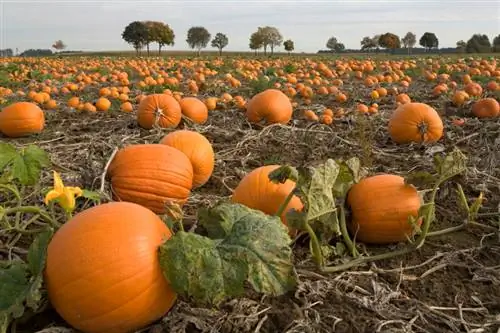
To successfully grow pumpkins, you should start with fresh seeds in mid-April, let the seeds soak in lukewarm water for 24 hours and place them in seed pots. After germination, continue cultivating at 18 degrees Celsius, later prick out, harden and plant in humus-rich, nutrient-rich soil. Water and fertilize regularly.
Thanks to cultivation with a head start in the bed
Squash's sensitivity to cold significantly limits the window for planting in the garden. Direct sowing is only possible after the Ice Saints at the earliest. Experienced pumpkin gardeners therefore decide to grow them indoors, so that young plants start with a reassuring growth lead.
- Start in mid-April with fresh seeds (€7.00 on Amazon) from specialist retailers
- soak the seeds in lukewarm water for 24 hours
- Insert individually into 6 cm cultivation pots with sowing soil approx. 1 cm deep
- moisten with a fine spray and cover with foil or glass
At a constant 25 degrees Celsius, germination takes an average of 1 week. As a result, place the sowing at 18 degrees Celsius, a little cooler and brighter. A cover can now be removed to allow the seedlings to develop unhindered.
Pricking and hardening - only the strongest get through
If the conditions are right, the small pumpkin plants will present several pairs of leaves above the cotyledons after 3 to 4 weeks. From this size onwards, the young plants are ready for outdoor use in the bed or on the balcony.
Now hobby gardeners take a look at the calendar. Cold Sophia should have said goodbye as the last ice saint so that the outdoor season for pumpkin plants can begin. If there are several seedlings in one pot, the weaker specimens are sorted out.
After pricking out, the pumpkin plants are moved to a protected place in the garden for 1 week. Here they spend a period of hardening under outdoor conditions before they are planted out in the bed or pot.
Plant pumpkin effortlessly
In a sunny to partially shaded location, place the pumpkin plants in humus, nutrient-rich soil. Here's how to do it:
- enrich loosened bed soil with compost and horn shavings
- Dig planting holes at least 100 cm apart
- Place each pumpkin plant together with the potting soil into the pit and water well
- install a climbing aid for climbing species and varieties
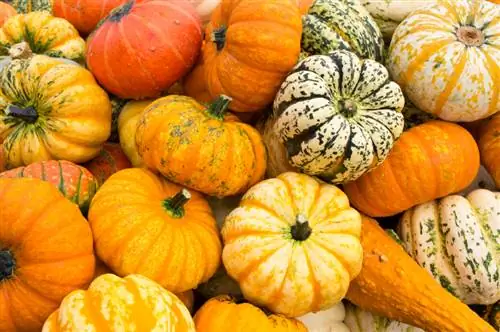
The specific planting distance depends on the preferred variety. Large pumpkin plants may need up to 5 square meters of space to thrive.
Don’t let pumpkins thirst or go hungry
Pumpkin plants are among the garden's heavy feeders and are just as hungry as they are thirsty. The central component of care is therefore an adequate supply of water and nutrients. Water and fertilize the plants in the bed and pot regularly.
Tips & Tricks
So that the pumpkin seedlings in the pot make even more effort in developing their own root system, clever hobby gardeners use the following trick. Spread a thin layer of nutritious compost at the bottom of the growing pot. The young plants will do everything they can to get there with their tender roots.

