- Author admin [email protected].
- Public 2023-12-16 16:46.
- Last modified 2025-06-01 06:02.
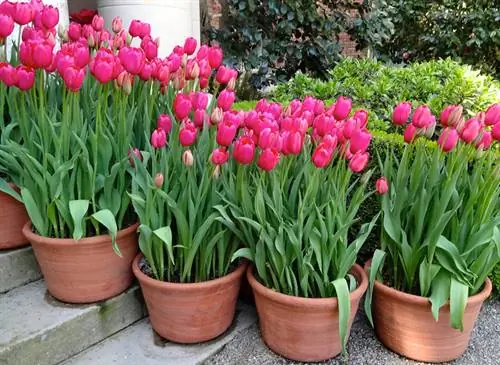
With tulips you can conjure up picturesque flower arrangements in the pot. To ensure that the decorative effect is impressively highlighted, creative hobby gardeners plant tulip bulbs using a sophisticated system. We reveal the secret behind a fantastically beautiful tulip blossom in a pot.
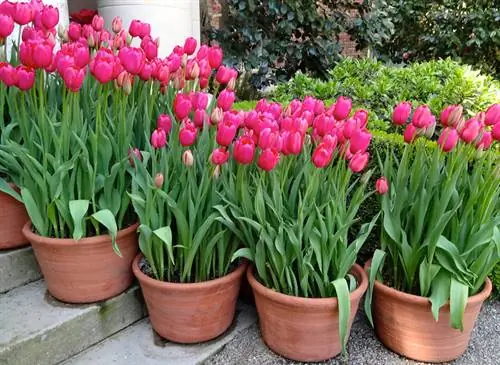
How do you successfully plant tulips in a pot?
To successfully cultivate tulips in pots, you should plant small-growing tulip varieties and wild tulips in layers in autumn. Fill the thick-walled pot with drainage, protective fleece and peat-free potting soil. Provide additional winter protection through fleece or bubble wrap.
The best tulip varieties for the pot - a hand-picked selection
Tulip varieties that grow to a maximum height of 30 cm are particularly suitable for pot cultivation. Therefore, when choosing tulip bulbs, look out for these types and varieties:
- Water lily tulip (Tulipa kaufmanniana), with a height of 25 to 35 cm
- Lady tulip (Tulipa clusiana), with a height of 20 to 25 cm
- Multi-flowered wild tulip (Tulipa praestans), with a height of 15-20 cm
- Fire tulip (Tulipa whittallii), with a height of 25 to 30 cm
In general, it is the diverse wild and dwarf tulips that feel extremely comfortable in the pot thanks to their low height of 10-15 cm and robust constitution.
Planting time is in autumn
Regardless of whether you cultivate tulip bulbs in a container or outdoors, autumn is considered the optimal planting time. The cold stimulus during winter is essential for flower induction. Plant your tulip favorites in the pot from mid-October at the earliest. In the weeks before, warm weather could cause premature budding.
Planting in layers for an opulent appearance - here's how it works
The ideal container for tulip bulbs is thick-walled, relatively low in height and large in diameter. One or more floor openings are essential for water drainage. Place a few pieces of pottery or pebbles on top as drainage to prevent waterlogging. Before you fill in the substrate, please spread an air- and water-permeable fleece (€34.00 on Amazon) over it so that the material does not become muddy. How to start planting:
- Pour a first layer of loose, peat-free potting soil over the drainage
- Distribute higher growing tulip varieties close together on this first layer
- Pour another layer of substrate on top
- The soil cover is twice the height of the tulip bulbs
- The dwarf and wild tulips have their place on this
The third substrate level is two to three times as thick as the flower bulbs are high. Orient each bulb so that the tip points toward the sky. In contrast to the bed, the tulips can be arranged close together in the pot as long as the onion skins do not touch each other.
Winter coat protects the pot from freezing frost
In the limited substrate volume and behind the relatively thin container walls, it could be too frosty for tulip bulbs. Since the necessary cold stimulus is not exerted when moving to winter quarters, we recommend light winter protection. Place the bucket in front of the protective south wall of the house, push a block of wood under it and wrap it with fleece, jute or bubble wrap.
Tip
You can create a colorful spring picture in the pot if you combine different bulb flowers with tulips. An arrangement of crocuses, grape hyacinths, small daffodils, checkerboard flowers, bluebells and tulips attracts everyone's attention on the balcony and terrace.

