- Author admin [email protected].
- Public 2023-12-16 16:46.
- Last modified 2025-01-23 11:21.
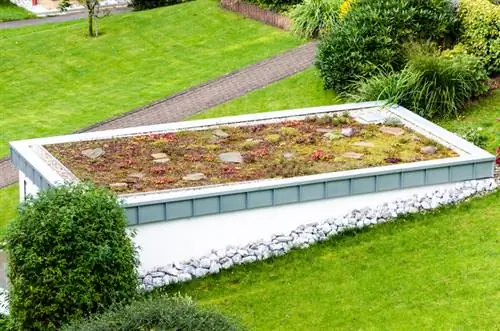
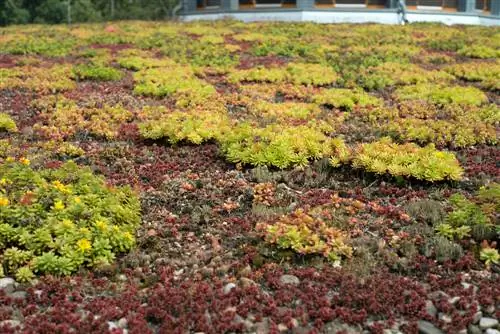
A green roof on the garage or carport roof not only looks beautiful, it also protects the material from UV light and weather, thus extending the longevity of your garage. It also filters fine dust and thus improves air quality. Greening a roof is also achievable for talented DIY enthusiasts thanks to complete sets available on the Internet. Find out how to do it step by step below.
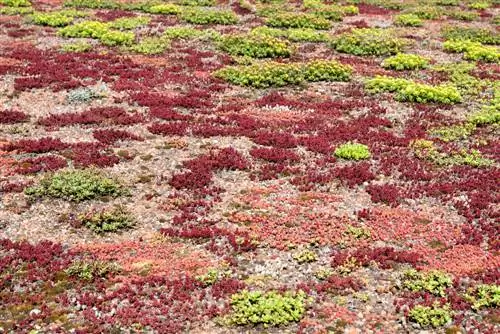
How can I make a green roof on my garage myself?
To create a green roof on your garage yourself, you need protective film, protective fleece, drainage elements, filter fleece, inspection shaft, gravel, substrate and plants. Clean the roof, lay the films and fleeces, install the inspection shaft, distribute substrate and plant the plants.
Check statics
Before you add greenery to your garage, you should make sure that your garage roof can withstand the weight of the green roof. With extensive green roofing you can assume a weight of at least 40kg per square meter, with intensive (thicker) roof greening the weight can be up to several hundred kilograms per square meter on the roof. Since a garage roof is not designed to withstand such loads, extensive greenery is recommended.
Instructions for greening a garage
- Protective film and/or root protection film (if necessary)
- Protection and storage fleece
- Drainage elements
- Filter fleece
- Inspection shaft
- gravel
- Substrate
- Plants or seeds
- Broom
- Cutting device (e.g. cutter knife)
- Calculations
- Spade
1. Clean roof
First, sweep the roof thoroughly and remove leaves, sand and other debris.
2. Lay protective film
The protective film protects the roof from dirt, moisture and also from potentially aggressive roots. A root protection film is particularly recommended if you want to plant larger plants or even shrubs. However, this is not recommended for a garage roof in order to avoid excessive weight.
The protective film is laid over the edge. If several protective films have to be used, an overlap of approximately one and a half meters must be maintained.
Cut holes in the foil at the location of the water drains so that the drain remains functional.
3. Laying protective fleece
Now lay the protective fleece without wrinkles and with an overlap of 10cm. Cut the flow here too.
4. Lay drainage, filter fleece and inspection shaft
Now lay the drainage elements. The individual panels are either pressed into each other so that the overlap is natural or they should overlap by a few centimeters. Again, the process must be left free.
The final layer is the filter fleece, which prevents the drainage from becoming clogged. Here too, pay attention to the overlap and the flow.
Now place the inspection shaft on the drain opening and attach the shaft cover. Gravel is generously placed around the inspection shaft.
5. Substrate and plants
Now distribute the substrate evenly over the roof using a spade and rake. The plants or seeds can then be planted immediately. Last but not least, they are watered generously.
Tip
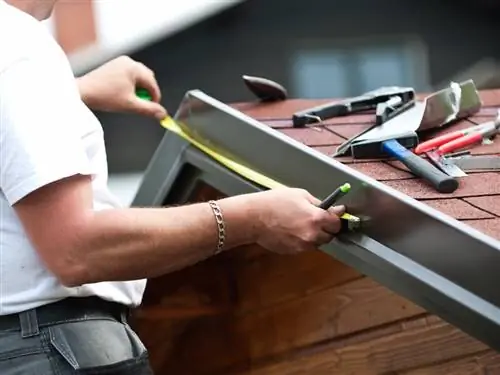
Be sure to pay attention to your safety when adding greenery to your garage roof.

