- Author admin [email protected].
- Public 2023-12-16 16:46.
- Last modified 2025-01-23 11:21.
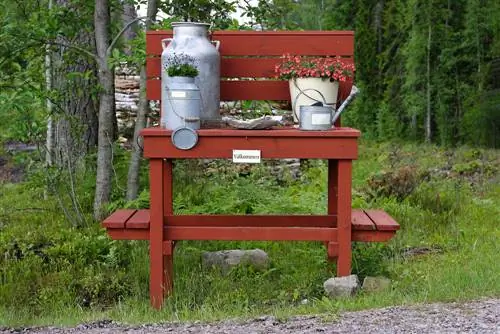
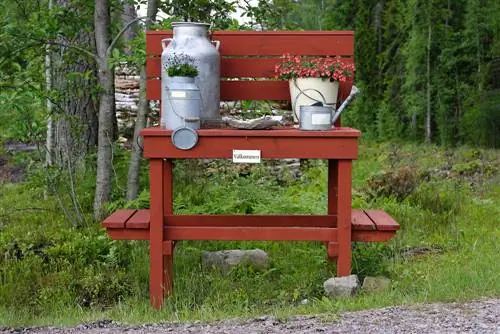
Milk jugs are no longer used these days, but they look decorative and evoke melancholic feelings. They are therefore often used as a decorative element, for example as a flower pot. Below you will find out what you should pay attention to if you want to plant your milk jug.
How to properly plant a milk jug?
To plant a milk jug, you should drill holes in the bottom, protect the jug from rust, add a drainage layer and plant suitable plants in suitable soil. A margin of at least two centimeters should be maintained for watering.
Prepare the milk jug
If you want to enjoy your planted milk jug for a long time, you should prepare it accordingly. Milk jugs are almost always made of metal and metal is known to rust over time. If that doesn't bother you or you're even a fan of rusty shabby-chic decorative elements, just skip to the next point. However, if you want to prevent rusting, you should protect your milk jug. If you want to use it indoors, protection on the inside wall is sufficient; if you want to place the milk jug in the garden or on the terrace, you should also treat it from the outside. To do this, simply paint it on the outside with a waterproof metal paint (€79.00 on Amazon) for outdoor use. This can be transparent or colored.
There are various methods available to protect the inside of the pot from moisture:
- Apply a waterproof varnish to the inside too.
- Line the inside of your milk jug with a waterproof film, e.g. pond liner.
- Place a waterproof container in your milk jug and plant it.
Drainage: Is it possible without it?
In principle, it is recommended to still plant every flower pot with drainage to prevent waterlogging. This is especially true outdoors, where rain falls from the sky and can flood the milk jug. If you only use your milk jug indoors, you may be able to do without drainage, but you should water with great sensitivity and definitely ensure there is a drainage layer in the jug.
Planting the milk jug step by step
- Drill one or more holes in the bottom of the milk jug using a metal drill.
- Paint and/or line your milk jug as described above.
- Cover the drainage holes with potsherds or larger stones to prevent them from clogging.
- Put a one to several centimeter thick layer of pottery shards, pebbles or expanded clay into the pot.
- Then fill it halfway with soil and insert your plant(s).
- Then fill the free spaces with soil. Make sure that there is a margin of at least two centimeters between the soil and the edge of the milk jug so that you can water well.

