- Author admin [email protected].
- Public 2023-12-16 16:46.
- Last modified 2025-01-23 11:21.
Grafting the walnut tree brings several advantages: an earlier first and better quality harvest and optimized resistance to pests and diseases. It's good that there are also simple methods of grafting that laypeople can try. We present you one option: house finishing.
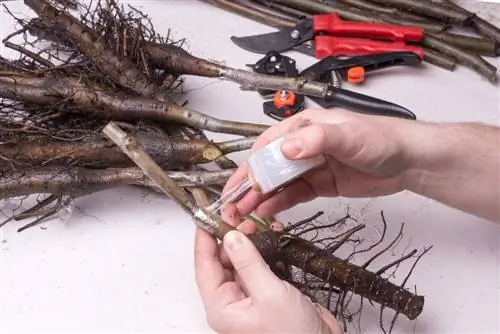
How do you graft a walnut tree?
To graft a walnut tree, choose December and follow these steps: Preparatory phase with dig up and prepare the young plant, wait for bud formation, cut and connect scions, seal with liquid wax and continue care in a bright room.
Grafting the walnut tree step by step
First of all, note that December is the best month to graft the walnut (but only if there is no ground frost). Please also note that the tree must be one to two years old (pulled from a nut) before you can graft it.
Preparation phase
- Dig the young plant and its roots out of the ground.
- Short the seedling to a length of approximately 15 centimeters.
- Remove the side shoots.
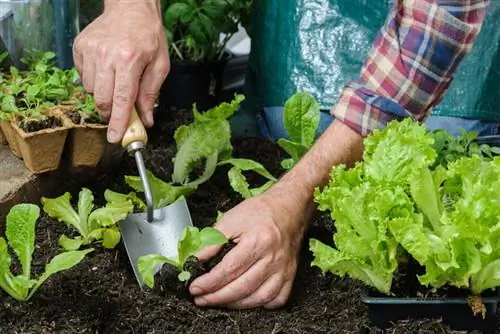
- Plant the prepared seedling in a pot filled with soil.
- Put a clear plastic bag over the plant. This creates moisture and warmth, which promotes rapid bud formation.
- Place the pot in a bright room (temperature: around 20 degrees Celsius).
- Keep the soil constantly moist.
- The first buds will open after two to four weeks. Then the walnut is ready for the actual finishing.
Refining
- Saw a scion from your seedling. This scion is an approximately 50 centimeter long shoot from the crown that grew the previous year.
- Find a spot on the plant that corresponds to the thickness of the scion.
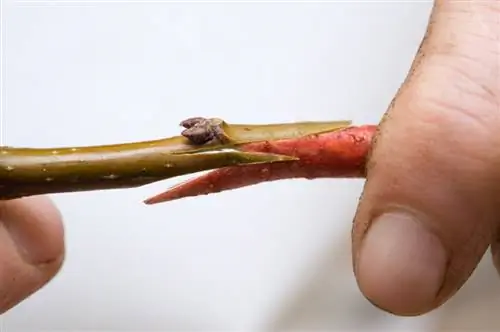
- Cut the shoot diagonally (30 degree angle) at this point. Make sure that there is a cutting scar of around five to seven centimeters.
- Short the scion to a length of ten centimeters. Important: You must also cut it at a 30 degree angle.
- Place the two incision scars directly on top of each other.
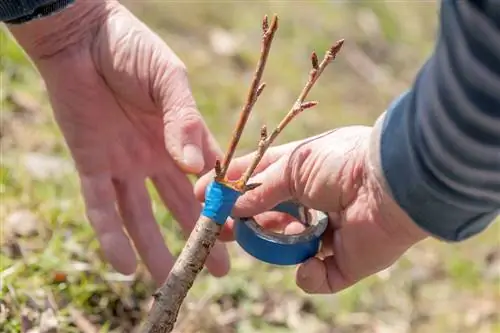
- Stabilize the “weds” with an elastic band or a rope.
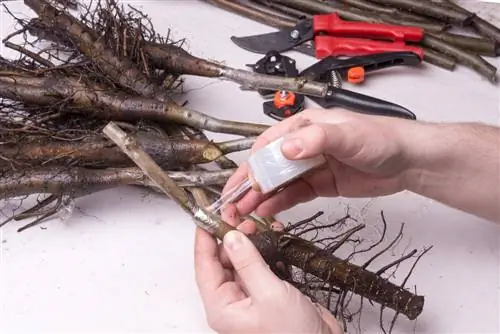
- Seal the connection. To do this, use warm liquid wax (€17.00 on Amazon).
- Place the grafted seedling in a bright, warm place in the apartment.
- Check the plant regularly. Immediately cut off potential shoots below the grafting point.
- After two to three months, remove the plastic bag (when the first leaves sprout).
Final phase
- Place the pot in the greenhouse until mid-March or (if one is not available) in a semi-shady place in the garden instead. In the case of the second variant, the seedling always has to go into the house at night (frost protection).
- As soon as there is no longer any risk of ground frost, you can plant the grafted walnut in the garden.

