- Author admin [email protected].
- Public 2023-12-16 16:46.
- Last modified 2025-01-23 11:19.
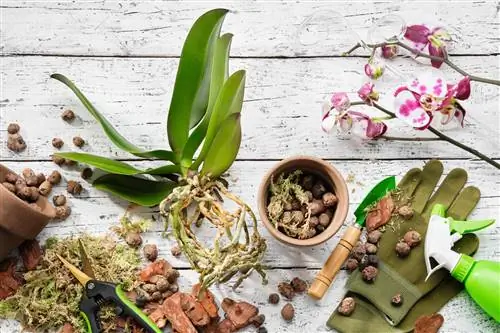
Planting instructions always mention expanded clay. It looks completely different than conventional potting soil. That doesn't make him any worse, quite the opposite. Its useful properties make up a long list. It can also develop its potential in a bucket.
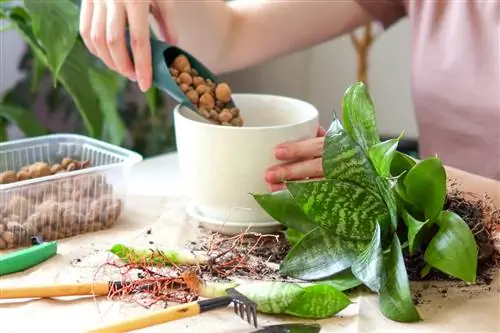
How can I plant a pot with expanded clay?
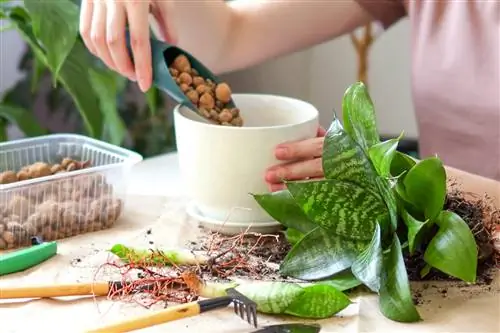
As adrainage layer, add a 5 cm high layer of expanded clay at the bottom of the bucket. As asubstrate admixture, the expanded clay content may be around 10%. Forhydroponicsyou can only use expanded clay. A 2-3 cm highexpanded clay mulch layer in the root area prevents pests from settling.
What is expanded clay and what properties does it have?
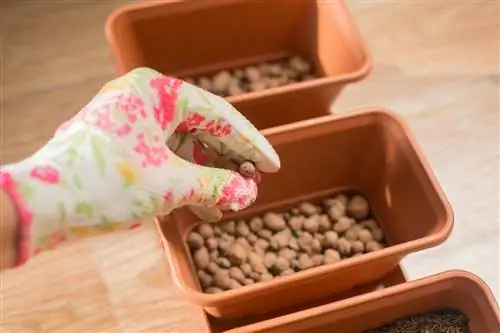
Expanded clay, or clay granules, arered-brown, bloated balls. They are completelysafefor pot planting because only natural materialclay is used to make them. Its properties are almost entirely advantageous:
- doesn't mold
- does not change the pH of the soil
- does not compact
- is completely weatherproof (can also be used outside)
- does not decompose
- is permeable to water
How do I use expanded clay as drainage in the bucket?
Almost every container planting requires a drainage layer to prevent root-damaging waterlogging. Expanded clay is ideal for drainage, but you should use it correctly:
- cover larger drainage holes with pottery shards
- then pour expanded clay into the bucket
- The height of the layer depends on the size of the bucket, on average it is about 5 cm
- place a cloth on the expanded clay as a separating layer
- then fill up the substrate, if necessary only halfway at first
- finally carry out the planting
The bucket does not have to have holes for indoor use, but they are mandatory for outdoor use so that rainwater can drain away.
How do I properly use expanded clay for hydroponics?
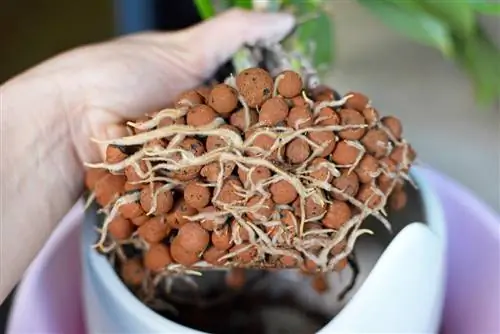
For hydroponics you need a special container construction with a water level indicator.
- Soak the expanded clay for about 12 to 24 hours.
- Pot out the plant.
- Shake off the soil and then rinse the roots with lukewarm water until there is no more soil attached to them.
- Place the plant in the middle of the inner pot.
- Position the water level indicator in an easily visible location.
- Fill the pot with expanded clay. Shake the pot vigorously every now and then so that the beads are distributed evenly and no cavities are created.
- Pour water into which you have previously dissolved a nutrient solution.
Which grain size should I choose for the bucket?
You can add fine grains with a diameter of 1 to 4 mm to the plant substrate for houseplants to loosen them up. The medium grain size of 4 to 10 mm is ideal for pure hydroponics and as a drainage layer. For planting in a large pot, the coarse grain size, 10 to 20 mm, can also be used as drainage.
Tip
Seramis is not an alternative to expanded clay
Seramis and expanded clay are often assumed to have similar properties because they have some visual similarities. But unlike expanded clay, Seramis can store a lot of water and is therefore not suitable for hydroponics.

