- Author admin leonars@hobbygardeners.com.
- Public 2023-12-16 16:46.
- Last modified 2025-06-01 06:02.
The soil in a vegetable garden requires intensive care if the plants are to thrive on it and bear plenty of fruit. This soil care includes work such as digging, i.e. deep loosening, but also fine tillage directly before planting. Digging has many advantages, but it is not useful in every garden or in every case.
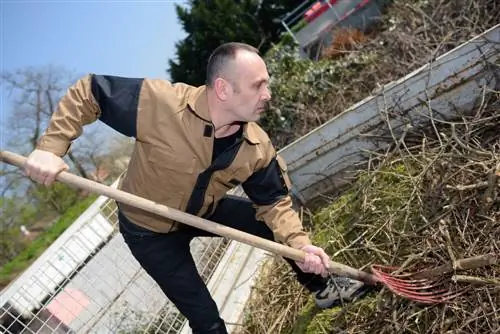
When and how should you dig up a vegetable garden?
Digging up a vegetable garden serves to loosen and mix the soil and remove weed roots and stones. This should be done in autumn or winter and after two weeks of rest, fine soil cultivation and compost incorporation can follow in spring.
New beds definitely have to be dug up
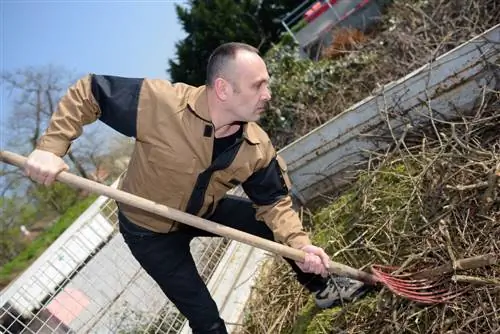
Unless you have just removed the topsoil and applied fresh topsoil (for example when converting a lawn into a vegetable garden), all fresh beds and planting areas must first be thoroughly loosened. In general, digging up all newly cultivated soil is advisable - including carefully picking out weed roots and stones. A good spade (€29.00 on Amazon) or a digging fork as well as a sow tooth and rake are sufficient for digging, but a powerful motor hoe also does a good job.
It's best to dig up the soil in autumn or winter
Digging up or other methods of deep loosening will also later be part of the necessary annual routine for beds with annual vegetables and herbs. It is best to do this work in the fall after the beds have been harvested. But even in late winter - if the weather is good as early as January - digging is still possible and then even has the advantage that overwintering snails and other soil pests are removed at the same time.
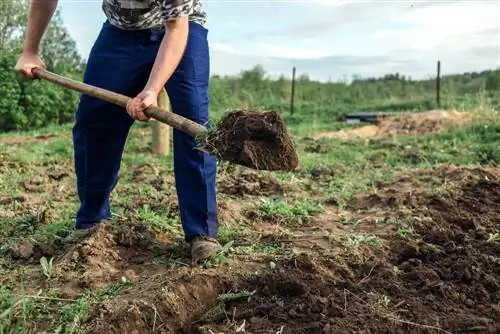
Digging up the garden soil - this is how it works
Digging ensures good mixing and aeration of the soil. In addition, root weeds and stones can be carefully removed. However, do not till the bed immediately after digging, but rather let it rest for about two weeks. This deadline is particularly important to observe when planting in the fall. Also carry out the tillage when the soil is slightly moist, but never wet. Otherwise, there is an increased risk that the wet earth will become further compacted. And here's how to best proceed when digging:
- Dig out the soil in rows with the spade.
- You cut off clods that are as wide and as deep as the spade blade itself.
- The clods of the first row are placed at the edge of the row when digging.
- As a result, a shallow ditch is created.
- Now cut off the clods of the second row.
- Turn it over and place it in the trench on the first row.
- Continue like this row by row until the bed is dug up.
- Finally, distribute the clods from the first row evenly over the bed.
Fine tillage takes place in spring
The resulting coarse clods are automatically crushed by the winter frosts, and then in the spring the fine soil cultivation takes place, where you proceed as follows:
- Crush the coarse chunks of earth.
- Loose the top layer of soil again.
- Remove all weed roots.
- Level the ground with a rake or rake.
- There will still be a lot of coarse lumps left,
- work the soil again with a cultivator.
- Then ripe compost can be incorporated straight away.
Tip
Light or humus-rich, medium-heavy soils should not be dug up. Digging here can cause the humus to break down more quickly. It is better to loosen these soils with a digging fork (but without turning the soil!) and a sow tooth.

