- Author admin [email protected].
- Public 2023-12-16 16:46.
- Last modified 2025-06-01 06:02.
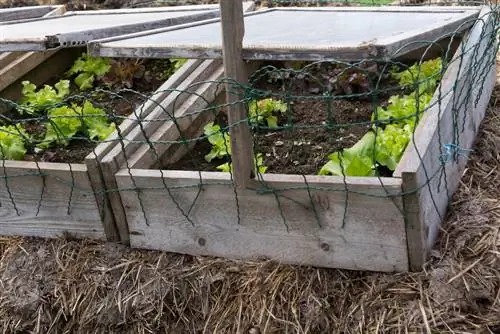
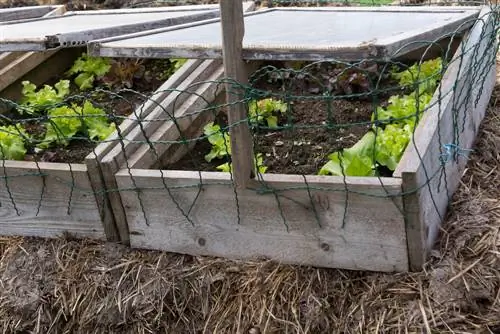
With a cold frame, everything in the garden is in the green. Equipped with natural heating, young plants thrive here when there is still or again snow outside. Reason enough for the home gardener to finally purchase the magic box. These building instructions explain how you can build your own cold frame out of wood.
How do I build a cold frame out of wood myself?
You can build a cold frame made of wood yourself using old windows, wooden boards, squared timbers, wood preservative, hinges, nails or screws and tools such as a hammer, saw, screwdriver, folding rule and spirit level. First cut the boards, then assemble the cold frame and cover it with the windows.
Material and tools - a list for bargain hunters
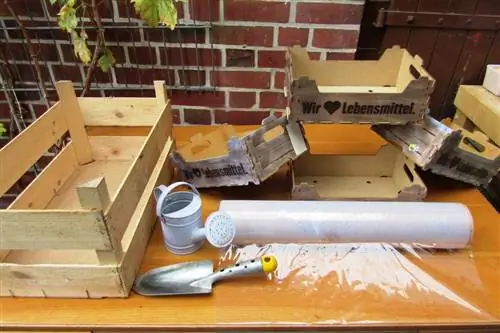
To add a cold frame to your garden, you can dig deep into your pockets and purchase a pre-assembled kit. You can do it cheaper and with a lot of fun by finding wood and accessories at suitable locations and assembling them step by step according to these building instructions. This material and tool list lists all important components:
- 1 or more disused windows with wooden frames (from a recycling center, flea market or demolition company)
- 8 wooden boards with at least 20 mm thickness (ideally spruce, larch, Douglas fir or oak)
- 4 squared timbers
- Wood preservative with brush (product with the 'Blue Angel' environmental seal)
- Hinges
- Nails or screws
- Hammer, saw, screwdriver, folding rule, spirit level
Instead of installing wooden windows, you can also create the cover yourself. This can be achieved, for example, with round rods made of 6 mm spring steel or brackets for polytunnels and weatherproof greenhouse film. At the end of these building instructions you can read how to properly assemble this unbreakable alternative.
How to build a cold frame made of wood - step-by-step construction instructions
In the first step, saw the wooden boards to fit precisely. You match the length of 4 boards to the length and width of the window cover. Paint the cut slats and the window frames with an ecological wood preservative to protect the structure from rot. Proceed as follows:
- Cut the 4 boards for the front and back to a height of 35 cm at the front and 50 cm at the back
- Accordingly, cut the two upper slats of the side walls to match the gradient from the back wall to the front wall
- Screw the side walls, front and back walls together to form a box using the squared timbers
- Attach the window or windows with hinges to the rear wall so that the cover opens upwards
The gradient from the back wall to the front wall makes an important contribution to how a cold frame works. The slanted orientation optimizes the light output, which is vital for planting, especially in spring and autumn. It is important to ensure that there are no gaps in the construction so that the wind does not whistle around your plants' floral ears.
Which dimension is practical?
For effortless care work without contortions, we recommend a maximum depth of 100 cm. This way you can easily reach any plant from the edge. With a length of 200 cm, your cold frame has a floor space of 2 square meters, which is completely sufficient for getting started with lettuce, carrots and radishes.
Build your own cold frame cover - This is how it works
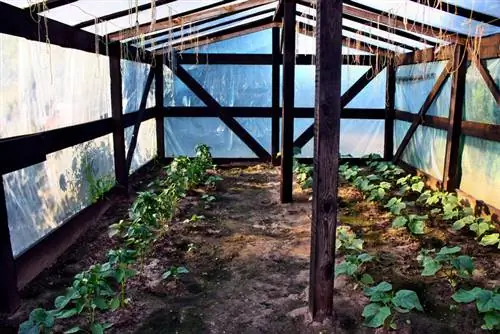
Are old windows hard to find, new windows too expensive or are you concerned about the risk of breakage? Then build the cover for your cold frame yourself. Instead of using wooden glass windows, use round rods made of spring steel or the brackets for a polytunnel. This has the advantage that you can flexibly adjust the height to the desired planting. For example, tomatoes can also be grown in the cold frame.
Brackets for polytunnels have the advantage that they already have loops for attaching a weatherproof greenhouse film. The aluminum rods are inserted into the ground and the foil is pulled over them. Rubber mounts provide the necessary stability.
Choose and prepare a location - How to do it right
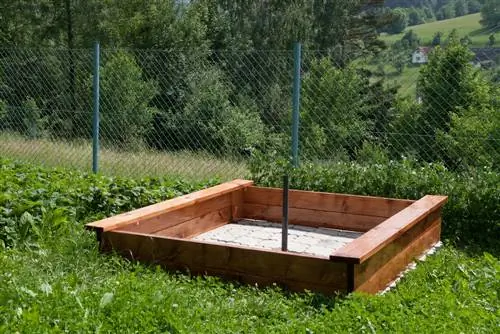
A planned choice of location and correct soil preparation contribute significantly to the efficiency of a wooden cold frame. To ensure that seedlings and young plants thrive here even in adverse weather conditions, the location in the garden should be sunny and protected. Due to the slanted shape, the plants make optimal use of even the smallest amounts of light. Natural heating provides the necessary warmth. How to set up a cold frame correctly:
- Dig a 40 to 50 cm deep pit in a sunny, warm location in the garden
- Fill horse manure with straw bedding up to a height of 20 cm
- Alternatively use cow manure with straw or leaves
- Place a 20 cm thick layer of garden soil and compost on top
The large crowd of busy soil creatures immediately start work and decompose the nitrogen-rich horse dung. Within a week, this process creates a pleasant warmth that rises to the surface. Sown seeds and planted young plants can already thrive in the protection of the cold frame when the garden is still in deep hibernation.
Tip
The wooden cold frame is not only the ideal growing area for sowing, growing and planting. The protected conditions are perfect for hardening off overwintered plants or plants grown on the windowsill. To acclimatize, small plants stay in the cold frame for 10 days so that the drastic change in temperature from the house to the garden is cushioned.

