- Author admin [email protected].
- Public 2023-12-16 16:46.
- Last modified 2025-01-23 11:21.
When planning a garden, everyone probably has the ideal scenario in mind: an attractive bed and green area all year round. However, this ideal does not always match the local conditions. In very sunny regions where the soil is heavily compacted or very poor and sandy, conventional planting requires a lot of maintenance. A gravel bed is a visually very appealing solution that requires little work and is at the same time very trendy when it comes to garden design.
How do I create a gravel bed?
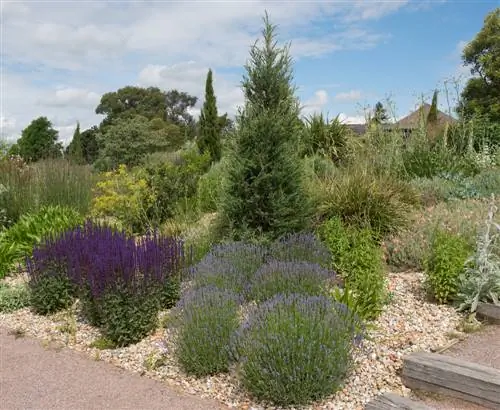
To create a gravel bed, dig the ground to a depth of 25-30 cm, remove weeds, fill the pit with gravel and topsoil mixture and lay out a weed fleece. When planting, cut the fleece in a cross shape, insert the plants and spread decorative gravel as a cover.
Planning a gravel bed
As with all garden design measures, creating a gravel bed begins at the desk. There are various points to consider when planning your garden:
- The location conditions: Should the bed be planted in a full sun area, in the front garden or in the shade of the house?
- The soil condition: Is the subsoil rather dry, sandy and poor in nutrients or is there a risk of waterlogging?
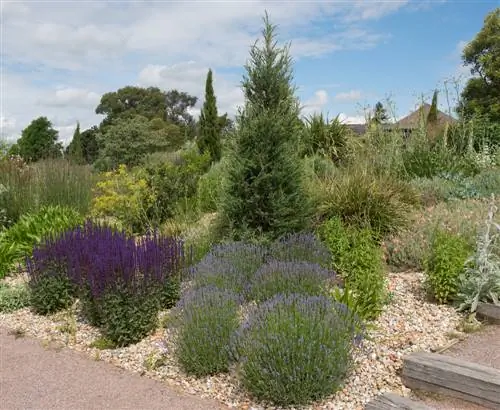
- The look: A gravel bed can be laid out like a structured Japanese-style garden or, for example, conveys the illusion of a Mediterranean or Alpine landscape.
- Do you prefer the clear shape of a straight surface or would you like small elevations and perhaps even an artificial stream to loosen things up?
Be sure to measure the space available and draw a precise plan based on your considerations. Not only should the shape of the bed be recorded, but also the exact location of the individual plants. When planning, be sure to consider the subsequent space requirements of the plants.
Which ornamental gravel suits your garden planning
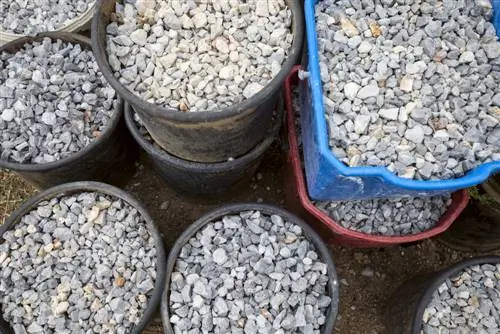
How the future bed should look is important for choosing the right decorative gravel. Reddish and brown varieties go well with Mediterranean design, while white tones underline the linear and design-oriented charisma of Japanese gardens. Gray-black nuances look best in the Alpine garden.
Here are some of the most common varieties and their coloring:
- Carrara marble: bright white
- Quartz: black and white, with pretty veining
- Rose quartz: delicate rose
- Natural granite: gray speckled
- Glacier gravel: colorful natural tones
- Bas alt: deep black
Decorative gravel is available rounded or sharp-edged and in different grain sizes, which also affects the overall appearance.
Laying out the gravel bed correctly
Materials needed
- Shovel
- sharp knife
- Decorative gravel or chippings
- Plants
and depending on planning:
- Drainage sand or topsoil
- Weed fleece
- Pond Liner
How deep does the bed area have to be dug?
Mark the outline of the bed with a thread frame, this makes this work much easier. Within the marking you must dig the ground at least 25 centimeters deep, or even 30 centimeters would be better. Be sure to remove all weeds. If the excavation consists of pure topsoil, half of it is mixed with gravel and filled into the resulting pit. Keep in mind that there is a layer of gravel on top, which should be level with the other surfaces.
With sandy soils, there is no need to ask how deep you have to dig, because they already have the optimal soil structure. This is just digging deep. In the course of this work, read out all root residues.
Paths or garden runs
If you have planned a path in the garden that will lead through the gravel bed, or if you would like to create a watercourse, now is the right time to do so. Even if larger boulders or stones are to be used to structure the bed, you can now distribute them in the appropriate places.
Which plants are suitable?
The planting is based solely on which natural area you want to imitate with your gravel bed.
Plants for dry shade (front yard)
- Spurge family ((Euphorbia amygdaloides)
- Comfrey (Symphytum azureum)
- Red Veil Fern (Dryopteris erythrosora)
- Foxglove (Digitalis ferruginea)
The alpine gravel bed
- Gentian (Gentiana)
- Edelweiss (Leontopodium)
- Purple Alpine toadflax (Linaria alpina)
- creeping or small pine species
The Japanese-style bed
- Phlox divaricata
- Funkie (Hosta)
- Japan anemone (Anemone japonica)
- as well as regularly pruned trees such as magnolias, Japanese maples or bamboo.
Mediterranean planting
- Lavender (Lavandula angustifolia
- Palm lily (Yucca filamentosa)
- small iris (Iris barbata-nana)
- Feather carnation (Dianthus plumarius)
These are just examples, you can find many other plants in specialist shops that fit harmoniously with the planned look of the bed. The design with grasses also looks extremely attractive.
Introducing the plants
To do this, first place the plants and their pots in tubs filled with water and wait until no more air bubbles rise from the pot ball. During this time you can cover the bed with the fleece. Then distribute all the plants on the fleece as planned in your plan.
- At the point where you want to plant the plants, the fleece is now cut in a cross shape with the knife.
- Using a small hand shovel, dig a pit that should be about 1.5 times the size of the root ball.
- Plant, press the soil carefully.
- Spread the fleece around the plant again.
Gravel
Only then is the gravel distributed over the entire bed. The gravel layer should be at least five centimeters thick. Protect small plants with an upturned flower pot or bucket so that you don't accidentally cover them with stones.
The border
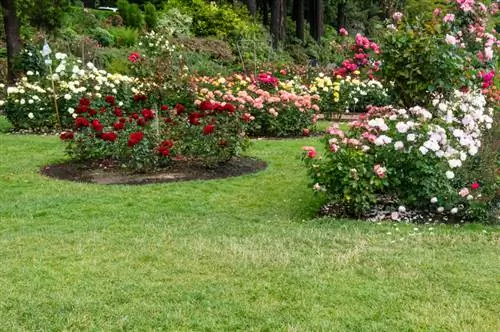
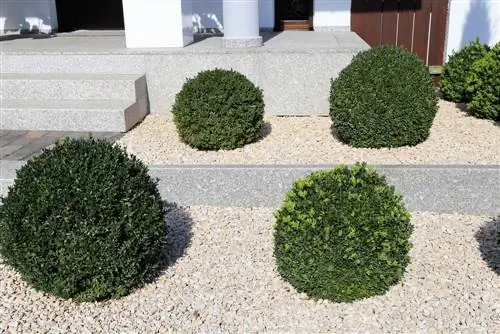
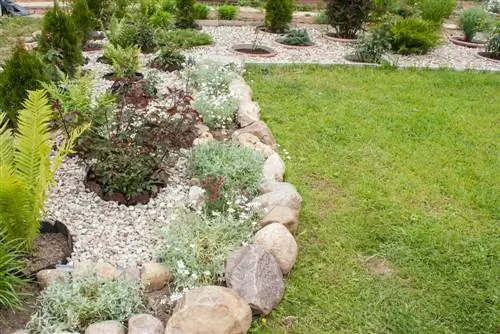
Especially if the gravel bed borders green areas in the garden, a stable border is recommended. A stone edging in the same tone as the gravel looks very visually appealing.
Tip
The gravel bed only needs to be watered regularly during the growing period. Afterwards, with the exception of longer dry periods, you can forego additional watering.

