- Author admin leonars@hobbygardeners.com.
- Public 2024-01-05 20:48.
- Last modified 2025-01-23 11:21.
Planting a planter isn't difficult, is it? In principle not, but you should keep a few points in mind so that the plants thrive. Find out below what to pay attention to when planting and how to proceed step by step.
How do you plant a planter correctly?
To plant a planter, you need a sufficiently large pot, the right soil, plants and, if necessary, decorative elements. It is important to have good drainage through drainage holes and a drainage layer made of expanded clay or mineral granules to avoid waterlogging.
How big should the planter be?
If you only want to use your planter for one plant, it should always be significantly larger than the flower pot in which the plant is delivered. If you plant several plants in a planter, you should leave some space between each flower so that they can spread out.
Where should the planter be?
Where the planter should be placed depends primarily on the plants you choose. Some green plants and herbs do better in partially shaded locations, while many flowers thrive best in the sun. Here is an overview:
The drainage for the plant pot
Good drainage is essential, especially if the planter is to be placed outdoors and is therefore exposed to rain. Drainage consists of two parts: the water drain in the bottom of the plant pot and the drainage layer in the pot.
Planting the planter step by step
This is what you need:
- Potter shard or drainage grid
- Expanded clay or mineral granules
- Drainage felt
- Garden soil or potting soil
- Plants
- possibly decorative elements
1. Drainage
Cover the drainage holes in the bottom of the planter with upward curved pottery shards or a drainage grid so that they cannot become blocked. Then add an approximately 5cm high layer of expanded clay or mineral granules to the bucket. To prevent the soil from mixing with the drainage layer, you can cover it with a drainage felt.
2. Fill the plant pot
Fill the plant pot about two thirds with soil (€10.00 on Amazon) and distribute the plants. Then fill in the remaining soil. Leave a pouring edge of about three centimeters.
3. Decorate
Now you can decorate your planter with decorative elements such as stones, roots or figures and/or cover the soil with mulch or pebbles. This looks pretty and prevents moisture loss.
The most beautiful design ideas for the plant pot
You can create true works of art, especially with larger plant pots. Combinations of green plants or grasses and flowers are classic. But you can also get even more creative. Here are a few nice ideas:
- The stone landscape in mini format: A desert-like mini landscape can be created with succulents, cacti, larger stones, roots and pebbles.
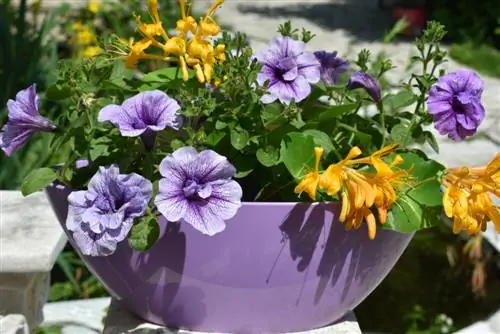
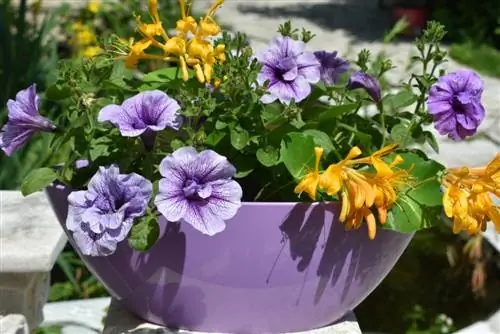
- The colorful splash of color: Combine different flowers of different heights in different colors. Plant the larger ones in the middle. It looks particularly nice if you place hanging climbing plants or ground cover plants on the edge that grow over it and hang down.
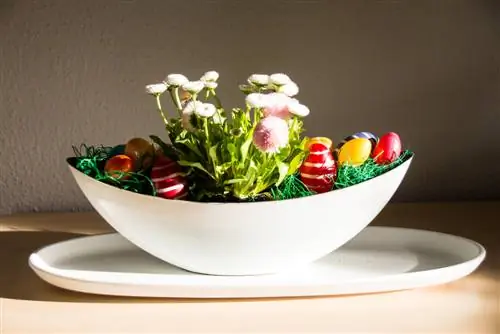
- The spring bucket: In spring, put various spring bloomers such as daffodils, hyacinths, violets and others in the bucket, cover the soil with moss and decorate with Easter figures.
- House and garden: Do you have a beautiful toy house, preferably made of wood, at hand? Then create a green mini-landscape with paths made of pebbles and trees and bushes made of flowers or mini-shrubs. You can recreate beds with fine ground cover plants such as the Bubikopf.

