- Author admin leonars@hobbygardeners.com.
- Public 2024-01-02 03:03.
- Last modified 2025-06-01 06:02.
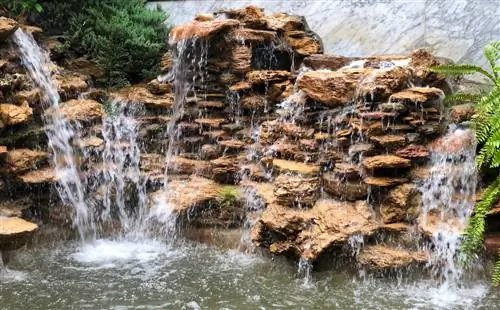
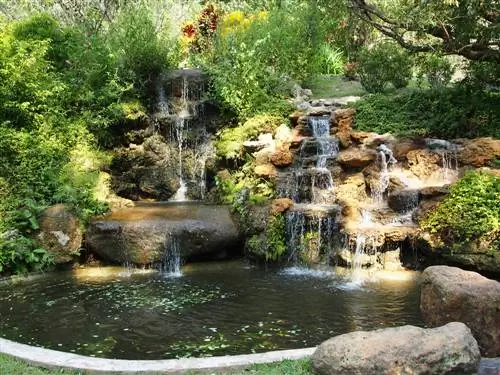
No question: an artificial waterfall made of natural stones looks particularly natural and is an attractive eye-catcher in the garden. However, natural stone chunks are not only heavy and - depending on their size and weight - quite unwieldy, they also cost a lot of money. With self-built artificial rocks, however, you save both your energy and your wallet.
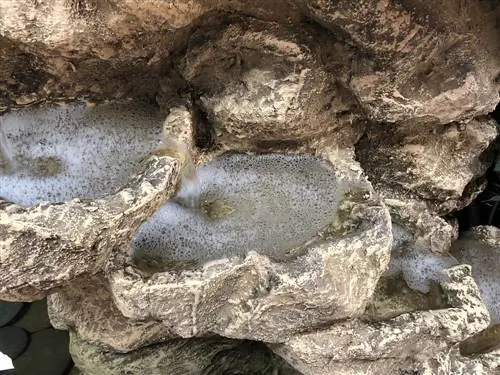
How can I build an artificial rock for a waterfall myself?
To build an artificial rock for a waterfall yourself, you need Styrofoam, PP or PE film, rabbit wire, self-mixed mortar, epoxy resin and fine granite sand. Make the basic structure out of Styrofoam, cover it with foil and rabbit wire, model the surface with mortar and add structure with aluminum foil and spatula.
It's so easy to make artificial rocks yourself
You can buy artificial rocks at hardware stores or garden stores - or make them yourself using simple means. And this is how it works:Basic materials you need are Styrofoam (€7.00 on Amazon), possibly PP or PE film, rabbit wire, mortar mixed yourself from trass cement, sand and tile adhesive, as well as epoxy resin and fine granite sand. The quantities depend on how large the artificial rock(s) should ultimately be. The mortar mixture consists of one part trass cement, three parts sand, one part tile adhesive, water and a splash of dishwashing liquid and should be easy to knead. The basic structure of the artificial rock consists of the appropriately stacked and cut Styrofoam, which was first wrapped in foil and then with rabbit wire. The wire essentially serves for stabilization.
- Then apply several layers of mortar, allowing each individual layer to dry thoroughly.
- With the last layer you finally model the surface of the “rock”.
- To do this, first smooth the modeling clay with a wet brush.
- Now crumple up a piece of aluminum foil and use it to work on the rock surface.
- So you can create irregular structures like a real rock.
- Now let the “rock” rest for a day until the material has become somewhat solid.
- Now dig in the typical depressions and grooves with a spatula.
- Smooth the rock with coarse sandpaper.
- Now paint the finished artificial rock with epoxy resin or clear parquet varnish.
- Sprinkle the fine sand using a sieve.
- Let the rock dry thoroughly.
The finished rock or rocks can now be used for decoration or to build a waterfall.
Tip
To make the artificial rock look even more real, you can also paint it in dark colors with heavily diluted tinting paint. Make sure to color depressions darker than higher areas. How to achieve more depth.

