- Author admin [email protected].
- Public 2023-12-16 16:46.
- Last modified 2025-01-23 11:21.
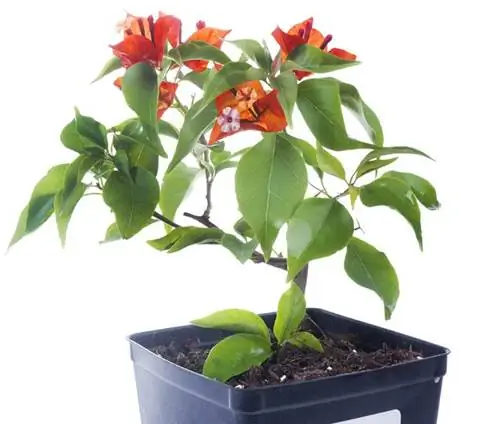
Propagation from cuttings is a common method for many potted plants. Bougainvilleas can also be propagated in this way. It's not easy - but we'll explain how you can do it.
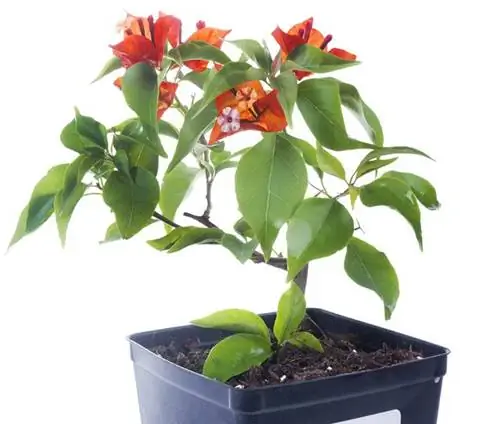
How do I propagate bougainvillea cuttings?
To propagate bougainvillea cuttings, choose a 30 cm long, mature shoot in spring or summer and place it in a growing bed with increased soil heat (30-35°C) and rooting powder. Create a warm, humid climate and wait several months for rooting before hardening off and transplanting the cutting.
The procedure for planting cuttings
In principle, the propagation of bougainvillea cuttings works like it does with other cultivated plants: a shoot is cut and placed in a cultivation pot for its own rooting. However, this doesn't work so easily with bougainvillea. Above all, your cuttings need a lot of soil warmth - and over a long period of time. Appropriate equipment is therefore necessary and also some perseverance.
Basic principle of bougainvillea cuttings propagation:
- Cut the cutting and let it root in the seed tray
- Requirements for rooting: Lots of warmth and time
Step 1: Cut and plant cuttings
For the cutting, select a mature but not yet woody shoot about 30 cm long between the beginning of spring and mid-summer. Place this in a pot or a growing bed that offers increased soil warmth. The bougainvillea cutting needs around 30 to 35°C for rooting. So underfloor heating is virtually essential.
Rooting powder
To induce rooting, a hormonal rooting powder is also very helpful. Simply add it to the substrate.
Create microclimate
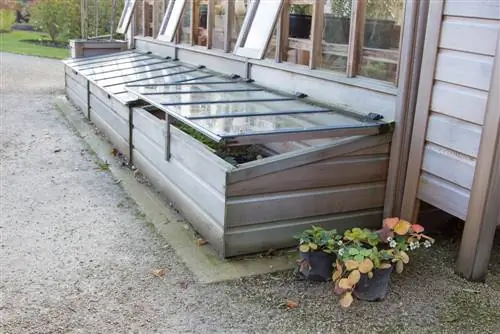
A warm, humid microclimate is also beneficial for its development - so ideally you should place it in a mini greenhouse. If you don't have one available, you can simply cover it with foil instead.
Step 2: Keep moist and warm - and wait
You need to have a lot of patience for the rooting - it can take several months. During this time you have to continuously maintain the warm and protected climate - so it's important to stay on the ball.
Step 3: Hardening off and transplanting
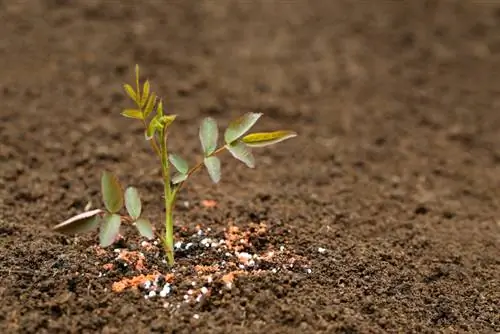
If rooting has finally been successful, you should immediately prepare the cutting for an independent life. This means toughening him up little by little. Start exposing it to greater fluctuations in light and shade and also greater differences in temperature. But don't be too brutal, but increase the new challenges gradually. When you feel that the cutting has become strong enough, transplant it into its own pot. It can now continue to thrive here.

