- Author admin [email protected].
- Public 2023-12-16 16:46.
- Last modified 2025-06-01 06:02.
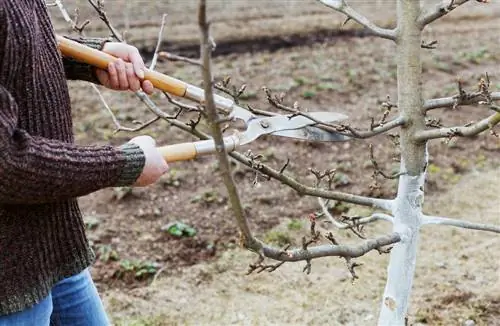
In numerous cutting instructions you can read that thick branches should be cut on Astring. This guide explains in detail what is behind the term “Astring” and how the cutting technique is skillfully applied.
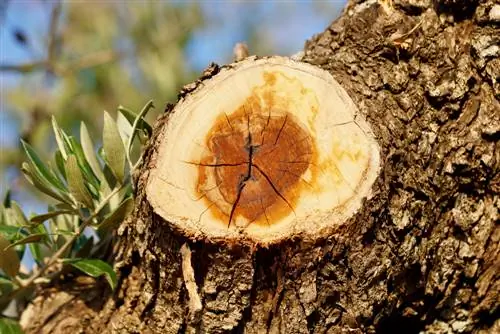
What is an astring and why is it important to cut on it?
A branch is a bulging thickening at the transition from the trunk to the branch that ensures stability, growth and wound healing. When cutting thick branches, it is important to cut on astring to avoid any injury and negative consequences to the tree or shrub.
What is an astring?
At the transition from the trunk to the branch there is a bulging thickening, which is known in technical jargon as an astring. This bulge contains a high concentration of dividing cambium, which plays a central role in wound healing. Furthermore, the Astring is responsible for providing the necessary stabilization at this statically heavily loaded point.
Cutting to Astring - how to do it right
Its important functions for stability, growth and wound healing leave no doubt that any injury to the branch ring can have fatal consequences for the affected tree or shrub. For this reason, many cutting instructions contain the advice to cut every thicker branch specifically to Astring. How to proceed professionally:
- Sharpen and disinfect the blade or saw blade
- Start from above just before the branch ring and saw off the branch in one go
- Smooth the edges of the wound with a knife or hippe
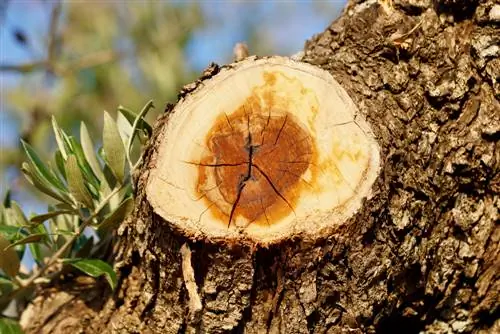
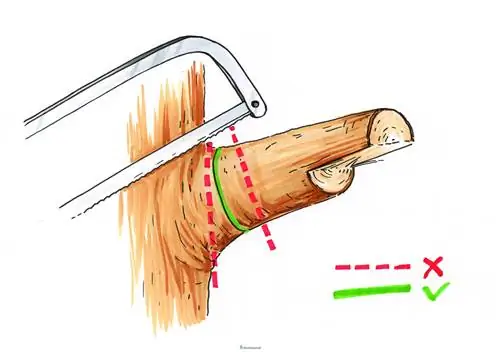
For fear of damaging the branch, gardeners sometimes cut too far away from the bead. What remains is a short or long stub, which subsequently dries up and rots. This creates a dangerous source of infection for diseases and pests. The image below documents how to do it correctly.
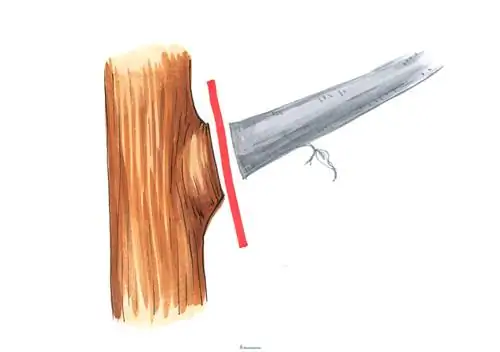
Place the saw at a short distance from the branch. The Astring itself must not be injured under any circumstances.
Cut thick branches step by step onto Astring - this is how it works
Heavy or particularly thick branches can break off in one go when cut and cause serious damage to the tree. You can avoid this disaster by cutting in several stages and on Astring. This is how it works step by step:
- Place the saw on the underside two hand widths from the branch ring
- Stabilize the branch with the other (gloved) hand
- Saw from below to the middle of the shoot
- Now place the saw 10 centimeters to the right or left on the top side
- Saw until the branch breaks smoothly
In the third step, focus on the remaining stub. Cut this off on Astring and smooth the edges of the wound with a knife or hippe.
Arm-thick branches are removed in three stages. First, saw from below two hand-widths away from the branch ring. Then move the saw to the side and saw from above until the branch breaks. Finally, cleanly cut off the small stump on Astring.
What to do if no astring is visible?
If you cannot recognize a bead as a branch, the saw cuts parallel to the trunk. Place the saw blade just in front of the bark strip and saw the branch downwards. A slight slant allows rainwater to drain away more quickly. The trunk wood must not be affected when cutting. Finally, smooth the edges of the wound with a sharp knife to optimize wound healing.

Tip
A particularly thick string of branches is an alarm signal. If a bulge in the transition from branch to trunk is unusually thick, it is a so-called “farewell collar”. The branch in question is no longer adequately supplied or has already died, so there is a risk of breakage. This source of danger should be removed with a cut on Astring.

