- Author admin leonars@hobbygardeners.com.
- Public 2023-12-16 16:46.
- Last modified 2025-06-01 06:02.
Creating a productive vegetable patch yourself is a worthwhile project for the garden and balcony. After reading this guide, the newbie will know the correct procedure. Tips on the ideal location, the best soil, perfect dimensions and imaginative ideas lead to a step-by-step guide. How to properly create your own vegetable patch.
How can you create a vegetable patch yourself?
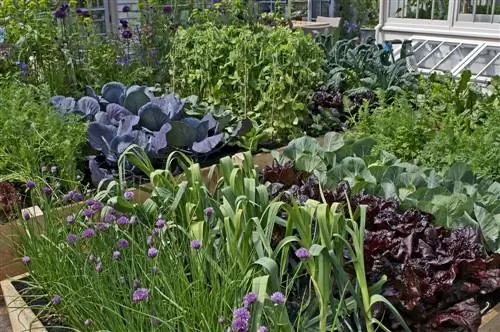
A vegetable bed can be created yourself by choosing the sunniest location, using nutrient-rich soil, creating a rectangular shape and planting in mixed culture. Soil preparation is ideally done in autumn, incorporating compost, and planting begins in spring.
Creating a new vegetable patch - which location?
The sunniest location in the garden is reserved for the vegetable patch. Many popular plants are sun worshipers, such as tomatoes, potatoes and lettuce. Do you only have a spot left in partial shade? That's no reason to give up. A colorful array of delicious vegetable plants thrives vitally and productively in a partially shaded location. Spinach, cauliflower, broccoli and peas are content with a modest daily sun yield of 3 hours.
Tip
It is advisable to spatially separate the fruit and vegetable patches in the garden. Many decades of cultivation experience have proven that vegetables grow poorly under fruit trees and produce poor harvests. This is not contradicted by the fact that berry bushes are useful as a fence, as is traditional in cottage gardens.
Which soil is suitable? - Tips on soil quality
The secret of success for a productive vegetable patch is the right soil. Rich in nutrients, fresh and moist, well-drained and full of life are important criteria. A pH value between 6 and 7 is ideal. The perfect potting soil for vegetables is made up of these three components:
- Topsoil 50 to 70 percent
- Compost at 20 to 40 percent
- Soil additives at 10 to 20 percent
If there is a lack of topsoil on a new building plot, you can buy the valuable soil from gardening companies or recycling centers. Compost ideally comes from your own production. If you are starting a new vegetable bed, you can purchase ready-made compost soil cheaply from the garden center. The need for soil additives depends on local conditions. Loosen heavy soil with sand or fine-grained gravel. Sandy soil acquires vegetable bed quality through deposited horse manure, bark humus or organically pre-fertilized coconut soil.
Tips for bed shape - length, width, paths
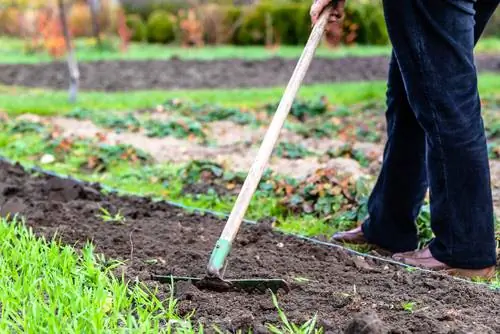
With the help of strips, vegetable beds can be easily marked out and laid out straight
Beginners strive to create a simple vegetable patch in the garden based on tried and tested experience. The focus is on convenient accessibility for effortless planting and care work. For this purpose, if you are new to gardening, we recommend a textbook bed shape. Write down the following general conditions for the plan:
- Shape: rectangular
- Length: maximum 500 cm
- Width: 120 cm
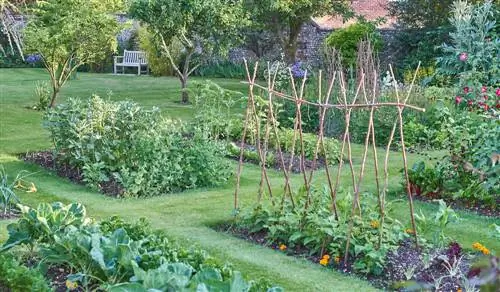
- Vegetable cultivation: straight paths in parallel rows
- Path width: Main path 60-80 cm, side paths 30-40 cm
- Path route: walkways arranged at right angles to the bed
With a width of 120 centimeters, you can easily work your vegetable patch from both sides. Experience has shown that when the length is more than 5 meters, many gardeners cannot resist the temptation to exceed the vegetable bed. Young plants under the gardener's shoe soles pay for the shortcut with their floral life. The different widths for paths are based on the premise that you can at least maneuver the wheelbarrow on the main path.
If you are creating a vegetable patch on a slope, please make sure it is diagonal to the mountain so that rain and irrigation water does not run off too quickly. For a garden on a steep slope, it has proven useful in practice to lay out the individual beds as terraced levels. This saves you from having to make daring climbs for maintenance work.
Ideas for the first vegetable patch
A vegetable patch in Naschgarten quality can be achieved in the smallest of spaces. If the space in the garden does not allow for the ideal dimensions, simply create a small vegetable patch. Radishes, lettuce, peas and strawberries also look great in mini beds. The following examples and ideas may inspire you to create your own tailor-made vegetable patch:
- round vegetable bed: plant in the lawn as a decorative eye-catcher, framed with stones or boxwood
- modern vegetable bed: stage with trendy gabions as a raised bed in the front garden
- Mini vegetable patch: create a stylish tub on the balcony and terrace or as a highlight in the front garden on the south side
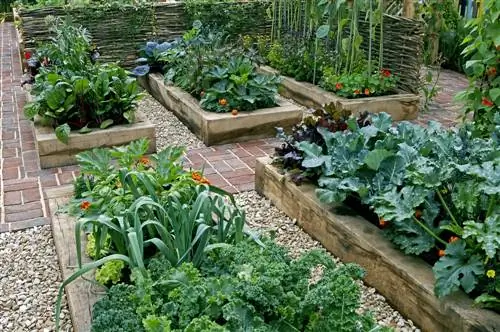
In the organic vegetable patch, ideas are needed that underline the natural character. A border made of wooden palisades or woven willow fence embeds the vegetable patch harmoniously into the natural garden design and at the same time keeps costs down. High-quality natural stone slabs and gravel are suitable as a surface for the paths. The paths can be secured inexpensively with bark mulch.

Creating a vegetable patch - step-by-step instructions
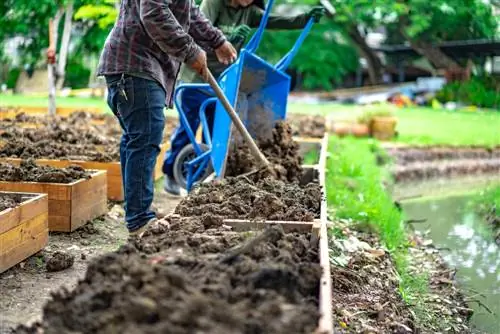
The best season for soil preparation is autumn. Mature compost only benefits vegetable plants when hard-working soil creatures have taken care of processing it into humus. This process takes several months. It makes sense to create a new vegetable patch in two phases. If you dedicate yourself to the vegetable patch in September or October, the perfect soil will receive the seeds or early young plants in spring. How to proceed correctly step by step:
First phase - soil preparation in autumn

Planning and preparation begins in the previous year
- Mark the area according to the plan drawing with stretched rope or lime (€19.00 on Amazon)
- Cut the sod to a depth of 10-15 cm
- Dig the earth with a spade, remove stones and old roots
- alternatively, loosen the soil with a digging fork to a depth of 20 cm
- Incorporate 15 to 20 liters of compost per square meter
- If necessary, improve the soil quality with sand, humus or coconut fiber
- Smooth the surface with a rake or rake
After preparing the soil, turn your attention to the border of the bed. Autumn is the best time to plant a small boxwood hedge, an alternative to boxwood or perennials for fencing.
Second phase - sowing and planting in spring
- From April, rake, weed and smooth thawed ground with a rake
- Lay out wooden grates or Euro pallets as stepping aids
- If necessary, install trellises and plant stakes in the vegetable bed
- Pull strings as a guide for the correct distance for sowing and planting
- Turn the handle of the digging fork or sow tooth over and pull out rows of seeds
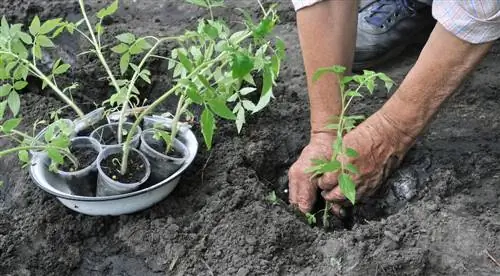
Sowing dates for the selected vegetables can be found on the packaging. The correct distance within the seed row can also be found here. When purchasing young plants, please ask for the relevant data. The height at which you cover sown vegetable seeds with soil depends on whether they germinate in light or dark conditions. The rule of thumb for potted young plants is to unpot them and plant them as deep as before in the nursery pot. Water the bed with a fine spray. Finally, cover the area with a protective net.
Tip
When you create a new vegetable patch in the garden, do not throw away the cut sod. When placed in a small heap in a protected garden niche, the former grass cover turns into valuable compost within a few months. Cover the small hill with a breathable compost fleece. Occasional turning provides the necessary air supply so that busy compost worms don't run out of steam.
What goes together? - Tips for mixed culture
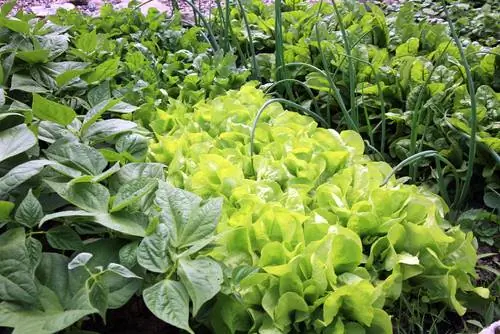
A good mixed culture reduces the risks of disease and pest infestation
Mixed culture is the trump card in the private vegetable patch. The question arises as to what really goes together? Vegetable plants also have sympathies and antipathies. They get along better with some members of their species than with others. You can take advantage of this fact when you create a plan for a vegetable patch. The following table gives examples of good and bad neighborhoods:
| Vegetables | good neighbors | bad neighbors |
|---|---|---|
| Cauliflower | Bush beans, celery, tomatoes | Potatoes, cabbage, onions |
| Bush beans | Dill, cucumbers, radishes, lettuce, tomatoes | Fennel, runner beans, onions |
| Potatoes | Cabbage, horseradish, broad beans, spinach | Chinese cabbage, garlic |
| Salad | Beans, strawberries, cucumbers, cabbage | Potatoes, nasturtiums, parsley |
| Tomatoes | Parsley, onions, spinach, radishes | Potatoes, fennel, peppers |
| cabbage | Borage, dill, lettuce, celery | Garlic, onions, Chinese cabbage |
| Strawberries | Borage, carrots, leek, kohlrabi, chamomile | Cabbage, potatoes, tomatoes |
| Onions | Cucumbers, lettuce, carrots, savory | Leeks, radishes, chives |
Example of an unbeatable dream team in the vegetable patch are peas and cucumbers, because peas are useful as a natural windbreak. The Mayans already associated corn, pumpkin and beans because the plants complemented each other perfectly. Corn plants act as climbing support for beans. These in turn optimize the nitrogen content in the soil for corn and pumpkin. Pumpkin plants serve as ground cover to keep the soil from drying out and suppress annoying weeds. Familiarize yourself with the simple basic principles of mixed culture if you want to properly create a vegetable patch.
Wildflowers and herbs are included
Insects are welcome in the organic vegetable patch and pesticides are frowned upon. Insect-friendly wildflowers are essential components in the planting plan. Shining examples are columbines (Aquilegia vulgaris) and daisies (Bellis perennis), which act as a blooming nectar buffet that attracts busy bees, bumblebees and butterflies. Dabbed marigolds serve as a natural pest deterrent.
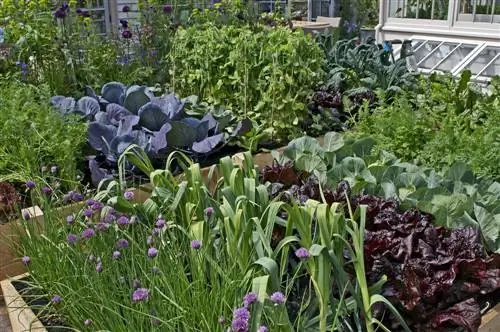
A small vegetable patch becomes a mini kitchen garden when you create a combination of herb and vegetable patches. Integrate small-growing herbs into the plan, such as bobbed basil (Ocimum basilicum var Minimum), cushion thyme (Thymus praecox var. pseudolanuginosus) or lavender 'Little Lottie' (Lavandula angustifolia). Parsley and chives are recommended as decorative borders because they bloom beautifully.
Excursus
Create a vegetable patch without digging
Digging turns into a strenuous effort when you create a vegetable patch in the lawn or meadow. You can save yourself the hassle of removing and digging up a deeply rooted sod. Instead, cover the floor with thick, unprinted cardboard, secured at the corners with wooden stakes. Spread a 15 centimeter thick layer of compost on the cardboard. The grass dies within a few weeks. Soil creatures don't miss this opportunity and eat up the remains, including the softened cardboard, and settle in the compost soil. Supporters of permaculture favor this gentle form of soil preparation when creating a new vegetable patch.
When is the best time of year?
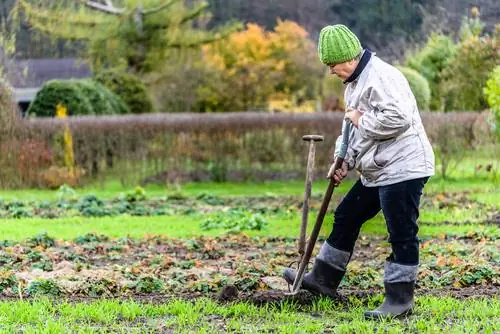
The soil is prepared in autumn
Autumn is the best time of year for soil work when creating a new vegetable patch. By the time the sowing and planting season begins in spring, the soil has settled and compost has fulfilled its role as a soil improver. The first vegetable seeds can be planted in the ground from April onwards, provided the ground has thawed. By mid-May, the risk of late night frosts has passed, so you can plant early young plants.
If you don't want to leave your vegetable patch fallow in winter, plant vitamin-rich winter vegetables in summer and autumn. Kale planted in June enriches the winter menu with very he althy vegetables. August and September are the planting times for savoy cabbage, spinach and radish. Fast-growing lamb's lettuce thrives quickly under the warm autumn sun and provides aromatic leaves until the first frost.
Balcony gardeners create a mini vegetable patch in May and June. At this time of year, the shelves in the garden center are full to the brim, so that the right young plants are available for every planting plan.
Creating a vegetable patch on the balcony - this is how it works
Balcony gardeners can create a mini vegetable patch in any standard flower box or large pot. The following instructions explain step by step how a large tub is transformed into a small-format organic vegetable patch:
Shopping list
- 1 tub with bottom opening and 70 liter capacity
- 20-25 liters of expanded clay (alternatively pottery shards)
- 70 liters of organic vegetable soil
- round piece of garden fleece (matching the shape of the soil)
Creating a vegetable patch in the tub - instructions
- Place the planter in a sunny to partially shaded location
- Cover the floor with expanded clay or clay shards as drainage
- Cut garden fleece and place over the drainage
- Fill in the substrate up to 2 cm below the edge
- Plant vegetable seedlings in rows at a species-appropriate distance
- Press soil lightly and water
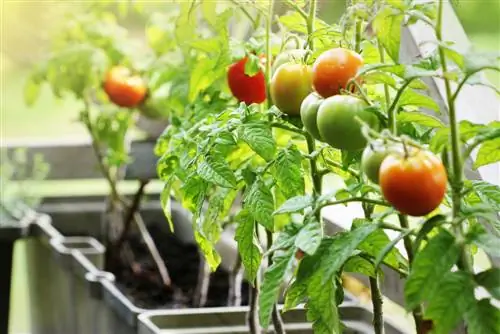
If you are a beginner planting a vegetable patch on the balcony, you should focus on easy-care species that will forgive one or two mistakes in a good-natured manner. Note this starting line-up for the planting plan: radishes, lettuce, carrots, mini cucumbers, cocktail tomatoes, sugar peas and strawberries. The balcony railing or a wall trellis serves as a climbing aid.
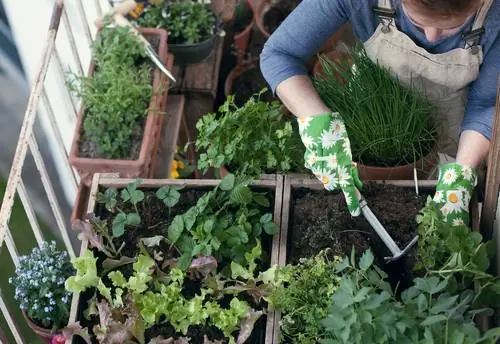
You can also create a vegetable garden on the balcony
The biggest enemy of he althy quality in the vegetable patch is haste in the form of pesticides and artificial fertilizers.
Frequently asked questions
We would like to create a vegetable patch cheaply for beginners. Are there any types of vegetables that are guaranteed to be successful and cost little?
The first vegetable patch becomes a cost trap if the plants don't grow and die. Include low-maintenance, vigorous species in your planting plan if you are creating a vegetable patch that is inexpensive for beginners. These include: radishes, lettuce, zucchini, beets, garlic, carrots and most herbs. The investment in seeds or young plants hardly makes any difference. Care is limited to watering when dry and fertilizing with compost.
What should we pay attention to when we create a vegetable patch in kindergarten?
Fast-growing, easy-care plants with a short maturation period are the focus when you create a vegetable patch with children. Ideally, the little gardeners should be able to harvest themselves and eat the fruits straight away. Highly recommended are radishes, carrots, cucumbers and sugar peas. Our tip: As a special motivation, apply as a kindergarten to take part in the “Vegetable patches for kids” project at the Edeka Foundation. Since 2008, the foundation has been supporting preschool children in growing vegetables in a self-cultivated raised bed.
Creating a vegetable patch using permaculture. How does it work?
The perfect permaculture aims at uninterrupted crop rotation. Using natural resources and means, perennial vegetable plants are associated for a permanent cycle of growth, harvesting and reproduction. The main pillars are a mixed culture planting plan and the complete avoidance of pesticides. There is a combination of shallow and deep roots, heavy and weak feeders, including typical autumn and winter vegetables. In short, all the rules for an organic vegetable patch also apply to permaculture.
Tip
Growing vegetables in raised beds promises back-friendly gardening at table height. Obi's online configurator provides excellent support for planning and implementation. Comprehensible instructions explain how to build a raised bed yourself, fill it correctly and plant it expertly. Special advantage: You always have an overview of the costs incurred.

