- Author admin [email protected].
- Public 2023-12-16 16:46.
- Last modified 2025-01-23 11:22.
A brick privacy screen is considered to be very durable. But time also leaves its mark on this structure: cracks can appear, the joints become deeper and smaller pieces break off. At that point at the latest it will be necessary to renovate the garden wall. It's easy with our tips.
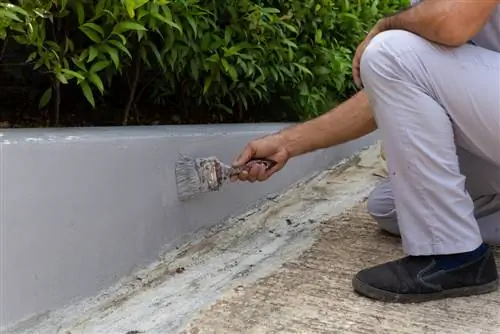
How can I successfully renovate a garden wall?
To renovate a garden wall, first remove the plaster, clean the joints and apply quick cement. Then fill the joints with joint mortar, paint the area with deep primer and let it dry. Finally, paint the wall several times with exterior paint (€39.00 on Amazon).
- Cover for the subsurface
- Awning or tarpaulin to protect the work area
- Renovation filler
- Groout
- Tiefengrund
- Facade paint
- Hearing and respiratory protection
- Angle grinder
- Eccentric sander
- High-pressure cleaner
- Multitool with sanding attachment
- Wire brush
- Surface filler
- Hammer
- Chisel
- trowel
- Smear grid
- Paint Roller
- Brush
- Bucket
Renovate the wall
For the beautification that should take place in dry weather, proceed as follows:
- Remove plaster from the wall with an angle and eccentric grinder.
- Brush the joints well and scrape out any decaying mortar.
- Clean the garden wall thoroughly, for example with a high-pressure cleaner.
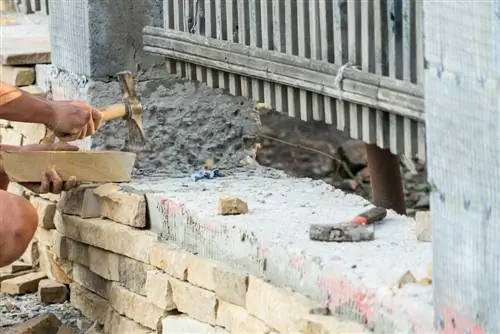
- Fill with quick cement marked for outdoor use and repair joints with grout.
- Coat the entire area twice with a special deep primer.
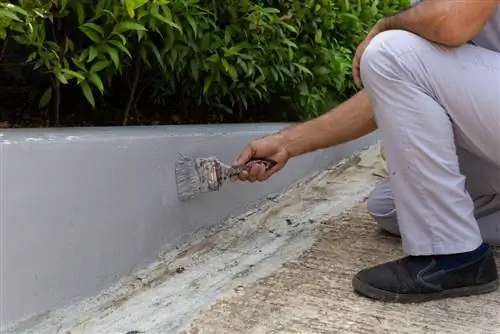
- Finally, apply at least three coats of exterior paint (€39.00 on Amazon).
Plan enough time for the individual work steps, because after cleaning and painting you have to wait 12 to 24 hours before you can continue working.
Re-plastering the garden wall
The same applies here: keep an eye on the weather forecast and then get to work when a few dry days are forecast:
- Use a screwdriver to check whether the old plaster is crumbling in many places. If it crumbles when you run the tool over the surface, everything has to come down.
- Then apply adhesive primer.
- Now insert the reinforcing mats: Mix some plaster and apply it to the edges. Press the reinforcement edges together with the reinforcement mats into the damp material and spread excess plaster into the mats.
- Plaster the entire garden wall.
- In those areas where there is no reinforcing mesh yet, press the special mesh into the damp plaster and work it in with the smoothing trowel.
- Let the base plaster harden thoroughly.
- You can then apply a decorative plaster if desired.
Tip
If you want to re-plaster the garden wall, you must, as with the primer, match the material to the stone or concrete underneath.

