- Author admin leonars@hobbygardeners.com.
- Public 2023-12-16 16:46.
- Last modified 2025-01-23 11:22.
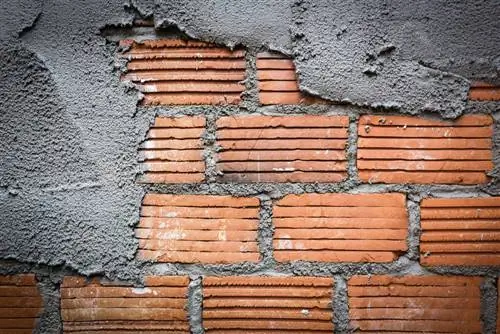
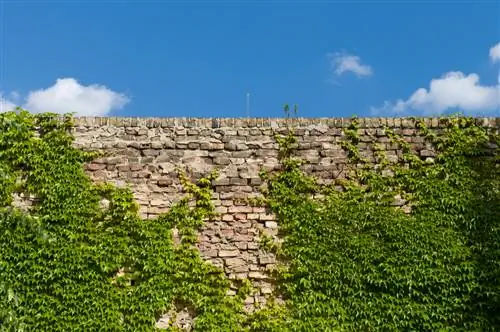
A brick enclosure is actually something that lasts forever. However, the weather conditions also affect this structure. The plaster can peel off, the joints become washed out and the wall still exudes a morbid charm at best. We have great ideas on how you can easily spruce up an outdated garden wall.
How can you easily renovate an old garden wall?
To renovate an old garden wall, you can re-plaster it, cover it with natural stone or wood, or install cladding made of glass fiber reinforced plastic panels. Choose the method that best suits your garden and personal taste.
Replaster the wall
Replastering a wall is not difficult at all. To do this, you must first remove dust and dirt from the masonry. This works very well with a high-pressure cleaner or water and a brush.
Then proceed as follows:
- Apply an adhesive primer that is tailored to the material of the wall.
- Mix base plaster according to the manufacturer's instructions.
- Toss with a trowel (€23.00 on Amazon) and smooth with a float.
- When everything is completely dry, you can apply a decorative plaster of your choice.
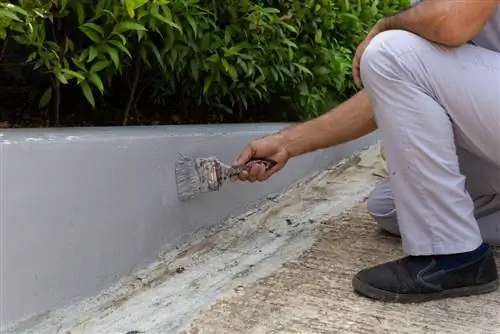
- If you wish, you can beautify the garden wall with a coat of paint.
Make dilapidated walls disappear behind cladding
If you cover the wall with glass fiber reinforced plastic panels, renovation work will be a thing of history. This modern material is available in many beautiful looks. It fits attractively into the natural environment, is easy to process and can hardly be distinguished from natural materials.
Fix the garden wall with natural stone
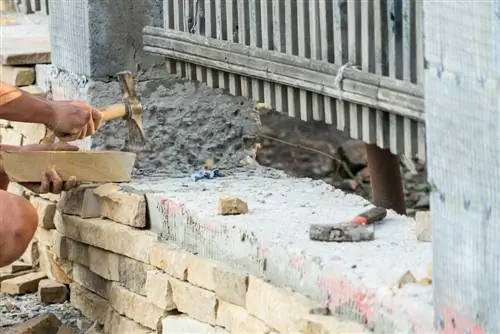
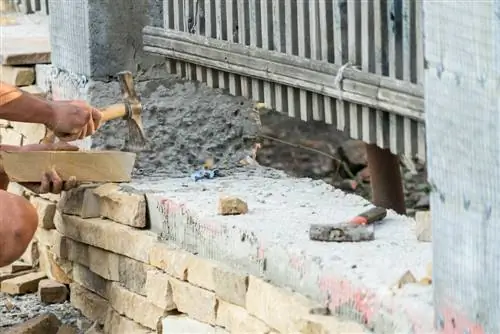
Natural stone walls are very trendy. If you cover the aging concrete wall with natural stone, it will have a completely new, very elegant look. It is not obvious that you only applied a thin layer of stone.
Thanks to the variety of stone variants, you can adapt the wall wonderfully to your garden design. Fastening with mortar is recommended, as rear ventilation can be neglected in a garden wall.
- In the first step, the masonry is freed from dust and dirt.
- The natural stones are laid out on the floor to achieve the most harmonious overall impression possible.
- Primer according to manufacturer's instructions.
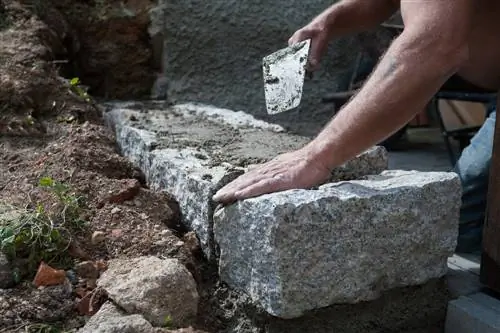
- Apply the mortar and press the stone slabs in.
- Immediately pick up excess material with the trowel.
Tip
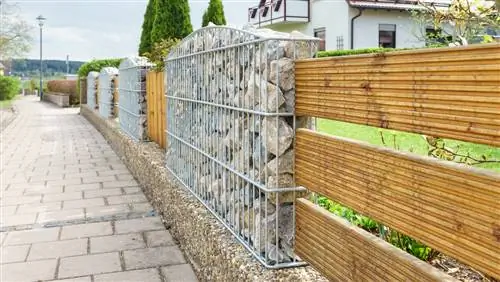
If you want the garden wall to have a very natural look, you can also add wooden cladding to it. Larch is particularly attractive because this wood takes on a beautiful silver-grey patina over time.

