- Author admin leonars@hobbygardeners.com.
- Public 2023-12-16 16:46.
- Last modified 2025-06-01 06:02.
The aronia berry delights with vitamin-rich fruits, picturesque autumn colors and robust winter hardiness. The chokeberry (Aronia) should therefore not be missing from the planting plan for the natural hobby garden. This is how you plant the magnificent fruit tree correctly in the bed and on the balcony.
How do I plant an aronia berry correctly?
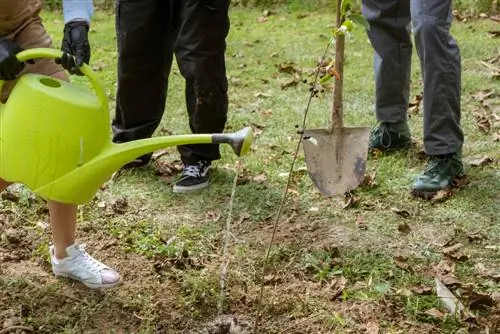
To successfully plant an aronia berry, choose a sunny to partially shaded location with nutrient-rich, humus-rich soil. Planting time for bare-root aronia berries is March to May or September to November, and all year round for container products. In the bed you need a planting pit twice as big as the root ball, in the pot you need drainage and a watering edge.
Location
The aronia berry is wind-stable, s alt-tolerant and hardy down to -35° Celsius. With these properties, the fruit tree is also ideal for harsh climates in coastal and mountain regions. In a sunny to partially shaded location, the chokeberry fulfills all gardening hopes of a lush berry harvest.
Soil quality and substrate
The aronia berry prefers to extend its roots into this soil:
- Nutrient-rich garden soil with good drainage
- Ideally humus-rich, loose mixture of clay and sand
- Beneficial pH value 6 to 6.5
- In the bucket: peat-free, organically pre-fertilized soil, enriched with lava granules or expanded clay
A location with pure clay soil is possible if you improve the soil with quartz sand. Sandy soil becomes suitable for Aronia by incorporating plenty of compost.
Planting time for the garden and balcony
The correct planting time is closely related to the plant material. Please pay attention to these dates:
- Planting bare-root aronia berries in the garden: March to May or September to November
- Planting container goods in the bed: all year round, the best time is in autumn
- Planting potted chokeberries in a pot: March to May, at the end of the frost period
Planting aronia berries in the bed - instructions
Expert preparation and planting technique pave the way for he althy, easy-care growth. This is how you plant an aronia berry in the bed correctly:
- Dig the soil to the depth of a spade, rake, remove stones and weeds
- Dig a planting pit with twice the volume of the root ball
- Enrich the excavation by a third with horn shavings (€52.00 on Amazon) or mature compost soil
- Soak the potted aronia in water until no more air bubbles appear
- Bare root goods: shorten damaged root tips, cut shoots back by a third
- Place the bush in the middle of the planting pit (please unpot container goods beforehand)
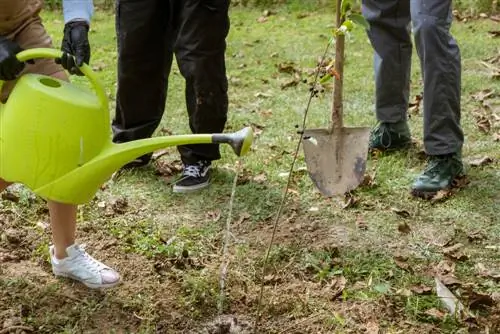
- Fill with soil up to the root collar, press down and water
Mulch the root disc with compost, bark mulch or leaves as a natural protection against drought stress and rampant weeds.
Planting aronia berries in a pot - tips & tricks
Drainage prevents harmful waterlogging. Cover the bottom of the bucket with a 5 centimeter high layer of clay granules, lava mulch or grit. Fill in some substrate on top. Measure the filling height so that there is a distance of around 3 centimeters between the root disk and the edge of the container. Every time you water you will be grateful for this pouring rim.
Create a hollow in the substrate. Place the water-soaked, potted chokeberry in the middle. Gradually fill in soil around the root ball up to the root collar. Finally, water the planted aronia berries. If water runs out of the bottom of the bucket, the current watering requirement is covered.
Tip
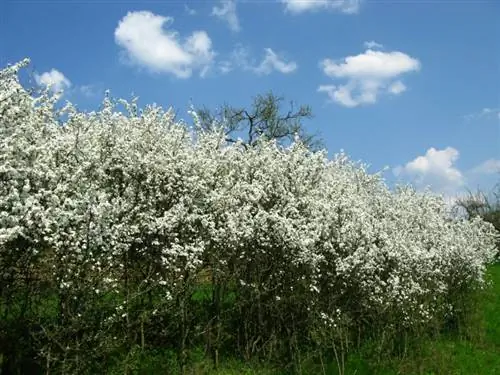
Are you still missing an easy-care fruit bush with a privacy factor for your garden, balcony or terrace? The aronia berry 'Nero' (Aronia prunifolia) impresses with its broad, bushy growth up to a height of 2.50 m and an opaque foliage until well into autumn. As part of a mixed wild fruit hedge, the majestic chokeberry fends off prying eyes and makes little bird's hearts beat faster.

