- Author admin [email protected].
- Public 2023-12-16 16:46.
- Last modified 2025-01-23 11:19.
Pumpkin has long since become an indispensable status symbol in the well-run hobby garden. The following instructions explain how you can plant this gem in your own kingdom. So even without a green thumb, everything is in the green.
How do I successfully grow pumpkins?
To plant pumpkins, start sowing behind glass in April. Plant the young plants outdoors from mid-May in a sunny, wind-protected location with nutrient-rich soil. Harvest the ripe pumpkins in late summer when the skin is intact and the stem is woody.
How does sowing behind glass shorten a long cultivation time?
The long ripening period for pumpkin doesn't leave much room for maneuver in the local climate. Planting outdoors should not be considered before mid-May. Experienced hobby gardeners therefore favor growing indoors to save time:
- Soak fresh seeds in lukewarm water in mid/end of April
- After 24 hours, plant in seed soil up to 2 cm deep
- Cover the seed container with foil or glass after gently watering
A constant temperature of 25 degrees Celsius encourages the pumpkin seeds to germinate within a week. The cover is now removed and the seedlings placed in brighter lighting conditions at 18 to 20 degrees Celsius. In this way you will plant strong, vital young plants in the bed. Instead, direct sowing would only now begin.
When does the planting season begin outdoors?
Pumpkin plants are very sensitive to cold. The planting season starts in mid-May at the earliest. The departure of the Ice Saints marks the beginning. The week before, the young plants should be hardened off during the day in a protected place in the garden.
What site conditions does pumpkin culture require?
The location conditions do not take up much space in a well-founded guide to growing pumpkins. However, that does not diminish their relevance.
- Sunny location, preferably sheltered from the wind
- nutrient-rich soil, fresh, permeable
- A thick layer of humus is ideal
- High-quality vegetable soil serves as a substrate in the bucket
Since pumpkin plants are heavy feeders, experienced gardeners advocate placing them directly on the compost heap.
How does the planting go?
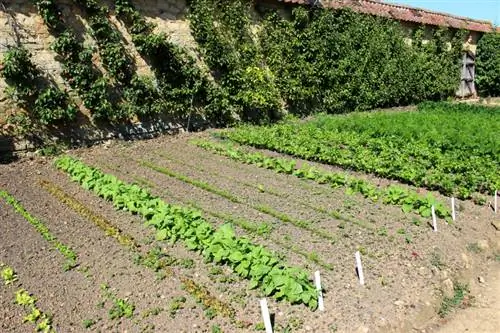
At the chosen location in the bed, the soil is deeply loosened. Weeds, stones and roots all have to go. You can optimize the soil quality with compost (€41.00 at Amazon) and horn shavings.
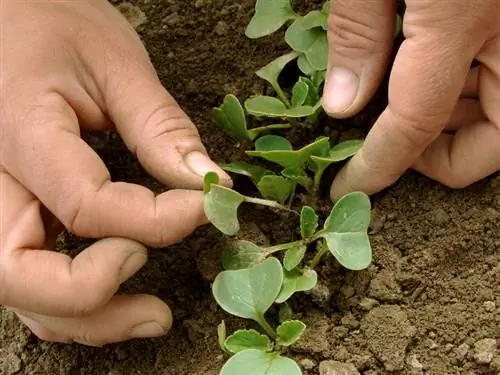
Punt the hardened young plants and plant them at exactly the same depth as they were cultivated in the cultivation container. You should plant at a minimum distance of 1 meter. Following the initial watering, a garden fleece or mulch film protects the pumpkin culture until after the cold weather at the beginning of June.
Which plants does pumpkin get along with in mixed culture?
Pumpkin is a friendly companion in the kitchen garden. It maintains good relations with most cultivated plants. It gets along extremely well with peas, onions and kohlrabi. It works less well next to dill, cucumbers and melons.
The plant forms an almost symbiotic partnership with corn and bush beans. The sturdy corn sticks serve as a natural trellis for climbing pumpkins and climbing beans. In return, the beans supply the soil with oxygen and nitrogen, while pumpkin keeps soil erosion at bay.
How does manual pollination take place?
Depending on the variety and the weather conditions, the magnificent flowers appear after 30 to 60 days. This colorful temptation attracts busy insects to the scene. Apart from that, the brummers are after the nectar, although they don't care about which flowers they pollinate. If you don't want to leave the process to chance, pollination can be done manually. Following these instructions you can do it:
- choose the best female flowers with fruit set
- Shortly before opening, cover each flower with gauze or insect net
- Do the same with the male flowers without fruit set
- when the petals unfold, the protective covers are removed
- paint the picked male flower like a brush over the stigma of the female flower
- pack all pollinated flowers again
After 2 to 3 days, each mini pumpkin begins to grow over. Now you can breathe a sigh of relief because pollination was successful. The wrapping is now removed.
When is a pumpkin ready to harvest?
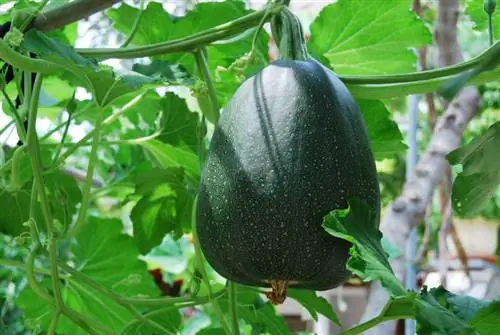
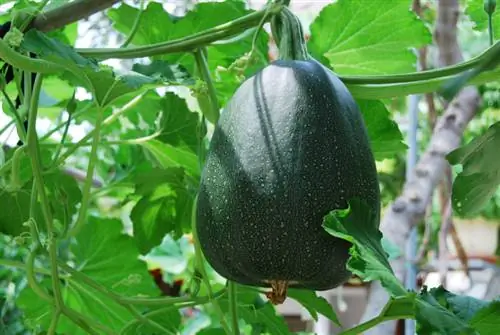
If you plant a common pumpkin variety, the anticipation of an opulent harvest increases in late summer. A smooth, undamaged skin without green spots visually indicates ripeness. A firm, well-woody fruit stalk is an additional indication. If you now knock on the pumpkin, the sound should be hollow and muffled. Then nothing speaks against the start of the harvest.
Does the harvest influence shelf life?
At first glance, no one suspects that the mighty pumpkin represents a high level of sensitivity. In fact, professional harvesting requires a certain degree of sensitivity. Even the slightest damage causes rot. An undamaged shell makes an important contribution to durability.
- cut the pumpkin with a carefully sharpened, disinfected knife
- part of the fruit stalk remains on the fruit
- rinse the bowl thoroughly under running water
After harvesting, allow the pumpkin to ripen for 2 to 3 weeks in a bright, warm place. This prudence is rewarded with premium quality fruit.
Tips & Tricks
If a pumpkin becomes full of water shortly before harvest, its shelf life is shortened by weeks. If you cut off the main stem 10 days before harvest, the pumpkin will no longer absorb moisture.

