- Author admin leonars@hobbygardeners.com.
- Public 2023-12-16 16:46.
- Last modified 2025-06-01 06:02.
There are several ways to refine a pear tree. A special technique is grafting. The scion is stuck under the bark of the base. What you need to consider when grafting.
How to graft a pear tree?
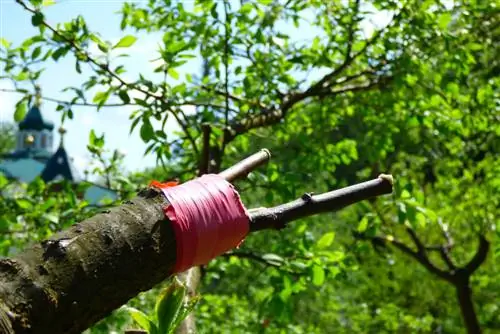
How do you graft a pear tree? During the best time from mid-April to the end of May, connect a scion that has not yet sprouted to a base that is in the sap by pushing the scion under the bark. Fix the finishing area with raffia and coat it with finishing wax.
Granching - this is how the grafting works
Grafting is not as difficult as other methods of grafting a pear tree. In order for the grafting to be successful, you have to do it very carefully. Above all, you must never touch the interfaces with your fingers.
The knife must be as sharp as possible and completely germ-free. Otherwise, you will transfer fungi or germs to the grafting area, which will lead to rot.
What you need to graft a pear tree
- Scion rice, not yet sprouted
- Root that is already in the juice
- A very sharp, sterile knife
- Raffia for wrapping
- Finishing wax
When is the best time for grafting?
The best time is from mid-April to the end of May. The rootstock onto which the scion is to be grafted must already be in the sap, which means that it has already begun to sprout. The bark can then be easily removed.
The scion, on the other hand, must not have sprouted yet. Choose a piece that has at least three well-developed eyes on it.
This is how the pear tree is grafted
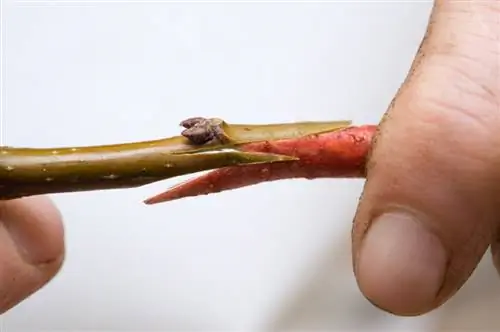
An approximately four centimeter long oblique cut is made in the scion in such a way that there is an eye in the middle on the other side. In technical language this is known as a copulatory cut.
The bark of the base is lifted slightly and cut lengthwise. This creates two wings.
The scion is carefully inserted into the bark cut with the cut side. You should still be able to see a few millimeters of the copulation cut at the top.
Fixing the finishing point
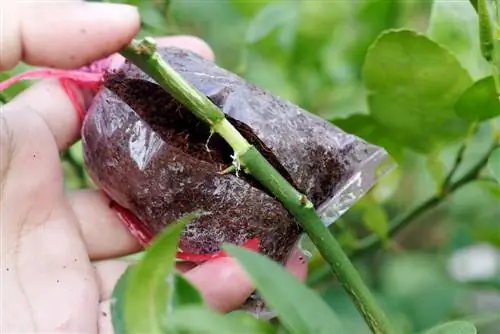
The area is wrapped with raffia, although the middle eye must not be included.
Finally, the whole thing is coated with finishing wax. Next spring we will see whether the grafting was successful.
Tips & Tricks
Make sure that the cuts in the scion and the pad line up exactly when grafting. The refinement only takes place when the juice-carrying inner parts touch each other.

