- Author admin [email protected].
- Public 2023-12-16 16:46.
- Last modified 2025-06-01 06:02.
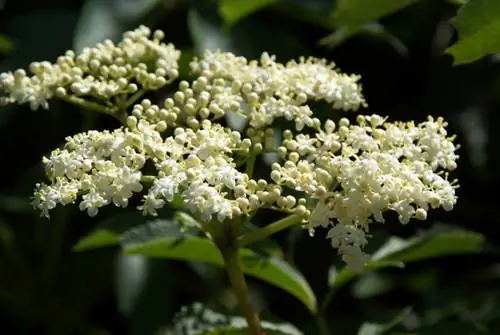
Anyone who has been captivated by the mystical appeal of elderberry will want more specimens in the garden. It is a matter of honor for hobby gardeners to carry out propagation on their own. The following lines show you how to do it with cuttings.
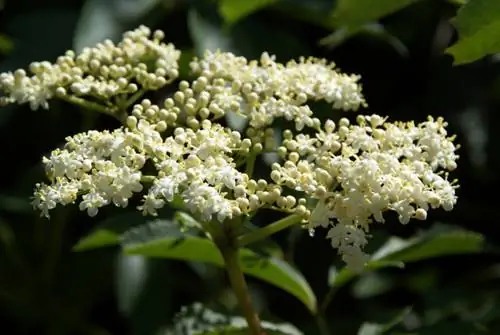
How do you propagate elderberries with cuttings?
To propagate elderberries with cuttings, cut off semi-lignified, 10-15 cm long shoots with leaf nodes in summer. Defoliate the lower halves, halve the upper leaves and remove flowers and buds. Place the cuttings in nutrient-poor soil, water them and cover them with a plastic cover or place them in a mini greenhouse.
Elderberry cuttings are booming in summer
During the summer, the elderberry is at the peak of its vitality. Anyone who takes the time to propagate cuttings now will receive excellent starting material. The optimal offshoot is half woody, 10-15 centimeters long and has several leaf nodes. These sleeping eyes are easy to spot as small bumps under the bark. Once you have selected all the cuttings, it continues like this:
- fill small pots with peat sand (€6.00 on Amazon), perlite, coconut hum or potting soil (mainly low in nutrients)
- defoliate the lower half of each cutting
- halve the top half of the leaves to save energy
- Removing flowers and buds
- Insert 1-2 cuttings each so that at least 1 sleeping eye is above the substrate
- after watering, put a plastic bag over it or place it in the mini greenhouse
The location is warm and protected without the cuttings coming under the blazing sun. Under no circumstances should the potting soil dry out while rooting is taking place. Contact between the hood and the offshoot is prevented by small wooden sticks that act as spacers. Propagation is successful when the young plants sprout freshly. The elderberries will be planted out next spring.
Cuttings - the winter alternative to cuttings
The propagation of elderberry is less complicated during the winter vegetation period. This variant uses woody, annual elderberry branches. They have long since shed their leaves, but still have several sleeping eyes. Since polarity is important here, cut the tip of the shoot straight and the lower end at an angle. This is how it continues:
- Cut each piece of wood to a length of 15-20 centimeters
- Place three quarters in pots that are filled with moist peat sand or sand
- the diagonally cut branch end points downwards
Until the first shoots appear, the cuttings are not watered or fertilized. The location is cool and dark to partially shaded. Only when the first leaves appear do you start with a reserved water supply and place the offspring in a brighter and warmer place. Until autumn, repot the young plants repeatedly into nutrient-rich substrate and then plant them out.
Tips & Tricks
Use willow water with natural growth hormones as irrigation water during propagation. Simply cut annual willow branches into pieces, pour boiling water over them and let them steep for 24 hours. Then strain and use to moisten the substrate.

