- Author admin [email protected].
- Public 2023-12-16 16:46.
- Last modified 2025-01-23 11:20.
The best thing, of course, is if the farmer's hydrangea doesn't have to be moved at all, but can simply stay where it is. However, sometimes transplanting is unavoidable. Fortunately, even older farmer's hydrangeas usually tolerate such measures very well.
When and how can you transplant a farmer's hydrangea?
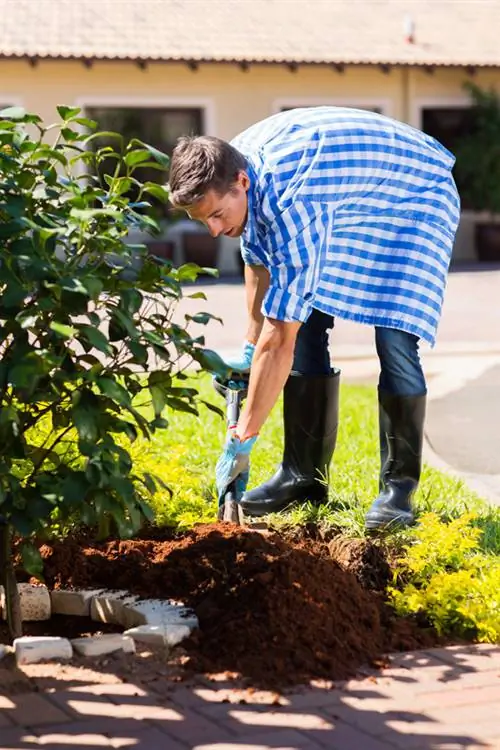
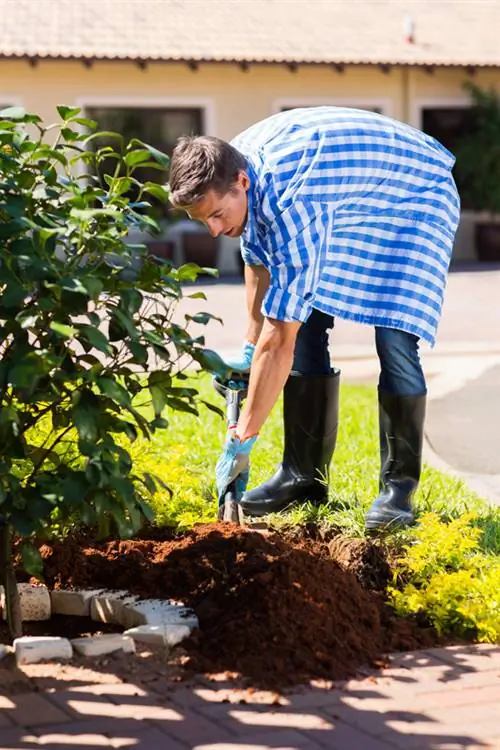
To successfully transplant a farmer's hydrangea, choose either autumn after flowering or spring before budding. Dig up the plant generously and place it in a new hole twice the size with mixed compost and horn shavings. Then water well and mulch the root area.
Reasons for transplanting
There are of course many reasons for moving even older plants:
- The hydrangea has grown too big and no longer has enough space in its old location.
- The soil at the old location is exhausted and needs to be replaced.
- The farmer's hydrangea doesn't feel comfortable in its location and doesn't want to bloom.
- You want or need to redesign your garden.
So you see, there is sometimes no alternative to transplanting farmer's hydrangeas. However, moving it also has an advantage because it prevents the plant from aging. Transplanted, older specimens, provided they are placed in the right location, often get a real boost in growth and flower production.
The right time for transplanting
There are two equally suitable times for moving the farmer's hydrangea. You can transplant the shrub both in autumn after flowering and in spring before budding. Both times have their advantages and disadvantages. For example, hydrangeas transplanted in the fall may no longer have enough time to take root well before the onset of winter and therefore only survive the cold season with injuries. But early spring also threatens with late frosts, which can cause problems for the plants. However, the hydrangea is no longer in “winter rest mode”, but rather puts its growth energies into growing.
Step-by-step instructions for transplanting
The following procedure has proven successful when transplanting:
- If possible, combine the digging with a thinning or rejuvenation cut.
- Dig up the farmer's hydrangea generously.
- Keep in mind that older shrubs in particular often have very deep roots.
- Check the roots for damage/injuries.
- Dig a sufficiently large hole at the designated location.
- This should be about twice the size of the root ball.
- Pour plenty of water into the hole.
- Mix the excavated material with mature mixed compost (€43.00 on Amazon) and horn shavings.
- Replant the farmer's hydrangea, making sure it is no deeper than it was originally.
- Water them well.
- Mulch the root area with bark mulch, chopped wood cuttings or grass clippings.
Tips & Tricks
The best day for transplanting is an overcast or cloudy day, as the plant then evaporates less water and can cope with the transplant shock much better.

