- Author admin [email protected].
- Public 2023-12-16 16:46.
- Last modified 2025-06-01 06:02.
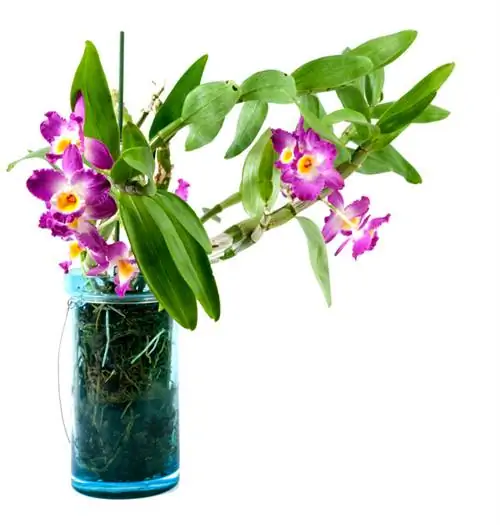
Orchids form a congenial partnership with a glass. Thanks to the transparent walls, light reaches the aerial roots in abundance. Substrate-free species find suitable conditions here, as do epiphytic species in orchid soil. Read here how to properly use and care for orchids in glass.
How do you properly care for orchids in a glass?
Orchids in glass grow well if they are properly cared for: substrate-free species can be cultivated directly in the glass, while epiphytic species require a drainage layer made of expanded clay and orchid substrate. Regular watering and fertilizing as well as spraying with water promote he alth and flower formation.
This is how orchids take up space in the glass - tips for planting them correctly
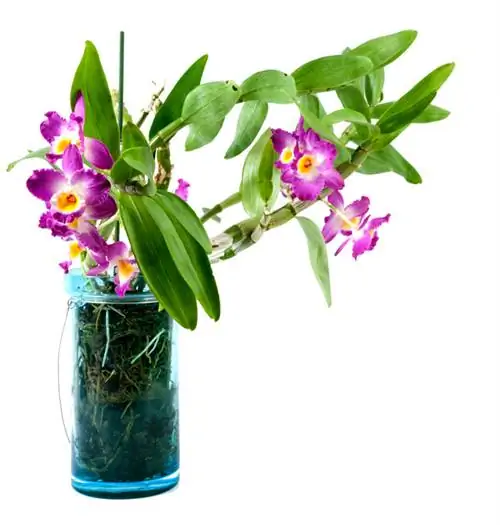
They are primarily Vanda orchids that are cultivated in glass. Since there is no substrate here, position the aerial roots in the glass vase so that the leaves and flower stalk protrude over the edge of the vessel. Inside the glass, too little oxygen reaches the leaves, making it easy for fungal infections. However, you can also present orchids with substrate in a glass. Here's how to do it:
- An appointment before or after the flowering period is perfect
- Create a drainage at least 5 cm high on the glass floor made of expanded clay
- Pour a layer of orchid substrate on top
- Soak the root ball in water for a few minutes so that the roots become pliable
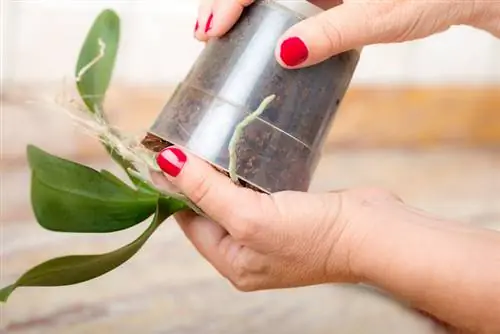
- Unpot the plant, shake off or rinse off the old soil
- Cut off dead bulbs or aerial roots with a clean knife
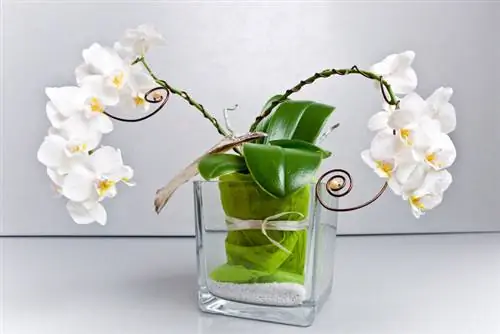
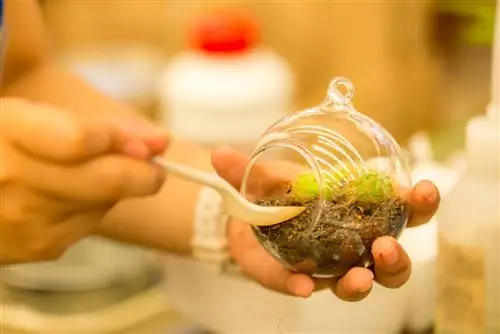
Place a Phalaenopsis or similar type of orchid on the substrate with its roots spread out. By holding the plant at the root collar with one hand, you fill in the remaining soil with the other hand. At the end all aerial roots should be covered. The pieces of substrate will spread out by themselves if you gently tap the glass on the tabletop from time to time.
Moss unsuitable as a substrate
For a sales-promoting look, orchids in glass are sometimes simply placed on peat moss. Although it looks beautiful, the exotic diva can be hunted down quite quickly, as rot and disease are inevitable here. If you are gifted with a Phalaenopsis in a glass container, please immediately repot the royal flower in the correct orchid soil.
Water orchids in a glass professionally - this is how it works
Since there is no opening in the bottom of the glass for water drainage, the orchids inside are threatened by waterlogging. How to regulate your water balance correctly:
- Dive a substrate-free orchid, like Vanda, every 2-3 days
- To do this, take the plant out of the glass and soak the roots with lime-free, lukewarm water for 30 minutes
- Only put it back into the glass once the water has drained away
To moisturize an orchid with substrate in a glass, pour the soft, room temperature water into the container. The plant heart must not be under water. After 10 minutes at the latest, pour out the water again. If there is still water residue in the leaf axils, dab it with an absorbent kitchen towel.
Spraying regularly is great for orchids
Regardless of whether you cultivate orchids in a glass, tied to a branch or simply in a flower pot - the exotic flower beauties welcome a delicate spray of warm, lime-free water. If possible, spray the aerial roots and leaves and leave the flowers unwetted.
Fertilize orchids in a balanced way - this is what you need to pay attention to in the glass
As long as your orchid is in the middle of the growth and flowering period, please enrich the watering and immersion water with a liquid special fertilizer every 3 to 4 weeks. Conventional flower fertilizer contains too high a concentration of s alt and does more harm than good to tropical plants.
During dormancy, you stop supplying nutrients. If it is an orchid species that blooms tirelessly, please extend the fertilization intervals to 6 to 8 weeks in winter.
How to cut orchids correctly - timing is important
One aspect of the care program regularly gives novice orchid gardeners pause. We are talking about pruning, as is common practice for many houseplants. Given the unconventional habitus of orchids, the proper handling of this cultivation measure is not obvious. This applies not least to plants in glass. How to do it right:
- Never cut off green parts of an orchid in a glass
- Only cut leaves, shoots, bulbs or aerial roots when they are completely dead
- Work only with a razor-sharp, disinfected tool
- Sprinkle cuts with cinnamon, charcoal ash or rock dust
- Ideally turn out a yellowed, drawn leaf and do not cut it
Orchids are cut this way for two reasons: Cuts on green, living parts of the plant cause rot and disease. In addition, an orchid is deprived of the vital nutrient residues that it would like to relocate to its active roots and bulbs.
Tip
Gel balls are a good choice for decoratively displaying fully bloomed orchid panicles as cut flowers in a glass. The 2 cm small beads are available in many pretty colors. They are made of a material that stores water and gradually releases it to the flowers. Thanks to the gel balls, unpleasant smelling flower water is a thing of the past.

