- Author admin [email protected].
- Public 2023-12-16 16:46.
- Last modified 2025-06-01 06:02.
Repotting orchids correctly requires a little practice and a lot of sensitivity. The professional treatment of aerial roots always raises questions for beginners. This guide highlights the process with a special focus on the aerial roots.
How do you properly repot orchids with aerial roots?
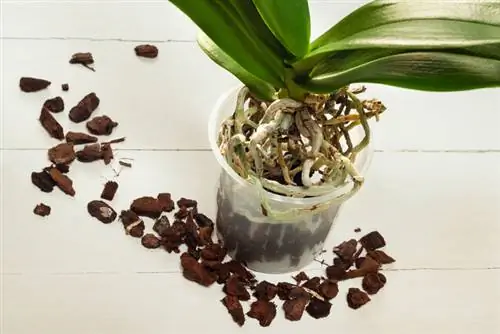
To properly repot orchids with aerial roots, you should first soak them in warm water so that they become supple. You can then carefully remove the plant from the pot, remove the old substrate, cut off dried roots and plant the orchid in a new pot with drainage and fresh substrate.
Stubborn aerial roots take a water bath - tips for preparation
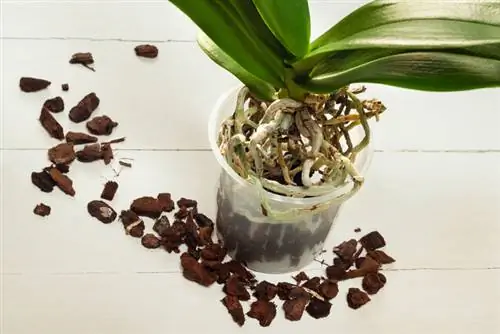
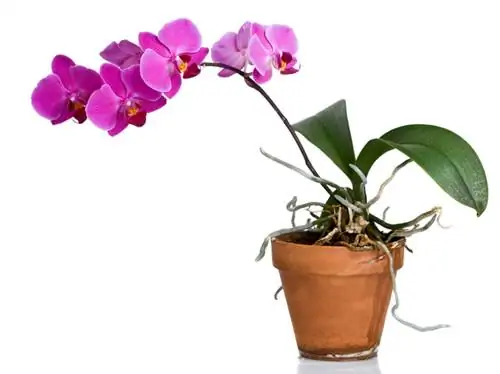
As a visible signal that the culture pot is too narrow, the aerial roots protrude beyond the edge of the container. A dense network of root strands has also formed inside the pot, which is difficult to untangle. To ensure that repotting does not cause damage to the roots, immerse the culture pot in soft, room temperature water.
Please make sure that there is no water in the heart of the plant or in the leaf axils. If there are no more air bubbles rising, the aerial roots are nice and supple and easy to handle. Add a dash of orchid fertilizer to the immersion water so that the plant can regenerate better afterwards.
Step-by-step instructions for repotting with aerial roots
Thanks to the water bath, the aerial roots are flexible enough to be removed from the pot. If you still feel resistance, knead the plastic pot from all sides. In this way, even the last resisters can be detached from the edge of the vessel. Proceed as follows with a potted orchid:
- Shake off or rinse off the used substrate
- Carefully remove the last remaining pieces of bark with your fingers
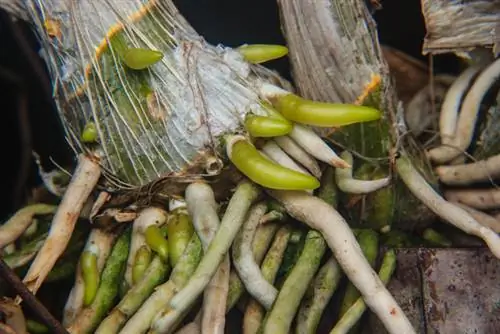
- Using a sharp, disinfected knife, cut off any dried or mushy aerial roots
- Also cut dead bulbs and drawn leaves
Before the orchid takes its place in the new pot, add a thin layer of expanded clay to the bottom as drainage and some special substrate. Now take the root ball in your hand and screw all the aerial roots into the pot. The nose-shaped specimens that previously grew over the edge also belong there. Then fill in the remaining orchid soil so high that all root strands are covered.
Tip
Cut wounds on he althy aerial roots heal in no time with cinnamon. Dust the cut edges lightly with the spice. Since it has an antibacterial effect, cunning pests and pathogens have no chance. If there is no cinnamon in the kitchen, charcoal ash will do the job just as well.

