- Author admin leonars@hobbygardeners.com.
- Public 2023-12-16 16:46.
- Last modified 2025-01-23 11:21.
If you decide on a film made of EPDM instead of a film made of PVC, you have to do a few things differently when laying and especially when gluing. You can find out where the differences are and how you can glue EPDM film in our article.
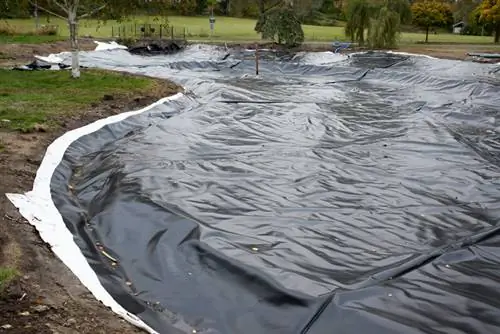
How do I glue EPDM pond liner correctly?
To glue EPDM pond liner, you should use a seam tape and carefully prepare the adhesive surfaces with a primer and a scratch sponge. Then insert the tape and press the edges firmly to ensure a secure connection.
Differences between PVC and EPDM
In many cases the choice will fall on a PVC film - simply because it is the most widespread and is also predominantly used in the professional sector by landscaping farmers. In terms of its properties, EPDM film is superior to PVC film in some respects:
- highly flexible even at very low temperatures
- higher UV and ozone stability
- higher stretchability (up to over 300%)
- highest environmental and fish compatibility of all films
- no plasticizers, therefore does not become brittle and contains no toxic substances
- very long lifespan (up to 40 or 50 years)
- usually 20 year guarantee
- large tarpaulins possible, therefore quick installation
So there is a lot to be said for EPDM film. It is also the ideal solution, especially for ponds with fish or swimming ponds.
gluing EPDM
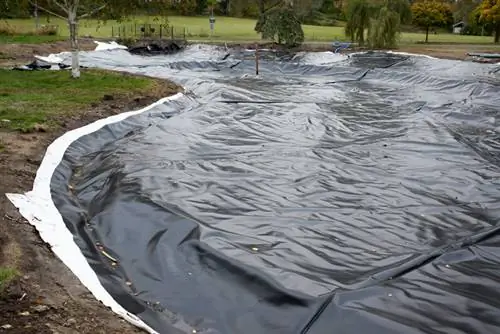
In many cases you don't have to glue EPDM film at all. Seamless installations are possible up to an area of 930 m². This is made possible by particularly large tarpaulins that can be used. Even in the trade, roll widths of up to 15 m are often not uncommon, and the length of the strips is then up to 61 m.
If you have to glue the film or weld individual strips, you can do this with EPDM film using aseam tape. Both sides of the overlap (at least 15 cm wide) are prepared first.
Then the adhesive tape is inserted and the edges are pressed together. This is relatively easy and hassle-free. As an alternative to this standard solution, a special adhesive can also be used, although this is rarely used in practice.
Preparation of the adhesive surfaces
Preparation of the adhesive surfaces is very important in this case. If you don't work carefully here, the connection will suffer.
The surface must be pre-treated with a primer and a scratch sponge. This makes the surface ready for the adhesive.
Tip
In most cases you will be able to avoid gluing by simply using a sufficiently large piece of a large sheet.

