- Author admin leonars@hobbygardeners.com.
- Public 2024-01-05 20:48.
- Last modified 2025-01-23 11:21.
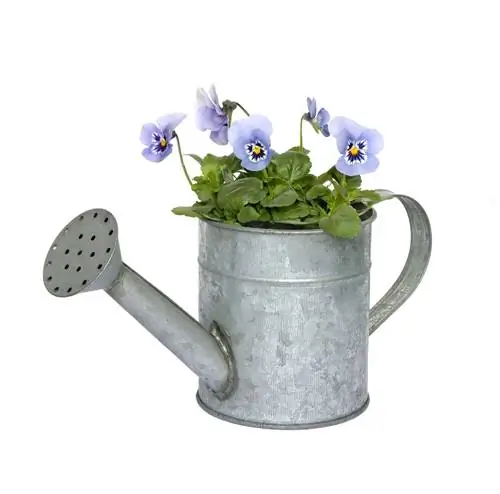
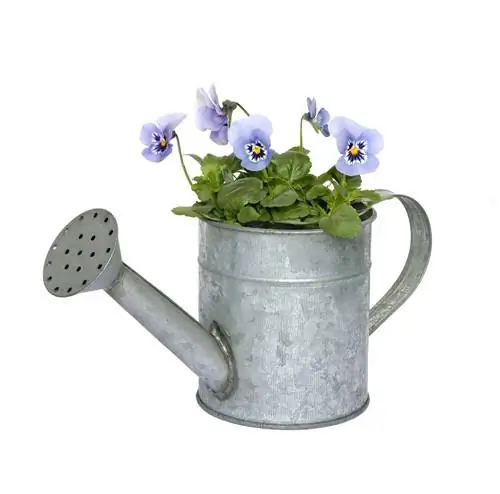
A planted watering can is a very pretty decoration for the garden, balcony and terrace. However, you should take a few precautions before planting. Below you will find out what these are and how to plant your watering can step by step.
How can I plant a watering can?
To plant a watering can, cut a larger opening, sand the edges, drill drainage holes, fill in expanded clay and soil and insert the plants. Choose plants that suit the location of your watering can.
Convert the watering can into a flower pot
For a watering can to become a flower pot, it needs two things above all: a large opening at the top and drainage so that excess water can drain away. Please remember that you will not be able to use your watering can as a watering can again after this conversion work!Depending on the material your watering can is made of, you will need different tools: For a plastic watering can you only need a pair of very sharp scissors or a sharp knife and possibly a drill for drilling the drainage (but with a little skill this can also be done with a sharp knife and a screwdriver). You need significantly more tools and a little more time to work on a metal watering can. Below we will explain to you how to plant a metal watering can.
Planting a metal watering can step by step
- Hacksaw
- Metal drill
- Hammer
- Sandpaper or file for metal
- expanded clay
- Earth
- Plants
1. Saw the opening
First, a larger opening is sawn into the watering can. To do this, the entire upper area is cut off with a hacksaw. You can also skip this step, but then you will only have very little space for planting.
2. Sand the opening
Metal is known to have sharp edges, especially when it has been cut straight. Therefore, the edge must now be smoothed so that you cannot injure yourself. To do this, use sandpaper or a file for metal and press in larger residues with a hammer.
3. Drilling drainage
Now drill several small holes in the bottom so that excess water can drain away and the plants do not have to suffer from waterlogging. File or sand the edges again.
4. Fill watering can
Now add one to two centimeters thick expanded clay to the watering can as a bottom layer. Alternatively, you can also use ceramic shards or stones. Then fill the watering can with soil up to just below the rim. Use high-quality substrate and/or mix some compost into the soil.
5. Plant watering can
Now put the plants in the watering can. Decorate them creatively. Select plants depending on location.

