- Author admin [email protected].
- Public 2023-12-16 16:46.
- Last modified 2025-06-01 06:02.
The tasteful front garden design is dominated by a combination of paved areas and easy-care, decorative plants. A beautiful pavement made of natural stones increases the costs considerably. Skilled home gardeners therefore put the brakes on costs and simply lay paving stones themselves. These instructions explain step by step how to do it.
How do you pave a front yard?
To pave a front garden, you need paving stones, curbs (optional), gravel, gravel, jointing sand, tools and a vibrating plate. Dig the ground, lay down a frost protection layer and a bed of sand, lay the paving stones and fill the joints with sand.
Material and tool requirements with preparatory work
Record all important data about the paved area in a detailed plan sketch. This results in a specific material and tool requirement, consisting of the following components:
- Paving stones (plus scope for waste)
- If necessary, curbs and concrete
- Gravel, crushed stone, construction and polymeric joint sand
- Stone cracker and vibrating plate (rented)
- Wheelbarrow
- Shovel or spade
- Broom, rake, scraper
- Stakes, string, spirit level
Measure the area to be paved in the front yard. Use stakes and a guideline to mark the exact route along the top edge of the paving stones. Then dig the ground to a depth of 30 to 50 cm. If your garden is in a region with severe frosts, we recommend excavating to a depth of 60 to 90 cm.
Creating a frost protection layer - this is how it works
To protect your valuable paving stones from frost damage, first apply a frost protection layer of gravel with a 32 grain size. Spread the gravel evenly in the excavated pit to a height of 10 to 30 cm. The vibrating plate is then used to compact the gravel layer.
Building a bed for paving stones - How to do it right
Create a sandy bed for your paving stones on the frost protection layer. A height of 4 to 5 cm is enough to properly lay the stones later. A gradient of 2 percent effectively prevents the accumulation of rainwater. Use the scraper to smooth out the sand layer. When measuring the height, please note that at the end the paving surface will be shaken down again, which will result in an additional reduction of 1 cm. The removed sand bed may no longer be entered.
Laying paving stones - that’s what matters
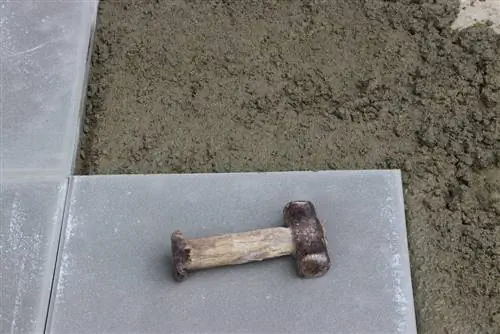
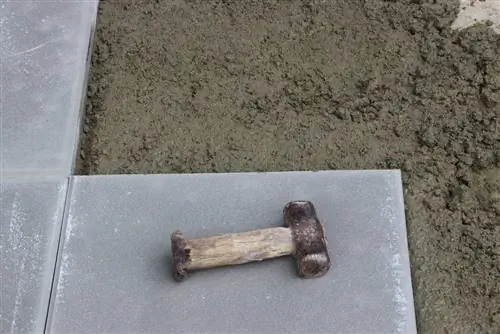
In addition to the cut paving stones, the stretched guideline and the spirit level are your most important utensils. Place each stone individually in the sand bed with a joint width of at least 5 mm. If necessary, lightly tap the stones into the correct position with the rubber mallet.
At the end, use the broom to sweep in the joint sand until a gapless paving surface is formed. If you have followed our recommendation and used polymer joint sand, your front garden will at least be spared from weeds and ants in this area.
Tip
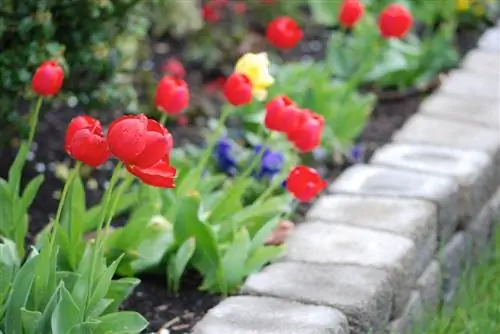
Larger paved areas in the front garden are given more stability with curbs. For this purpose, lay a 10 to 20 cm thick strip foundation made of concrete. Insert the curbs one after the other so that a third of their height is fixed in the concrete. Use a rubber mallet to tap the stones into place and check the alignment using a spirit level.

