- Author admin leonars@hobbygardeners.com.
- Public 2023-12-16 16:46.
- Last modified 2025-06-01 06:02.
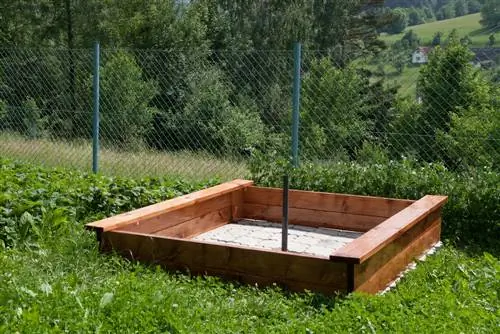
Building a sandpit with a cover is not that difficult, provided you have some craftsmanship. All you need is good building instructions. What else do you need to build a sandpit with a lid yourself?
What materials do I need to build a sandbox with a lid?
To build a sandbox with a cover yourself, you need construction instructions, boards for the inside and outside walls as well as the cover, sandpaper, glaze, wood drill, cordless screwdriver and wood screws. Impregnated boards are recommended, and the sandbox should be placed on water-permeable foil.
Build your own sandbox with a cover - instructions
To build a sandpit with a cover yourself, you need some time. For this you get a sandbox whose size, depth and type of wood you can determine yourself. The design of the sandbox is entirely in your hands.
Create building instructions or find a corresponding building plan on the Internet.
How big the sandpit will be depends on how big the garden is. It also plays a role how much money you want to invest. Some types of wood are quite expensive. You also need to calculate how much sand is needed. The amount can be easily found out using online calculators.
What is needed
- Construction instructions
- Boards for the outside walls
- Boards for the interior walls
- if necessary, boards for benches
- Boards for the cover
- Sandpaper
- Lasur
- Wood drill
- Cordless screwdriver
- Wood screws
You should have the boards sawn to the desired dimensions at the hardware store. It is also recommended to buy impregnated wood. Then you will save yourself a lot of work later because you no longer have to use a saw or glaze the boards.
You have to use sandpaper on untreated wood (€14.00 on Amazon) so that the little ones can't tear splinters later. To ensure that the wood stays he althy for a long time and doesn't get moldy, treat it with glaze.
Set up a sandpit with a lid
First the inner walls are screwed together, then later the outer walls. The benches are assembled at the end.
Once the frame has been assembled, take it to the designated place in the garden. Create a layer of gravel as a base. Whether you bury the sandbox completely or only halfway depends on how much you feel like digging out.
Finally, fill the sandbox with sand. Which sand you choose for this is a question of your wallet. Certified play sand is more expensive than building sand from the hardware store.
Put on the cover
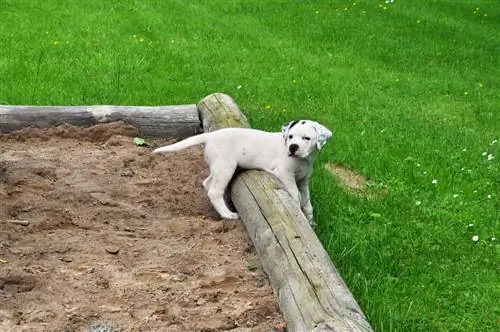
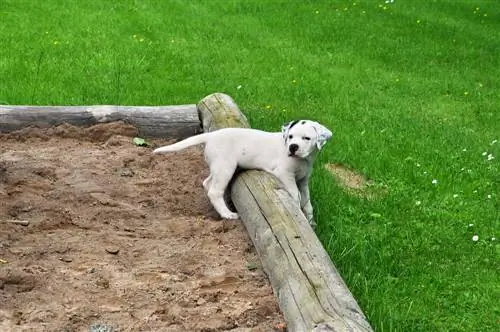
The cover of the sandpit is made from boards screwed together. It is always put on when the sandpit is not used for a long time. You should also cover the sandpit with the lid in the evening to keep cats and dogs away.
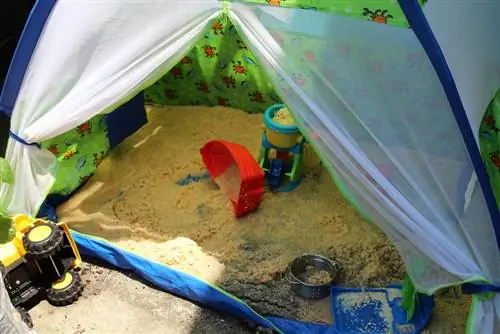
The cover is very useful to prevent dirt, leaves and unwanted growth in the sandpit. This means you don’t have to clean the sand as often. It also serves as protection from rain. The sand doesn't get as wet and the sandbox can be used again more quickly.
Tip
You should use water-permeable film as a base for the sandbox. Otherwise the rainwater cannot drain away and the sandpit becomes a mud hole.

