- Author admin leonars@hobbygardeners.com.
- Public 2023-12-16 16:46.
- Last modified 2025-01-23 11:21.
Why buy when there is a nicer option? If you build a bird bath yourself, you are guaranteed to get something unique. Many materials are suitable for the simple shape. Everyone can choose according to their preferences. And the outside of the potion can be decorated to your heart's content.
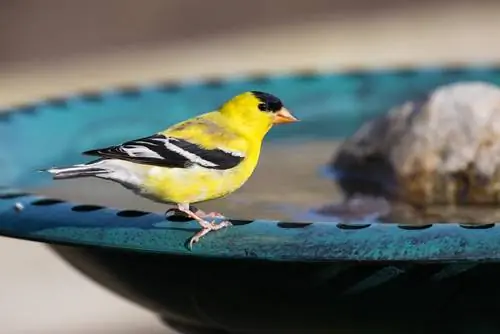
What materials can you use to build your own bird bath?
A bird bath can be built yourself from materials such as stone, cast stone, concrete, clay, weather-resistant wood or metal. Using a suitable shape or bowl, individual designs can be created and later placed in the garden.
What can make a potion?
The simple bowl shape makes it possible for a bird bath to be made from a wide variety of materials. Of course, there are a few subtle and not always insignificant differences. The price for the procurement of materials plays a role. The effort involved in processing and feasibility at home also has a say.
However, whenever possible, your own taste should decide. It is also ideal if the trough fits harmoniously into the surroundings. You can use the following materials.
- Stone or cast stone
- Concrete
- Sound
- weather-resistant wood
- Metal
Stone and clay
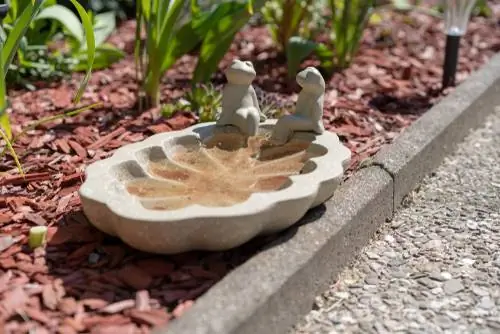
Beautiful bird baths can be made from stone and clay. Many small figures can also be made from clay, which can be attached to the drinking trough as external decoration.
Water points made of clay and stone don't have to be absolutely perfect. Often this is precisely what makes them so special. Nevertheless, experience is an advantage here. Special tools are required when working with stone. Working with clay requires knowledge of the material. A turntable is useful and an opportunity to fire the finished works is essential.
Tip
Google pottery or stonemasonry classes near you. A course like this with professional guidance is the easiest way to implement your project.
Alternative: bird bath made of clay pots
Maybe you have some old clay pots lying around somewhere. A bird bath made from clay pots is easier for laypeople to “put together” than making a complete bird bath out of clay themselves. You need:
- 2 large clay pots
- a very large pot trivet made of clay
- Tile adhesive
- maybe. Color to beautify
Construction instructions
- Clean the pots and saucer and let everything dry again.
- Place the larger pot with the opening facing down.
- Coat the bottom of the pot facing upwards generously with tile adhesive.
- Place the second clay pot on top. So that its opening points upwards and therefore both pot bases touch.
- Coat the edge of the top clay pot with tile adhesive and then stick the trivet on it. Its opening should face upwards.
- Let the structure dry.
Tip
After the tile adhesive has dried, you can paint the bird bath with waterproof paints as desired.
Concrete and cast stone
Any reasonably patient and carefully working do-it-yourselfer can build an attractive bird bath using concrete and cast stone. This is first cast into shape and then finely smoothed and embellished after drying. You can get the necessary materials at the hardware store.
You will also need a bucket for mixing and a ladle. A brush that can be used to paint the shapes with oil is also helpful. Everyone usually already has a hand brush at home for brushing the birdbath.
If you want a colorful look, you can get suitable paints from the store and use them to paint small works of art on the birdbath.
Tip
Respirator mask is a must when mixing concrete or grinding concrete forms. A lot of fine dust is stirred up.
Instructions for the basic shape
Making a concrete bird bath yourself is not difficult. This also applies to cast stone.
- Find two suitable plastic trays to pour the mold. They should be of different sizes and stackable inside each other.
- Mix the concrete or cast stone.
- Oil the outside of the small bowl and the inside of the large bowl to prevent the icing from sticking.
- Put the concrete or cast stone into the large bowl. Shake it or move the bowl back and forth so that the concrete can spread better and the air bubbles can escape.
- Place the smaller bowl on top and push it deeper into the concrete if necessary.
- If necessary, add more concrete to the space between the two shells.
- Let the mold dry for 2 to 3 days.
- Remove the dried mold from the shells.
- Sand the surfaces smooth with a sanding sponge so that the birds cannot injure themselves. You can then paint the shape.
Set up birdbath
Pay as much attention to setting up the birdbath as you do to making it. If it is in an inappropriate location, the bird bath will not be accepted. First and foremost, the birds must be able to recognize approaching dangers in good time and avoid them by flying away. Bushes are an advantage, but they should only be about 3 m away. The waterer may only be placed on a mown lawn or elevated on a stand.

