- Author admin leonars@hobbygardeners.com.
- Public 2023-12-16 16:46.
- Last modified 2025-01-23 11:21.
You don't know where to put your garden tools and bicycles, would you like a cozy second patio on a spacious property or a cozy lounge for barbecues? Then a garden house is ideal, which can be individually planned and easily built by yourself with a little craftsmanship. Not only is it a lot of fun, an arbor you build yourself can also be easily adapted to the size of the garden and your personal needs. With our step-by-step instructions, nothing stands in the way of your DIY house.
How can you build a garden house yourself?
Building a garden house yourself requires a construction plan, possibly a building permit, a solid foundation, high-quality wood, a framework, a roof construction, walls, floorboards and a covered roof. With craftsmanship and step-by-step instructions, DIY construction is possible.
The blueprint
Of course, provided you have a little background knowledge, you can draw the plan for your own construction yourself and thus implement your wishes perfectly. Alternatively, there are cheap building plans for a variety of houses on the Internet.
Attention:
If the arbor requires approval, the construction plan must be signed by an architect or civil engineer.
The building permit
Whether you are allowed to build a garden house without this or whether you have to obtain a building permit beforehand is determined in the regulations of the respective state building regulations. If you are unsure, it is always advisable to go to the responsible authority with the building plan.
Is the house due to:
- Size or height
- Terrain condition
- or facilities (sanitary facilities, heating)
subject to approval, the authority must in any case approve the plan drawn by the architect or civil engineer before construction begins.
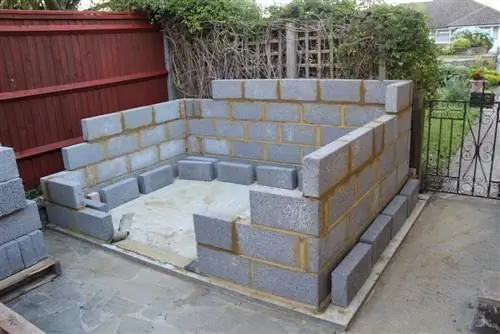
Finally it's time to build: The foundation
A string structure marks the future location of the house. You can create the foundation in different ways, below we would like to introduce you to the most common ones.
The slab foundation
This is very easy to make and is therefore very suitable for DIY:
- Dig a pit about 35 centimeters deep.
- Cardboard these with sturdy boards.
- Fill in about 15 centimeters of gravel and compact with a vibrating plate.
- This is followed by a layer of concrete, an inserted steel mesh and another layer of concrete.
- Smooth the surface with a squeegee.
The strip foundation
Here, thick concrete is only used under the load-bearing walls; ten centimeters of material thickness is sufficient for the floor slab itself. However, in order to withstand severe frosts, the strips must be at least eighty centimeters deep. A mini excavator is very helpful for this work.
The point foundation
The point foundation is usually made up of nine concrete individual foundations, although the number can vary depending on the size of the self-built garden house.
- Tighten cords that cross in the middle from the lacing frame and determine where the pits for the foundation have to be dug.
- Dig square holes with a side length of forty centimeters and a depth of eighty centimeters.
- Depending on the floor, form formwork and fill with concrete.
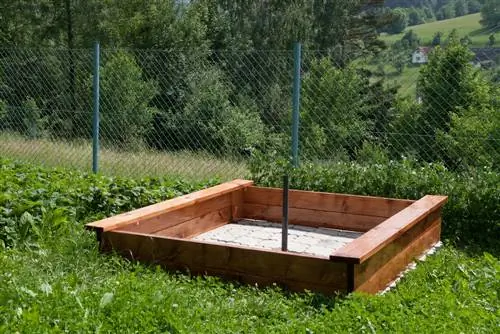
Alternatively, you can also lay a stable base made of concrete slabs or place the house on a wooden substructure.
The wood: The best quality is just good enough
Wood is a living material that can crack and change shape. Therefore, ensure that the material used is of high quality. It is extremely important to thoroughly paint all wooden parts with wood protection paint before assembly. This protects your home from mold and weathering and is therefore a guarantee of longevity.
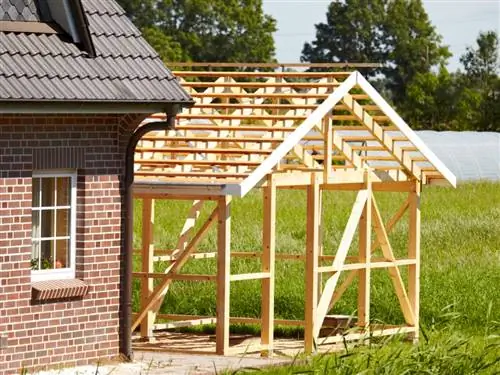
Set up the stud frame
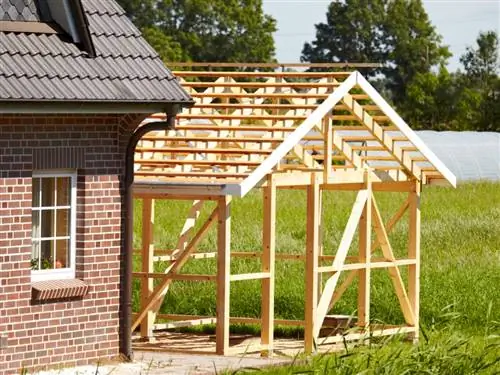
A look at the construction plan shows: Now it's time to construct the side beams, which are the basis for each wall. Thanks to the stable substructure, you can either screw the posts directly to the U-post supports anchored in the base or first attach a wooden substructure to the foundation.
It is important to carefully install all the middle and cross beams listed in the instructions, as these ensure good stability in the DIY garden house.
The roof construction
If you have decided on a classic roof with two slopes, the ridge beam is attached first. The rafters extend from this and are held in place by special rafter brackets. Screw the cladding boards onto these.
The Walls
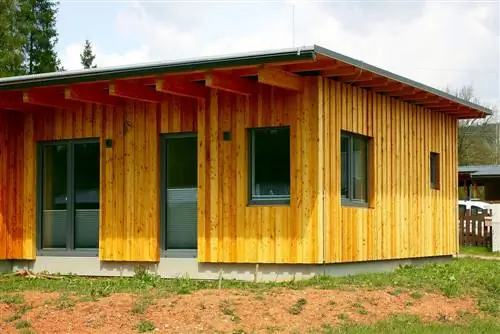
It's still a long time coming through our DIY garden house, it's finally time to put up the walls. As with the roof, formwork boards are used here, which are cut to the length of the side walls and screwed to the beams of the stand construction.
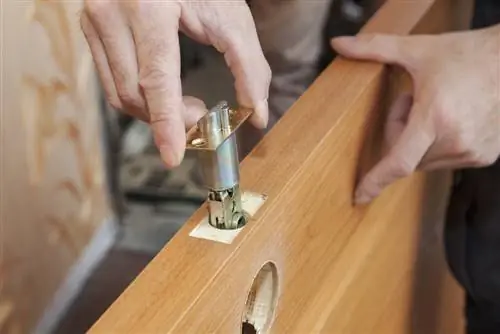
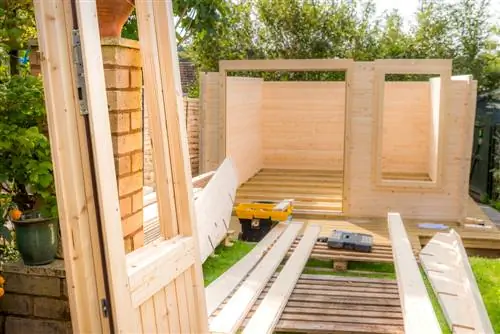
Don't forget the recesses for the windows and doors. You can also build the front door yourself or alternatively use a ready-made model from the store. Depending on the construction of the house, the windows are installed directly during wall installation or afterwards.
The floorboards
Whether you put a wooden floor in the garden house depends on the substructure and its later use. If only garden tools or bicycles are stored in the house, the floor must be robust and easy to maintain; a concrete or slab base is sufficient. A wooden floor, on the other hand, looks more comfortable and transforms the garden house into a second living room.
Roofing
Now it's almost done, only the roof still needs to be covered. Simple roofing felt offers sufficient protection, but is not as stable as other coverings. That's why it often only forms the first layer. You can lay robust bitumen shingles, which are available in many beautiful designs, or roof tiles over these.
Tip
You can easily recycle existing materials for your own garden house. A disused front door, still good but already weathered boards or old shingles give the house a very special charm.

