- Author admin leonars@hobbygardeners.com.
- Public 2023-12-16 16:46.
- Last modified 2025-06-01 06:02.
If you would like to redesign your garden a little and also add a perennial, all you need to do is follow our instructions and tips. Then basically nothing can go wrong.

When and how should you transplant perennials?
The ideal time window for transplanting perennials is in spring (end of March to beginning of May) or late summer/early fall. Choose a cool, damp day, prepare the bed, carefully remove the perennial and replant it at the correct distance. Then pour thoroughly.
A question of the right moment
It is important not to transplant perennials at the wrong time. Basically: never plant the beauties
- right before flowering,
- if temperatures are too warm or
- when frosty
um. Ideally, you should transplant in the spring (between the end of March and the beginning of May). Alternatively, late summer or early autumn is also an option. If possible, opt for a damp, cool day.
Transplanting perennials in spring
In spring, perennials grow well, so that after transplanting the roots quickly establish themselves in the soil, which ensures the necessary strength. Thanks to their stability, the roots can optimally supply the leaves and flowers with water and nutrients during the main growth period.
Transplanting perennials in late summer/early fall
When the hot days are over, perennials have their main growing season behind them. They are absorbed slowly, but the roots continue to grow until late autumn. This means that after the plants have been transplanted, they can still develop enough root mass to survive the cool season and begin to develop gradually in early spring as usual.
Attention: If you only plant perennials in November, the plants usually do not have sufficiently functional roots. The result: They dry out and grow poorly.
Transplanting perennials - step-by-step instructions
- Prepare the bed in which you want to move the perennials thoroughly. In concrete terms, this means that you have to specifically improve the soil. Make sure it is free of roots and weeds. Also, don't forget to loosen it up. Adding mulch or fertilizer can't hurt.
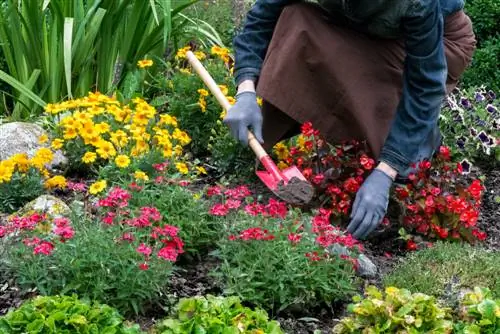
- Free the perennial. To do this, stick a digging fork (€139.00 on Amazon) or a spade into the ground around the rootstock and move the device back and forth several times - this will loosen the root ball. Be careful not to injure the bunion.
- If necessary, you can divide the perennial.
- Replant the perennial as quickly as possible. It cannot be left without soil for too long. You should also be careful when planting so as not to damage the roots.
- Water the transplanted perennials thoroughly - it's best to slurry them up.
Note: Make sure to plant your perennials at the correct distance from each other.


