- Author admin leonars@hobbygardeners.com.
- Public 2023-12-16 16:46.
- Last modified 2025-01-23 11:22.
Acquiring a clematis commercially is not a difficult undertaking. However, propagating them independently poses certain challenges. If you want to be a little creative, propagating clematis in a simple PET bottle can promise success.
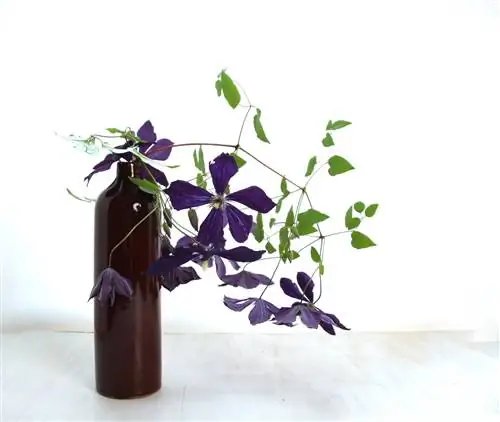
How to propagate a clematis using a bottle?
When propagating a clematis using a PET bottle, the shoot roots more quickly because the high humidity and reduced water evaporation create ideal conditions. Pull the shoot through the cut bottle, fill it with soil and wait 2-3 weeks for roots to form.
What is the advantage of propagating clematis in a bottle?
If you use a plastic bottle to propagate a clematis, the cutting will rootfaster than without a bottle. Due to the high humidity within the bottle and the reduced water evaporation from the soil, roots can develop within a few weeks. Propagation does not necessarily have to be done at home, but can also be done outdoors without much further intervention.
What do you need to propagate clematis in a bottle?
First of all, a suitablebottleis important. It should be made of plastic, transparent and have a capacity of 1.5 to 2 liters. Also necessary areSoil, a clematis with long and strong shoots, a sharp knife and a flower pot.
How exactly do you go about propagating clematis in bottles?
The first step is to cut thebottom off the bottle. Then the screw cap is removed. The respective clematis shoot is now pulled through the drinking opening at the neck of the bottle. It is ideal if it can be lowered to the ground. The bottle can then be placed on the floor or secured there later. Do not cut the shoot from the mother plant! This only happens after rooting. Now fill the bottle with some soil and the rooting can begin.
What happens to the clematis in the bottle?
In the next few days and weeks - depending on the temperature - the clematis will developnew roots inside the bottle. At the same time, it continues to grow. Check from time to time whether the soil is too dry or whether mold has formed.
How long does it take for clematis to root in the bottle?
Rooting clematis can take two to threeweeks. But then the shoot should not be separated from the mother plant. It's better to wait a few more weeks until it is strong enough and has formed new leaves.
What do you do after rooting the clematis in the bottle??
As a rule, the clematis shoot can becutfrom the mother plant after six to eight weeks. Now it is planted separately in a newlocation. The soil there should be permeable and nutrient-rich. Alternatively, you can plant the rooted shoot in a container. In the first winter it is not yet sufficiently hardy, which is why it is recommended to overwinter it properly.
Tip
Scratch the clematis shoot with a knife
To accelerate rooting and allow the roots to develop in certain parts of the shoot, you can help a little. Carefully score the clematis shoot with a knife. Roots tend to form later where the shoot is scratched and meets the ground.

