- Author admin leonars@hobbygardeners.com.
- Public 2023-12-16 16:46.
- Last modified 2025-01-23 11:19.
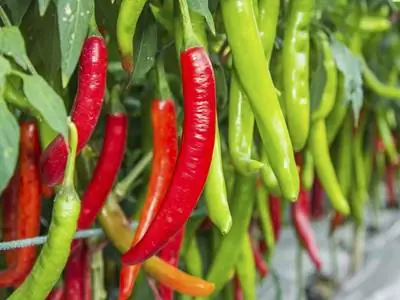
If the hobby gardener also has the heart of a gourmet, the desire to grow one's own chili is not far off. Read everything about the uncomplicated procedure below. From sowing to planting in four steps.
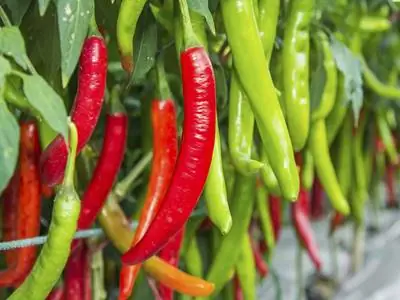
How do you grow chillies successfully?
To grow chilies successfully, you should start sowing in February or March, prick out the seedlings and repot them as soon as they have rooted. Plant the chillies outdoors after the Ice Saints (May 15th) and ensure there is sufficient watering.
Early sowing ensures timely harvest
The long ripening period of up to 120 days requires early sowing in February or March. It is warm enough in the room, greenhouse or heated winter garden at this time of year. Pre-treatment in s alt water improves the germination of the seeds.
- Insert seeds in potting soil 2-3 mm deep and sift over
- maintain a planting distance of at least 2 cm
- Set up in a partially shaded window seat or in a mini greenhouse
- The seeds germinate quickly at 25-28 degrees Celsius
Use rainwater from the spray bottle (€7.00 on Amazon) to keep the seeds constantly moist. Waterlogging must be avoided at all costs. There is no fertilization in this phase of cultivation.
Pricking with a steady hand
The more tropical the micro-climate, the faster the seeds germinate. First, 2 small cotyledons protrude. They are followed by the first real pair of leaves, which do not stay alone for long. If the seedlings get too close in the pot, they are pricked out.
- fill small pots with self-mixed peat sand
- Use a pricking stick to lift each seedling out of the ground individually
- shorten long root threads to 2 cm with scissors
-
Pre-drill a small hole with the pricking rod
Plant a little deeper than the chilies were in the seed container. The substrate may reach up to the cotyledons. Press down the soil and moisten it along with the plants.
Repotting early activates extra root mass
The primary goal of professional cultivation is to produce a lush root mass. Under this condition, the future supply of the above-ground parts of the plant is ensured. Therefore, repot as soon as the planter has roots. Depending on the vigor of the cultivated variety, this may be necessary several times.
The chilies now receive a richer substrate of vegetable or garden soil with compost, a handful of slow-release fertilizer, perlite and sand.
- Create a drainage system at the bottom of the pot made of coarse, inorganic materials, such as gravel or grit
- spread a water- and air-permeable piece of fleece over it
-
place the plant in the middle and surround it with soil
In the last step of repotting, press the substrate a little and water the chili with rainwater.
Planting out after Cold Sophia
The heat-loving chili plants must not be exposed to frosty temperatures. They are therefore only planted in the bed after the Ice Saints. The K alte Sophia marks the beginning of the summer gardening season on May 15th.
- loose up the bed soil and weed thoroughly
- Dig planting holes at a distance of 40-50 cm
- create a drainage from crushed pottery shards
- Planting and watering the chillies
Until after the cold weather at the beginning of June, prudent gardeners protect their plants at night with insulating fleece.
Tips & Tricks
Chilis are quite thirsty plants. The warmer and drier the weather, the more frequently watering occurs. Happy are the recreational gardeners who think about a 5 cm high watering edge when planting and repotting. You are spared the hassle of wiping up the spilled, dirty-wet soil mixture after every watering.

