- Author admin leonars@hobbygardeners.com.
- Public 2023-12-16 16:46.
- Last modified 2025-01-23 11:20.
In winter you don't need to worry about your hostas, because these plants tolerate frost well - or do they? Read on and you'll know what to consider and tackle when the first frost hits!
How do you overwinter hostas properly?
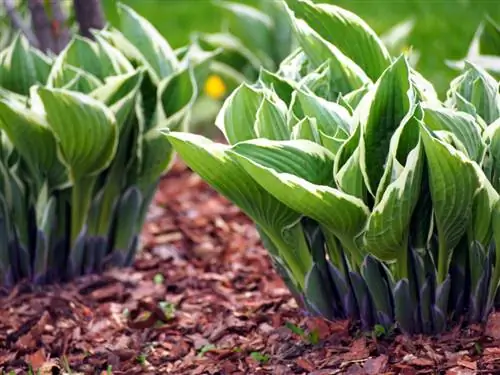
To successfully overwinter hostas, leave the dying leaves to create natural winter protection. You can also use brushwood, leaves or bark mulch. For potted plants, we recommend wrapping them with fleece or coconut mats and placing them in a protected position on the house wall.
Which hostas should be overwintered?
Most hostas that grow in gardens in this country do not need winter protection. They cope well without a protective layer because they are hardy down to -20 °C or -25 °C in protected locations.
But some specimens should be protected. These include:
- newly planted hostas
- freshly sown hostas
- generally more sensitive varieties
- Honas that grow in rough locations
- Honas standing in the pot
Wintering measures: This is how it works
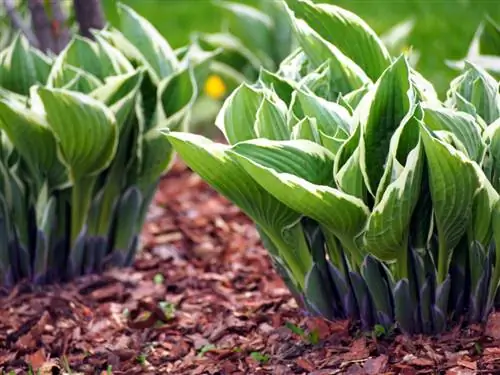
Overwintering the hostas is completely uncomplicated. As soon as the first frost sets in, you will notice that the above-ground parts of the plant die off. The hostas retreat into their roots. If you leave the leaves lying around, they serve as natural winter protection.
You can also use brushwood, leaves or bark mulch to protect against frost. Hostas that are in the pot should be wrapped with fleece (€12.00 on Amazon) or coconut mats. On the other hand, the bucket should be placed on the wall of the house, where the hostas are safe from snow and rain.
Keep an eye on care before and after winter
- cut away old inflorescences before winter
- stop fertilizing
- water lightly in the pot when it is dry
- remove old plant parts completely after winter
- Fertilize from March/April
Tip
Before or after overwintering is a good time to divide the hostas.

