- Author admin leonars@hobbygardeners.com.
- Public 2023-12-16 16:46.
- Last modified 2025-06-01 06:02.
In principle, the hobby gardener does not need any experience to grow a walnut tree. This means that even those new to the field can easily try to grow a new tree from a nut. We'll show you step by step how to do it!
How to grow a walnut tree from a nut?
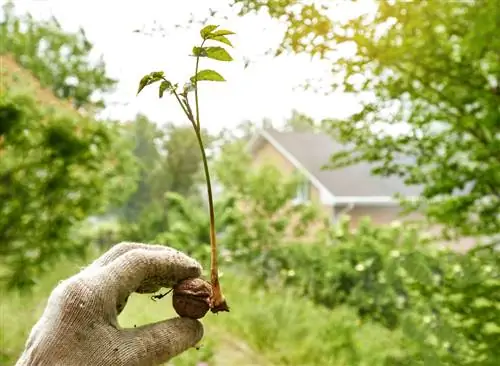
To grow a walnut tree, you need fresh walnuts, remove the green shell, do the floating test and store them in the garden in winter, buried in a pot with leaves and soil. In the spring, replant the germinated seedlings and pay attention to proper care until they can go outdoors later.
What You Need to Grow a Walnut Tree
If you want to grow a walnut tree, all you need is basically a handful of fresh walnuts, a pot of soil and a little luck.
Important: Make sure you have enough space in the garden right from the start. Over the years, walnuts reach an impressive height and width. So check what location options look like BEFORE breeding.
As far as nuts are concerned, you should never use nuts from the supermarket - they are generally not capable of germinating. It is ideal if there is a he althy walnut tree in a neighboring garden or forest (in the former case, you would only have to ask the owner to give you a few of its nuts). Alternatively, you can contact a specialist retailer (€42.00 on Amazon).
Note: You need five to six walnuts for a high probability of success.
Growing walnuts - step by step
- Remove the green shell of the walnuts.
- Perform the float test to identify and discard numb nuts. He althy walnuts sink to the bottom, while unsuitable ones float on top.
- Fill a flower pot with moist leaves.
- Place the walnuts on the leaves.
- Cover the nuts with some garden soil.
- Provide wire mesh all around the flower pot to keep rodents away.
- Carefully dig the pot into the ground in your garden. How to protect the nuts and future seedlings from frost damage.
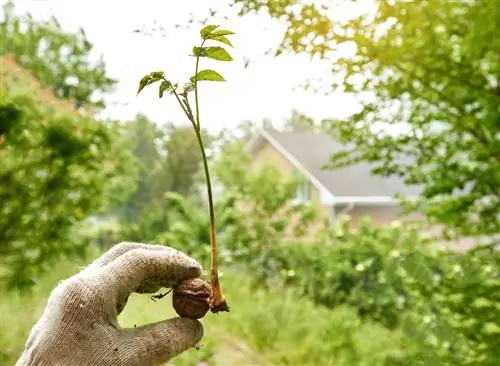
- Between the end of March and the beginning of April, the shells should open and roots and shoots appear.
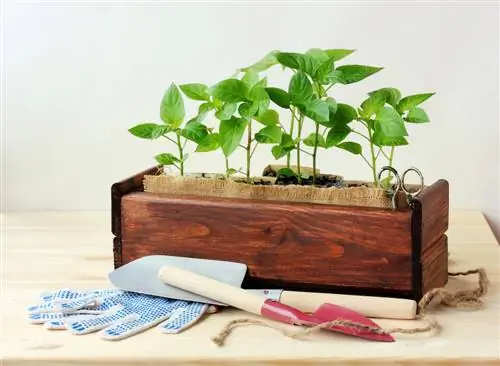
- Transplant the seedlings into a fresh flower pot with garden soil. It is important to plant the plants close to the surface (do not dig deep!).
- Place the pot in a bright, cool location until the Ice Saints are over. This, in turn, serves to protect the seedlings from frost. Temperatures of two to ten degrees are optimal.
- Keep the soil in the pot constantly slightly moist during this time.
- In the warmer seasons, the pot can be placed in a sunny place outdoors.
- After the following ice saints, place the young plants in your desired place in the garden.
- In the first few weeks after, you need to water the seedlings regularly, especially on warm, dry days.
- In the first year, the young plants grow approximately 25 to 30 centimeters in height.
- Identify the two or three strongest plants from all your seedlings - these will stay. Carefully pull the rest out of the ground.
- Then next spring, choose the most beautiful walnut seedlings. It should become your tree.
- Cut off the weaker plants below the root neck in the ground. By taking this measure you will prevent them from growing further. Attention: You should no longer pull here, otherwise you may damage the roots of your chosen tree.
- In the third or fourth year of your grown nut, it will be time for the first cut.
Tip
In order to accelerate the growth of the walnut and to be able to enjoy the first harvest after just a few years, grafting is recommended.

