- Author admin [email protected].
- Public 2023-12-16 16:46.
- Last modified 2025-01-23 11:21.
All native bat species are now on the list of endangered species. Many of them live predominantly or even exclusively in tree hollows. Since trees with holes in them are being cleared more and more frequently for various reasons, they can hardly find suitable hiding places anymore. By hanging bat boxes in your own garden, you can offer a home to these animals, which are very important for the ecosystem, and give homeless bats a welcome home.

How do I build a bat box?
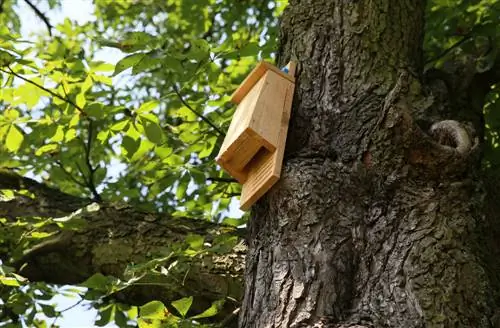
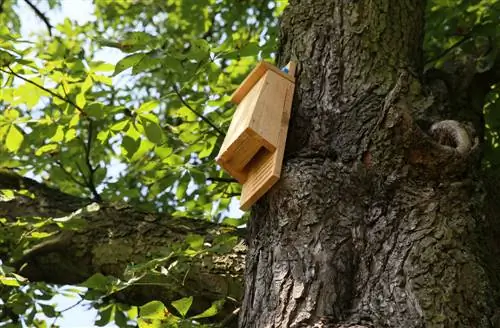
To build a bat box, you need wood (20-25 mm thick), suitable screws (€12.00 on Amazon), linseed oil and tar paper. Saw the individual parts to size, prepare the inner walls for support, assemble the parts and waterproof the box with linseed oil. Attach it stably and with free access for bats.
The construction is quite simple and can be done easily by even less experienced DIYers. Our box is designed in such a way that it is only attractive to bats, as the narrow entry and the lack of a seat deters birds from building nests.
Material list:
The wood used should be 20 to 25 mm thick and rough sawn. You need the following items:
| Art | Number | Dimensions |
|---|---|---|
| Roof | 1 | 30 x 10 cm |
| Back wall | 1 | 40 x 25 cm |
| Side walls | 2 | 4 x 2 x 33 cm |
| front wall | 1 | 33 x 25 cm |
| Entry bar | 1 | 21 x 2 cm |
| Hanging rail | 1 | 4 x 2 x 70 cm |
| tar paper | 1 remaining | enough to cover the top of the box |
Saw the pieces very precisely, as the animals are very sensitive to drafts.
Tool list:
- Drill (diameter 3.5 mm)
- Phillips screwdriver
- Chisel
- Wood glue or wood putty
- Matching, non-rusting screws (€12.00 on Amazon)
- linseed oil
Construction instructions
Use the chisel to dig up standing wood scales into the inside of the front, back and side walls. Alternatively, you can saw horizontal slots into the boards. This allows the bats to cling more easily and find sufficient support.
Now it's time to assemble:
- First screw the side walls to the back wall.
- Screw these to the front wall.
- File off any excess so that the roof can be put on without any gaps.
- If there are still any cracks, be sure to fill them with wood filler or glue.
- Attach the entrance strip to the lower inner edge so that an entrance gap about two centimeters wide remains. This should be neither smaller nor larger than 2.5 centimeters so that no birds can get into the box.
- Screw on the hanging rail.
- Cover the upper part of the box with tar paper. This serves as insulation and protection from woodpeckers looking for food.
- Finally, impregnate the bat box with linseed oil so that no moisture penetrates the wood.
Make sure that there are no screws protruding into the interior that could injure the animals.
How is the box attached?
Find a place for the bat box where you can screw it securely. It should not wobble even when there is a strong wind. The flight path must be clear so that the animals accept the new home.
Tip
Clean the dwelling only in winter. Since there is a slot in the floor through the entry bar, the residents' dirt falls out automatically. If you want to check the stockings in the summer months, you can shine a weak flashlight in during the day. Please do not disturb the bats unnecessarily.


