- Author admin [email protected].
- Public 2023-12-16 16:46.
- Last modified 2025-06-01 06:02.
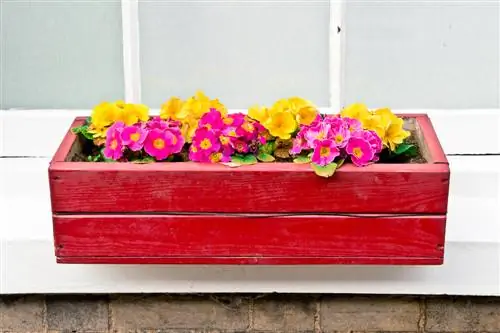
Are plastic flower boxes a thorn in your side? Made of wood, a balcony box harmonizes wonderfully with natural plants. These DIY instructions explain how you can easily make a wooden flower box yourself.
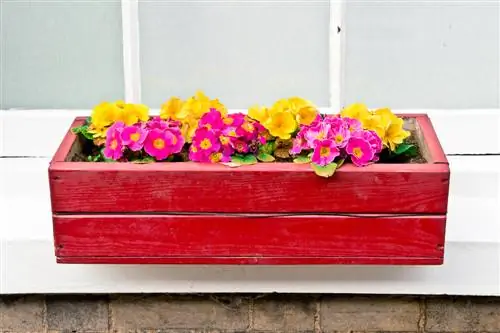
How do I build a wooden flower box myself?
To build a wooden flower box yourself, you need wood, squared timber, angle iron, screws, saw, screwdriver, foil, wood drill and wood stain. Cut the wood to size, screw it with squared timbers, attach angle iron and insert floor boards. Then paint the box with wood stain.
List for tools and materials
To build a flower box measuring 80 x 40 x 40 cm, you need the following tools and materials:
- 12 running meters of 10 cm wide wood (larch or Douglas fir)
- 4 squared timbers (4 x 4 cm) for the corners
- 2 angle irons for fixing the floor boards
- Screws
- Saw
- Screwdriver
- Foil
- Wood drill
- Wood stain and brush
Instead of sawing the boards and squared timbers into shape yourself, you can commission this work to a specialist wood shop for a small additional charge.
Step-by-step to the finished balcony box - this is how it works
Before you screw the boards for the side walls to the squared timbers, please sand all edges briefly. In this way, you can ensure that the components fit together seamlessly afterwards. Plan the corner posts so that they protrude about 2 cm from the ground. As a result, the balcony box stands on four wooden feet so that rain and irrigation water drains away better and the plants are ventilated from below. Proceed as follows:
- Screw the side parts either upright or lengthwise to the squared timbers
- Attach the two angle irons along the lower edge of the inner long sides
- Insert the floor boards into it with 1 cm gap between the joints as a water drain
As an alternative to the angle irons, you can also screw 2 squared timbers onto the long sides in order to lay out the floor boards on them. The wooden floor does not necessarily have to be screwed down. Alternatively, place the wooden slats for the box bottom into the angle iron without joints and then drill a few holes in them so that excess water can drain away.
Finally, paint your self-made wooden balcony box with a glaze. Please use a product with the 'Blue Angel' as a quality mark.
Make your own wooden balcony box in 10 minutes - DIY instructions for those in a hurry
Do you still have some planks left over from building your wooden terrace? Then you can make a balcony box yourself in no time. All you need is 3 long and 2 short boards that you cut to the desired dimensions. Use 12 special screws (€38.00 on Amazon) for wooden floorboards to screw all the parts together. These screws have extra small drill tips so that the valuable wood does not crack.
Drill a few holes in the bottom of the finished flower box so that your plants don't get their feet wet when it rains. Since the floorboards are weatherproof, there is no need to treat them with wood stain.
Tip
Give your self-made balcony box the finishing touch with a foil lining. Even a trash bag that has been cut open is suitable for this purpose. Pond liner is more durable and stable. Cut the foil in a cross shape over the water drains and staple the edges to the flower box.

