- Author admin [email protected].
- Public 2023-12-16 16:46.
- Last modified 2025-01-23 11:21.
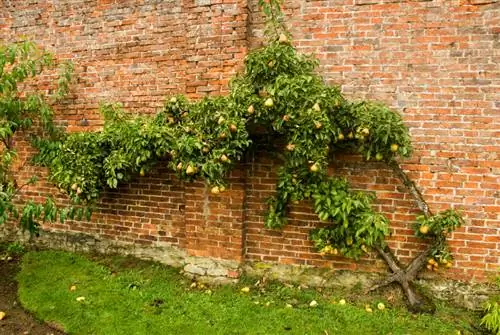
The U-shape is a popular way to grow espaliered fruit. Because the simple shape, which is based on the letter U, can also be easily realized by laypeople. The further care cuts also only represent a time challenge. Here's how to proceed.

How do I cut espalier fruit into a U shape?
To cut espalier fruit into a U shape, attach two side shoots to the framework and shorten them to approx.60 cm and remove other shoots. In the second year, pull the shoot extension horizontally and shorten it again to 60 cm. After 1-2 years, pull shoots vertically until the desired width is reached.
Various U-shapes
There are different variants of the U-shape. In the simplest form, two shoots are allowed to form a U while all other shoots are removed. In the more complex variant, another shoot grows in the middle of the first U, which in turn branches out a little higher in a U-shape.
Cut espalier fruit into U shape
Cutting espalier fruit is an art in itself. But the U-shape is easy to master because of its clear, simple shape:
- attach two side shoots diagonally to the left and right on the scaffolding
- shorten to approx. 60 cm
- remove other shoots completely
- In the second year, pull the shoot extension horizontally
- shorten this to 60 cm too
- After another 1-2 years, pull the shoots vertically
- as soon as the desired width is reached
If you want to add another U-shape after a while, let a central shoot continue to grow and then proceed as described above.
Maintain U-shape
Older trellises that have already acquired their U-shape also need to be cut regularly. Best in summer. If necessary, old, senescent shoots must be redirected to young shoots.
Tip
The U-shape is ideal for espaliered fruit in a pot, which is cultivated on the balcony to save space.


