- Author admin leonars@hobbygardeners.com.
- Public 2023-12-16 16:46.
- Last modified 2025-01-23 11:22.
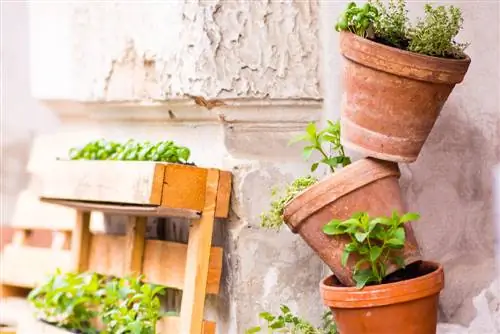
A wonderful decoration for a balcony or terrace is a flower pot pyramid. Planted with herbs it becomes a herb bed, with succulents or houseleeks it becomes a rock garden. Anyone who is a little handy can design such a pyramid themselves in a short time.

How can you make a flower pot pyramid yourself?
When making a flower pot pyramid, you need different flower pots, a wooden disc, an M 10 steel drive-in nut, a threaded rod, tools and plants. The pots are staggered and threaded onto the threaded rod at an angle and planted to create an attractive, multi-tiered plant arrangement.
Material for a flower pot pyramid
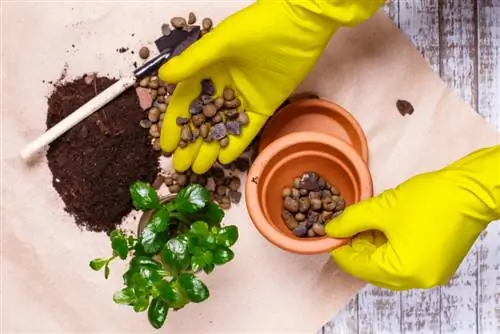
Before you start working, put all the materials you need at the workplace.
You need:
- several flower pots of different sizes
- a wooden disc with a diameter that is slightly smaller than the footprint of the largest flower pot
- a steel impact nut M 10
- a threaded rod M 10 with a length of at least 60 cm
- various tools, such as a hammer, a drill with a 12 mm drill bit, the hot glue gun, possibly a hacksaw, potting soil and plants of your choice
Building the flower pot pyramid
If your threaded rod is longer than 60 cm, first shorten it to the appropriate length with the hacksaw. Then they start with the pyramid.
- First, drill a 12 mm diameter hole in the wooden disc.
- Take the drive-in nut and sink it into the hole in the wooden disc with a hammer blow.
- Now screw the threaded rod into the nut.
- The board with the threaded rod is now glued to the bottom of the largest flower pot. To do this, use the hot glue gun.
- Now fill the pot with potting soil.
- Now push the second, slightly smaller pot over the threaded rod onto the large pot.
- Position the pot at a slight angle in the potting soil.
- Fill the small pot with soil.
- Push the next pot onto the pole.
- It should rest on the edge of the previous pot, but with the opening facing the opposite direction.
- String all the pots like this.
- Plant the pots with plants of your choice.
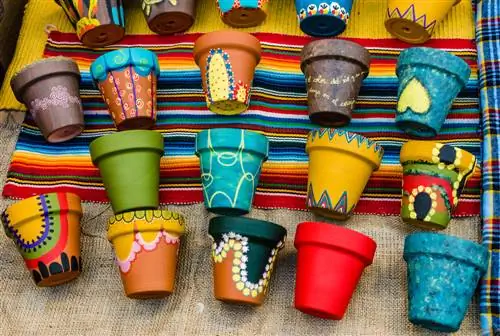
There are no limits to your imagination when it comes to beautifying the pyramid. Paint or glue the pots, you can also insert decorative name tags for the plants.

