- Author admin leonars@hobbygardeners.com.
- Public 2024-01-02 03:03.
- Last modified 2025-01-23 11:22.
A water reservoir in a flower pot is particularly valuable during the holiday season, as the reservoir takes over the watering for at least a few days. Various versions of flower pot irrigation are available commercially, but with a little skill you can build the water reservoir yourself.
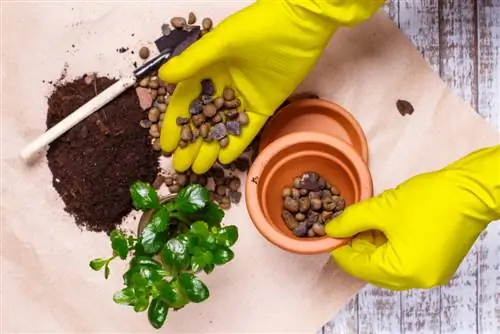
How do I build a water reservoir for flower pots myself?
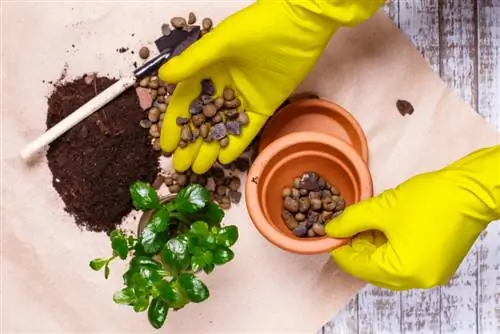
To build a water reservoir for flower pots yourself, you need a 30 cm high flower pot, sealant, expanded clay, gravel or pottery shards, fleece, a drill and stone drill. Close the hole in the ground, drill several holes at a height of 10 cm, fill in drainage material, cover it with fleece and fill in soil.
Build a water tank for the flower pot yourself, step-by-step explanation
All you need is a flower pot about 30 cm high, some sealant, expanded clay, gravel or pottery shards, a piece of fleece, as well as a drill and several stone drill bits.
- If the flower pot has a hole in the bottom, it must be closed with this flower pot variant.
- Take waterproof material, such as “Power Putty (€13.00 at Amazon)” (waterproof adhesive that hardens) or silicone.
- Close the hole and allow the mixture used to harden.
- Several holes must now be drilled into the flower pot at a height of approximately 10 cm (measured from the ground upwards).
- Now add expanded clay, coarse gravel or clay shards to the pot up to the row of holes.
- Cover the drainage with a piece of fleece and fill in the soil.
- Plant your flower and add water until it oozes out of the holes in the pot.
- The water tank is now full and the plant can use itself for a longer period of time.
Drilling holes in a flower pot
As this is a brittle material, special care must be taken when working. Proceed as follows:
- Glue fabric tape around the flower pot at the appropriate height. This prevents the clay from splintering and prevents you from slipping off with the drill.
- Draw the holes in the round.
- Place the pot so that it cannot slip or have a second person hold it firmly.
- Drill slowly with a thin masonry drill bit.
- Then widen the hole with a larger drill bit.
- Remove the tape.

