- Author admin [email protected].
- Public 2023-12-16 16:46.
- Last modified 2025-01-23 11:19.
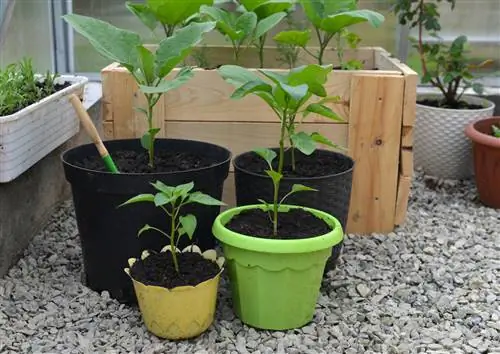
Chilis are not only useful, but also decorative plants for containers, flower boxes and pots. So that they feel comfortable in the container, drainage comes into focus when repotting. Other factors are also of interest.
How can I repot chili plants correctly?
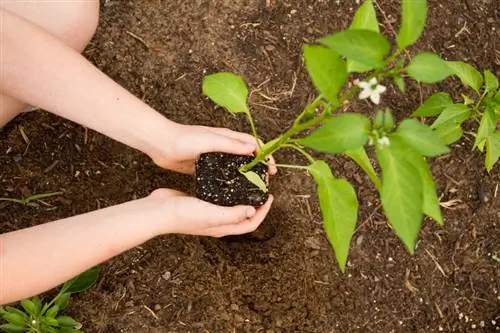
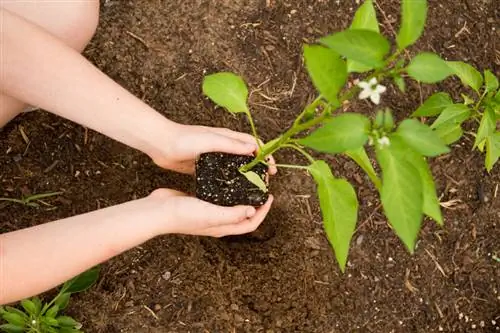
When repotting chili plants, you will need compost-based potting soil, a planter with drainage holes, and drainage materials such as perlite or gravel. First place drainage material and fleece in the container, fill in potting soil and position the plant in the middle. Then fill in the remaining substrate and water the plant well.
Repot in good time as a successful continuation of cultivation
If the cultivation was successful, the chilies ideally continue their lush growth in their own planter. At the latest when their leaves are constantly touching each other, the time is ripe for the move. Otherwise they will face trouble, such as rot or fungal infections.
These materials are required:
- Compost-based potting soil
- Planter with drainage holes in the bottom
- Perlite, gravel, grit or crushed pottery shards
- a piece of garden or weed fleece
- a coaster
- protective work gloves
Depending on the type of chili cultivated, the container should provide the root system with enough space. Regarding the material, black plastic is just as suitable as breathable clay.
Step by step to your new home
Once all the utensils are ready, the work can begin. The first step is to spread the shredded, inorganic material on the bottom of the planter. So that the drainage is not blocked later by substrate, spread the water- and air-permeable fleece over it.
Pour a first layer of potting soil over the fleece. Place the potted or pricked chili plant in the middle of the container. Favor the culture in the flower box, position the chilies at a distance of 30 cm to 40 cm from each other.
As you insert the remaining substrate, press it lightly with your fist. This means there are no cavities that hinder root growth. Last but not least, a well-measured dose of water ensures that the chili grows quickly.
Pouring edge prevents contamination
Cautious hobby gardeners always leave a watering edge (€5.00 on Amazon) of 5 cm free. It's really annoying to wipe up the soil-water mixture that spills over from the ground after every watering.
If excess water collects in the saucer, it should be removed after 30 minutes at the latest. Otherwise, due to capillary action, it will rise back up into the root ball and cause waterlogging.
Tips & Tricks
With a plant trolley, even heavy pots are mobile on balconies and terraces. They are available to buy ready-made in stores. You can optionally assemble the practical helper yourself using 40 mm thick wooden panels and furniture casters from the hardware store.

