- Author admin [email protected].
- Public 2023-12-16 16:46.
- Last modified 2025-01-23 11:19.
When chili seeds germinate, this is the first invigorating feeling of success during cultivation. For many hobby gardeners, pricking out chili peppers is one of the biggest challenges. Not without reason. The procedure requires horticultural sensitivity. This is how it works perfectly.
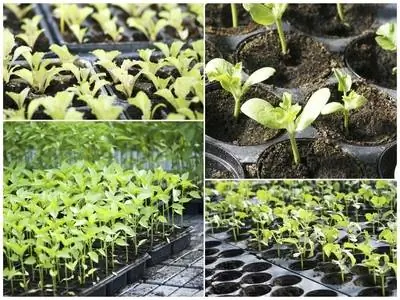
How can you successfully prick chillies?
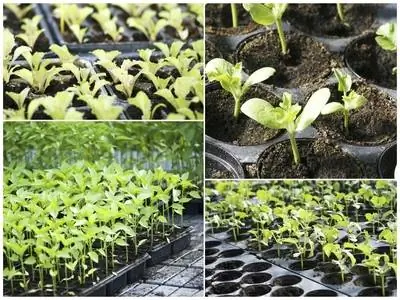
Chilis should be pricked when they have 2-3 pairs of true leaves. Carefully lift the seedlings out with a pricking rod, shorten any roots that are too long and plant them in nutrient-poor potting soil in 9 cm pots. Ensure constant humidity and temperatures around 25 degrees Celsius.
Prick the chili as early as necessary - as late as possible
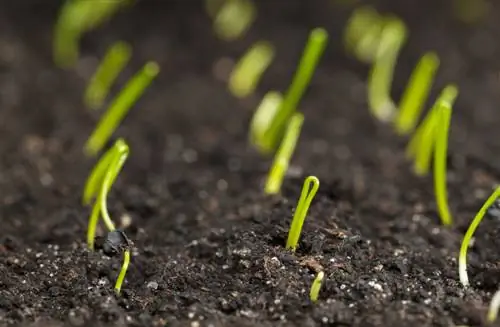
On average 10 days after sowing, two cotyledons appear. They signal that the process is going according to plan. Now 2-3 pairs of real leaves are still missing so that the time has come for pricking out. By the way, you can tell the difference between the leaf types straight away.
- At least 1 additional pair of leaves thrive above the cotyledons
- the seedlings are constantly touching each other
The longer the delicate plants can develop in the seed container, the more stable their constitution proves to be. This circumstance makes the delicate process of pricking much easier.
Lift out seedlings - do not pull them out
If the seedlings are crowded together, the recreational gardener starts pricking out.
- Fill 9 cm pots with low-nutrient potting soil
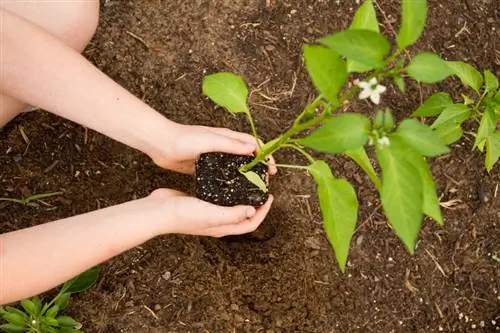
- lift the seedling out of the soil with the pricking rod
- shorten roots that are too long with scissors
- Pre-drill the planting hole with the pricking rod
The plants are planted a little deeper than the chilies were previously planted. The substrate extends like a turtleneck down to the cotyledons. Last but not least, press the soil down and spray with water.
Lean substrate promotes root formation
The prime directive for seedlings is to form the strongest possible root system. The fewer nutrients the substrate contains, the more the chilies work.
Suitable potting soil (€6.00 on Amazon) is available from specialist retailers, tailored to the needs of crops. You can optionally mix it yourself: 4 parts garden soil, 2 parts peat, 2 parts leaf mold, 1 part sand.
Balanced water and nutrient balance vitalizes
Chili seedlings require constant moisture at temperatures around 25 degrees Celsius. In an indoor greenhouse or on a warm, bright windowsill, water the plants as soon as the surface dries. Waterlogging must be avoided at all costs.
Nutrients are initially only found at the bottom of the pot in the form of a thin layer of compost. If the roots reach there, there is a first dose of highly diluted liquid fertilizer as a reward.
Tips & Tricks
Prick the chili seedlings into small peat press pots. These swell when water is added and provide the roots with an ideal environment for further growth. Repotting later is child's play with these pots because they are inserted into the substrate together with the plant.

