- Author admin leonars@hobbygardeners.com.
- Public 2023-12-16 16:46.
- Last modified 2025-06-01 06:02.
Given the fact that real lavender in particular likes to sow itself in the garden, the otherwise reluctant germination of lavender seeds seems paradoxical. In fact, lavender only germinates when the conditions are right.
How do you sow lavender seeds successfully?
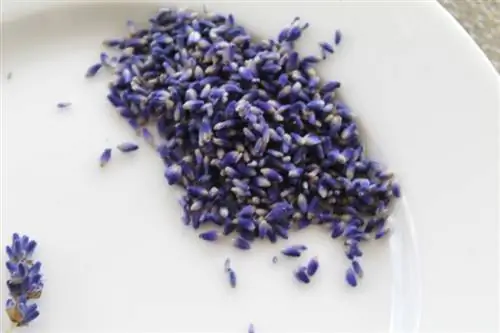
To sow lavender seeds successfully, use mature seeds, stratify them in the refrigerator for 1-2 weeks, sow them in nutrient-poor potting soil and ensure a bright spot at around 20 °C. Lavender is a light germinator and requires low humidity.
Use only mature seeds
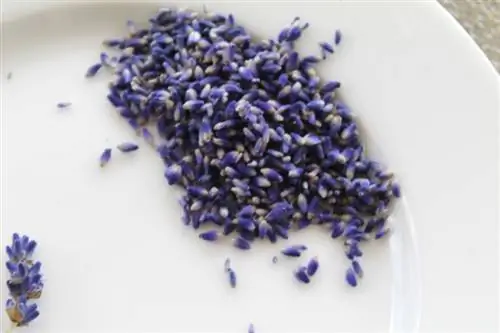
In contrast to plants, you can grow lavender seeds on the windowsill or in the greenhouse from February / March. However, the seeds should only be sown outdoors when frost is no longer expected. This is particularly true for the sensitive crested lavender, which should not be cultivated outdoors anyway. In stores you usually only get seeds of the so-called “wild lavender”, which means real lavender. This high-seed variety is easiest to propagate via seeds; for all others, the method does not work as well. Lavandin - the Provençal lavender - is even sterile and can only be propagated via cuttings. However, if you want to use lavender seeds from your own garden, you should first let them mature properly. The seeds are formed immediately after the plant flowers, which is why you simply leave the dead stems on the plant.
If possible, stratify seeds in the refrigerator
Lavender seeds germinate best if you first stratify them, i.e. H. expose to a long period of cold. However, this measure is not absolutely necessary as you can also sow the fine grains this way. However, stratification increases the likelihood of success. And this is how you do it:
- Take a resealable (e.g. with a zip lock) freezer bag and some (a little) sand.
- Slightly moisten the sand and pour it into the bag.
- Now place the seeds on the sand.
- Seal the bag and place it in the vegetable drawer in the refrigerator.
- The seeds should be stored there for about one to two weeks.
Then fill the growing pots with growing soil and simply pack the sand with the seeds on top. Covering with cling film should not be done as lavender does not tolerate high humidity particularly well.
Lavender is a light germinator
Gardeners generally differentiate between dark and light germinators, although light-germinating varieties are best placed in a bright location and should not be covered with soil if possible. Instead, it is sufficient to lightly press the fine seeds onto the previously moistened soil, for example with a board. Keep the seeds evenly moist, which works wonderfully with a spray bottle (€27.00 on Amazon). Light germinators usually have very fine seeds that are quickly washed away when watered. Make sure that the lavender likes it drier as soon as it shows the first leaves.
Sowing lavender seeds
Lavender plants grown from seeds are rarely pure, i.e. H. They sometimes differ considerably in the color and shape of their leaves, in the growth habit and height and sometimes in the color of their flowers. If you want plants that look the same, it is better to use cuttings to propagate them. Planting the seeds is done this way:
- Plants grown in February / March usually bloom in the same year.
- Use nutrient-poor potting or herb soil, as germ-free as possible.
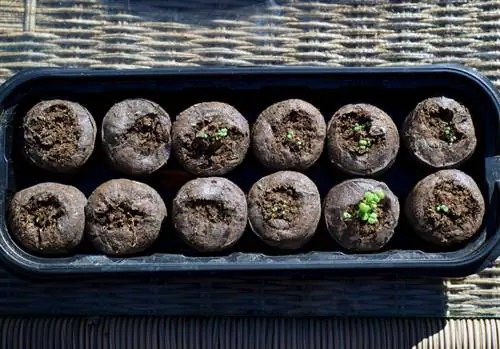
- Fill this substrate into nursery pots or an indoor greenhouse.
- Moisten the soil before sowing.
- Place the seeds on the soil and cover them very lightly with soil.
- Make sure that the humidity remains low - no drops should form in the greenhouse.
- The seedlings need a bright place and temperatures around 20 °C.
- Germination occurs after one to two weeks, but can also take significantly longer.
Tips & Tricks
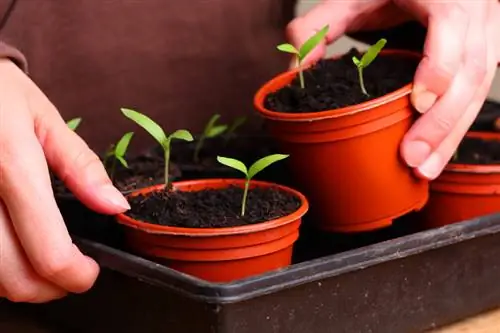
You can prick out the seedlings and plant them at least five centimeters apart as soon as the first leaves appear after the cotyledons. Shorten the roots a little with clean nail scissors so that they branch out better.

