- Author admin [email protected].
- Public 2023-12-16 16:46.
- Last modified 2025-01-23 11:20.
If you want a dense cherry laurel hedge around your property, you will need numerous bushes for the plant. Since bay cherries are not exactly cheap in stores, it is worth growing the young plants yourself. Breeding your own offspring takes a little longer than buying them; However, since the laurel cherry grows extremely quickly, the time required remains manageable.
How to propagate cherry laurel?
Cherry laurel can be propagated by cuttings, seeds or sinkers. When propagating with cuttings, shoots are cut and rooted in water or soil. During seed propagation, ripe berries are harvested and sown. Lowering plants, on the other hand, are created by planting and letting ground-level shoots of the existing shrub take root.
Propagation by cuttings
You can cut cuttings from the mother plant throughout the entire growing season. A good opportunity to obtain numerous seedlings for vegetative propagation is pruning. Pay attention:
- Do not cut cuttings that are too large in summer. A length of fifteen centimeters is ideal.
- Leave only a few leaves on the shoot.
- Short these leaves by half to reduce the evaporation area.
Two methods have proven successful for rooting:
Rooting in a glass of water
You can place the small cuttings a few centimeters deep in a glass of water and let them root there. As soon as the roots have reached a length of five centimeters, the small bay cherries are transplanted into bowls or directly outdoors.
Pulling shoots into soil
- Fill the cultivation containers with a sand-soil mixture and insert the lower half of the shoot tips into the substrate.
- Keep the soil well moistened over the next few weeks.
- However, avoid waterlogging as this promotes rot and mold growth.
- Place the container in a bright place.
- Create a humid climate by placing a clear plastic bag over the flower pot.
At temperatures of around twenty degrees, the small laurel cherries form roots after about four weeks and can now be separated. You can now plant the young plants directly into the garden or place them in a larger planter.
Propagation by seeds
The cherry laurel often grows on its own and you will find many young plants near the bush in spring. You can carefully dig them up and move them to the desired location in the garden. However, cherry laurel can also be grown specifically through seeds, although this method takes significantly longer than propagation through cuttings. You can get the seeds from the ripe laurel cherry fruits in autumn and sow them directly.
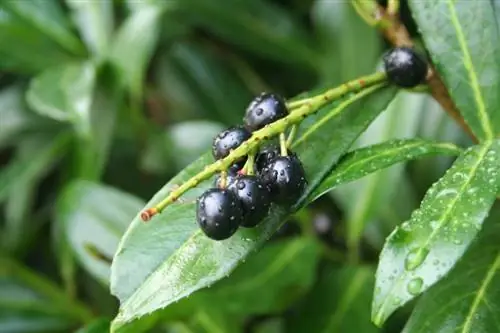
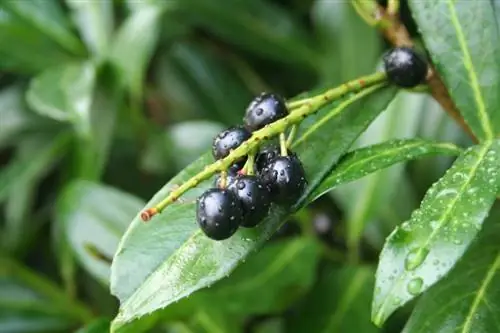
To do this, collect the ripe, shiny black berries and remove the stone core from the pulp. When sowing, proceed as follows:
- Fill containers with potting soil.
- Place seeds on the soil and only cover them lightly with substrate.
- Wet well with a sprayer.
- The cherry laurel is a cold germinator, so place the bowls in a cool room and never in a heated room.
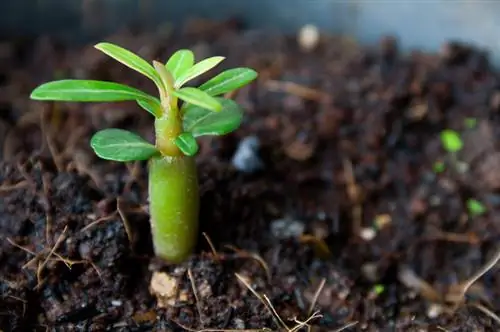
Since bay cherries don't germinate too quickly, several weeks can pass before the first shoots appear. Since the young plants are still quite sensitive, you have to keep them frost-free for at least a year and continue to cultivate them indoors. Only in the second year are the small laurel cherries placed in their final place in the garden.
Propagation by reducers
By lowering you can gradually grow as many bushes as you need for a dense cherry laurel hedge. This type of propagation is considered the most effective and simple. The best time to grow young plants using sinkers is the months of May or June, when the ground has already completely thawed and there is no longer any risk of night frosts.
Propagation occurs through a branch that is still on the bush and grows near the ground. Carefully bend it down to the ground and loosen the ground a little at the point where the branch touches the ground. You can now weigh the shoot directly with a stone and cover it with soil.
The sinker will root more quickly if you cut the branch before burying it, but do not completely separate the shoot from the mother plant. To prevent it from closing, place a small pebble in the cut. Fix the branch in the ground with tent pegs or stones. Cover the sinker with some soil.
After about six to eight weeks, the first roots will have formed. Now carefully dig up the sinker and cut the connection to the mother plant. Now you can move the young plant to its final location. Take this opportunity to provide the small laurel cherry with compost or horn shavings so that it has enough nutrients available.
Tips & Tricks
On the underside of the leaves of the cherry laurel there are small brown dots, the nectarines. They release a sweet plant sap that can cause allergic reactions. Therefore, wear gloves when working on the laurel cherry and, if you are allergic, avoid skin contact with the plant.

