- Author admin [email protected].
- Public 2023-12-16 16:46.
- Last modified 2025-01-23 11:20.
Do you want to give a laurel cherry that has grown too large a new place in the garden and have to move the tree? With our tips, transplanting the evergreen shrub is guaranteed to be a success.
How can I successfully transplant a laurel cherry?
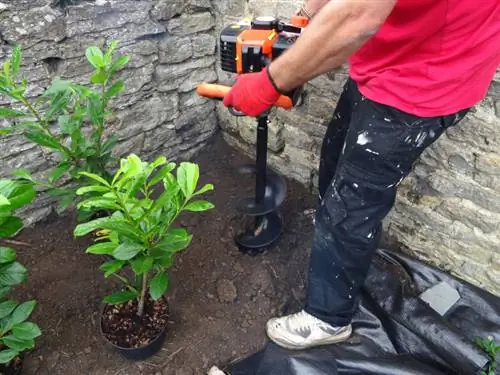
To successfully transplant a cherry laurel, choose early spring or early autumn, prepare the bush, dig it up in a large area, water it, prepare the new planting hole and plant the cherry laurel. Support the shrub with additional stakes if necessary.
The right time to move
So that the laurel cherry is not too badly affected, you should move the shrub in early spring or early autumn if possible. The ground must be absolutely frost-free during this work. At the beginning and at the end of the growth period, the tree puts all its energy into the formation of new roots and therefore grows faster than when it was moved in the summer months.
Preparation of the bush
Large bushes are first cut back. This makes them easier to transport and at the same time reduces evaporation from the leaf surface. Shorten the cherry laurel by about a third and use this opportunity to remove all dead plant parts. Then tie the branches together a little so that you can transport the laurel cherry to its new location more easily.
Digging up the laurel cherry
The laurel cherry forms an extensive and deep root system that you have to dig up over a large area. The fibrous roots, which are important for the survival of the bush, are located in the outer area of the bush's circumference, which can be two or three meters for cherry laurel.
Watering makes work easier
Dig a trench at an appropriate distance from the trunk and cut the roots that extend beyond it with the spade. Water the shrub thoroughly so that the roots can retain some moisture. In addition, the moist earth is easier to dig up.
The roots should then be exposed to a depth of at least sixty centimeters. You can cut deeper roots when digging. After digging, wrap the root ball in a jute bag to prevent the sensitive root system from drying out.
Prepare planting hole
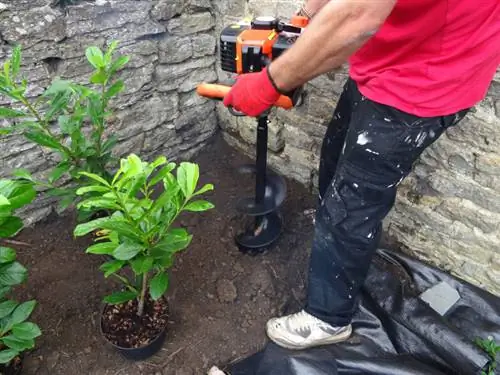
The new planting hole must be twice as wide and deep as the root ball of the laurel cherry. To avoid waterlogging, which the laurel cherry doesn't like, you should add a drainage layer of gravel to the planting hole in damp areas. Compacted or clayey topsoil is loosened with coarse sand and compost before planting the shrub. Additionally enrich the soil with a slow-release fertilizer (€12.00 on Amazon).
Insert cherry laurel
When planting the shrub, it is helpful if a second person can help you. Place the root ball in the planting hole so that the top edge of the ball is flush with the edge of the planting hole. Straighten the cherry laurel and fill the planting hole with topsoil mixed with compost and sand. Tread the soil well so that the cherry laurel has a firm footing.
Form a pouring rim and soak the laurel cherry well. Mulch the cherry laurel so that the soil does not dry out so quickly. In windy areas, the newly planted shrub needs an additional fall. Insert several sturdy stakes into the ground around the cherry laurel and tie the main shoots securely.
Tips & Tricks
When moving, the old gardening rule applies: “Top and bottom in balance”. The circumference of the excavated root ball should roughly correspond to the circumference of the above-ground parts of the plant.

