- Author admin [email protected].
- Public 2023-12-16 16:46.
- Last modified 2025-01-23 11:20.
In order to successfully implement a firmly rooted clematis, various aspects must be taken into account. The choice of time is just as important as the treatment of the root ball. Find out here how to skillfully transplant a clematis.
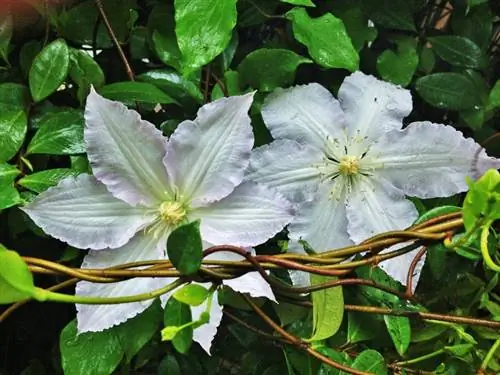
How to transplant a clematis correctly?
To successfully transplant a clematis, choose a warm, dry day in late summer or early fall. Prepare the new location, cut back the vines and carefully dig up the plant. Place them in the new planting hole, cover a pair of buds with soil and water well.
When is the ideal time?
It makes sense to choose the right date based on the best planting time for the clematis. Therefore, a warm, dry day in late summer or early fall is the best option. At this time, the soil temperature of 14-22 degrees is in the optimal range so that the clematis grows quickly again after being transplanted.
This preparatory work is important
Replacing a clematis undoubtedly means pure stress for the plant. To ensure that this procedure puts as little strain on the climbing plant as possible, the following measures in advance make an important contribution:
- Water the clematis generously in the days beforehand
- Prune all tendrils radically back to a height of 20 cm
- Weed thoroughly and rake deeply at the new location
- Optimize the soil with compost, horn shavings (€52.00 on Amazon), sand and rock dust
- Create a planting pit with gravel or grit as drainage at the bottom
So that the dug up clematis does not lie around in the garden for an unnecessarily long time, the new planting site should be prepared before moving.
Step-by-step instructions
Once the preparations are complete, the actual implementation is very easy. How to do it right:
- Carefully loosen the soil with the digging fork
- The more roots are retained, the better the clematis will grow again
- Push the spade under the root ball and lift the clematis out of the ground
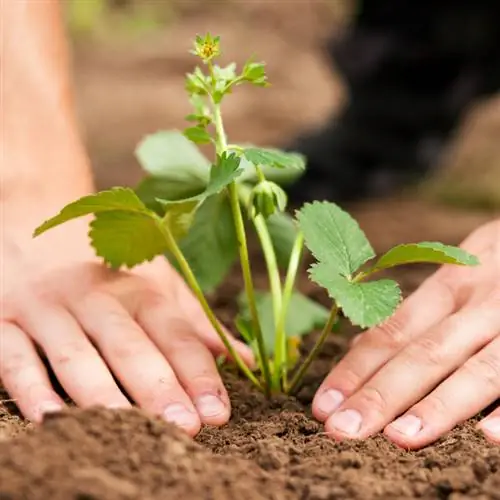
- Insert the new planting hole so deep that a pair of buds comes underground
Finally, the soil is pressed down and a good sip of water is added. In the first few days and weeks, the transplanted clematis must not be thirsty so that it can quickly re-root itself. A mulch layer of pine bark or bark mulch keeps the soil fresh and moist for longer.
Tips & Tricks
If a location in the garden has proven to be perfectly suitable, new clematis can be planted there over and over again for decades. In contrast to other flowering beauties, such as the rose, the clematis does not suffer from soil fatigue.

